I am working on some photos from a recent wildlife trip and I am wondering about different ways to create a vignette around the subject. I have not used the vignette slider at all so perhaps someone can comment on its usefulness. I generally use control lines on multiple sides of the subject but I recently encountered another method: inverting a control point around the subject.
For the first pass at my new photos I used inverted control point and thought it was reasonably effective. However I noticed that the subject was partially affected by the control point, based on the luma and chroma settings. I tried changing those sliders but never really found a value I liked for my situation. I did end up adding a second control point to overlay the one used for vignette and that allowed me to reverse some of the effects of the vignette.
I’m new to PL but I think the vignette tool in PL is primarily for removing lens vignetting rather than creating it. You may be able to create some vignette by pulling the slider to the left. I hope someone will correct me if I’m wrong.
If you have the Nik Collection then Color Efex and Silver Efex have better vignetting tools that are decent.
I think PL should have better options than it does.
What exactly do you mean by that?
From your description, it sounds like ‘vignette’ word misuse.
If you meant subject separation, just use AI mask (as suggested by @TorsteinH above) or a combination of control points, and then use a subset of available tools to make main subject features to stand out and tame the background (many ways to do that, perhaps in your case start with negative microcontrast on the inverted mask, while overdoing slightly fine-contrast in highlights and midtones globally or just set LSO=130 or so).
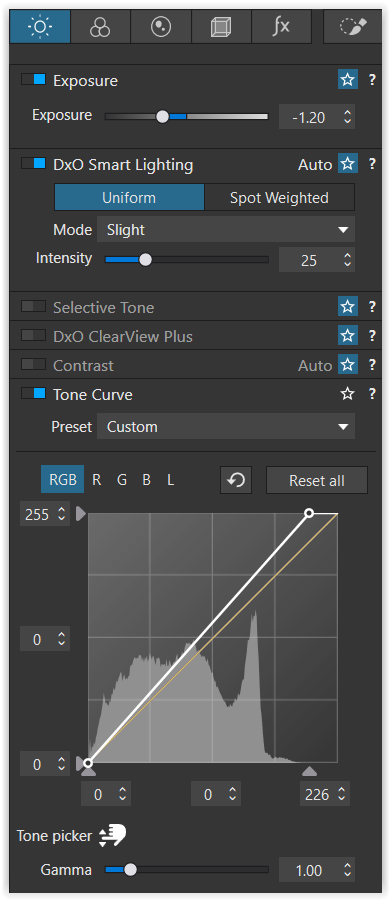
Okay, I must be missing something. In PL 9 under “Lighting” there is a “Vignetting” box. Under “Corrections” you can allow PL to do it automatically or “Manual” to do it yourself. There are two sliders. The first is intensity and set at zero is where the corners are darkest. As you slide to the right corners brighten. So you can’t really add much of a vignetting effect. Then there is a “Middle” slider and honestly I cannot even tell what it actually does.
I do not see a way to change the shape of the vignette.
So there must be another vignette tool I can’t find. Could you tell me where it is? Thanks.
But then my question was what are YOU talking about?
There are three vignetting tools in PL, the latter two requiring FilmPack license (afaik):
Vignetting – that’s about lens vignetting corrections
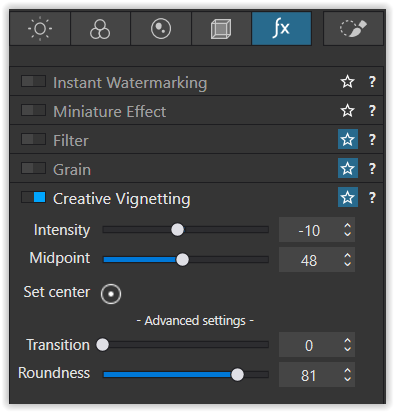
Creative Vignetting – “standard” meaning of vignetting tool
Blur – choose shape like with standard vignetting, but instead of exposure, use blur corretion.
In Nik Collection you may find other options for the shape of standard vignetting correction (exposure), which you may combine with more similar steps.
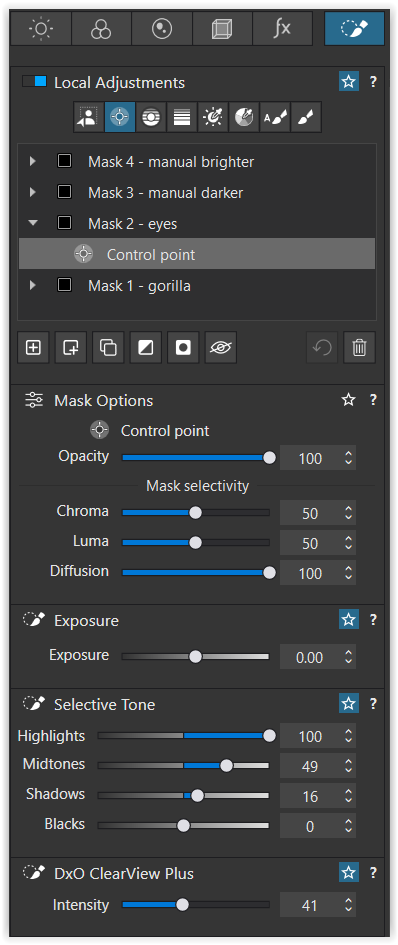
However, it seems you had in mind some kind (exposure, details, contrast,…) of “vignetting” (or falloff) around the main photo subject. Use Local adjustments for that to define the subject.
Correct me if I’m wrong but typically vignetting relates to two things as you mentioned. The first is darkened corners caused by characteristics of any given lens. It is generally considered a flaw. PL has tools to correct that and they work well. The second is a creative choice that typically involves darkening or lightening of the corners. It is generally used to mimic older lenses that had heavy vignetting and/or to isolate the subject.
The OP asked specifically about creating a vignette effect. I assumed, maybe wrongly, that he was talking about creative vignetting.
And as I said, PL does not have adequate tools for creative vignetting as a stand alone app. As you mentioned, you can get it with FilmPack or as I mentioned, with some of the Nik Collection apps. I do not have FilmPack so I wouldn’t know. OP did not mention if he had FilmPack.
Oops sorry, I may have mixed up OP with you, given the same icon colors,
so let’s wait for what OP had in mind.
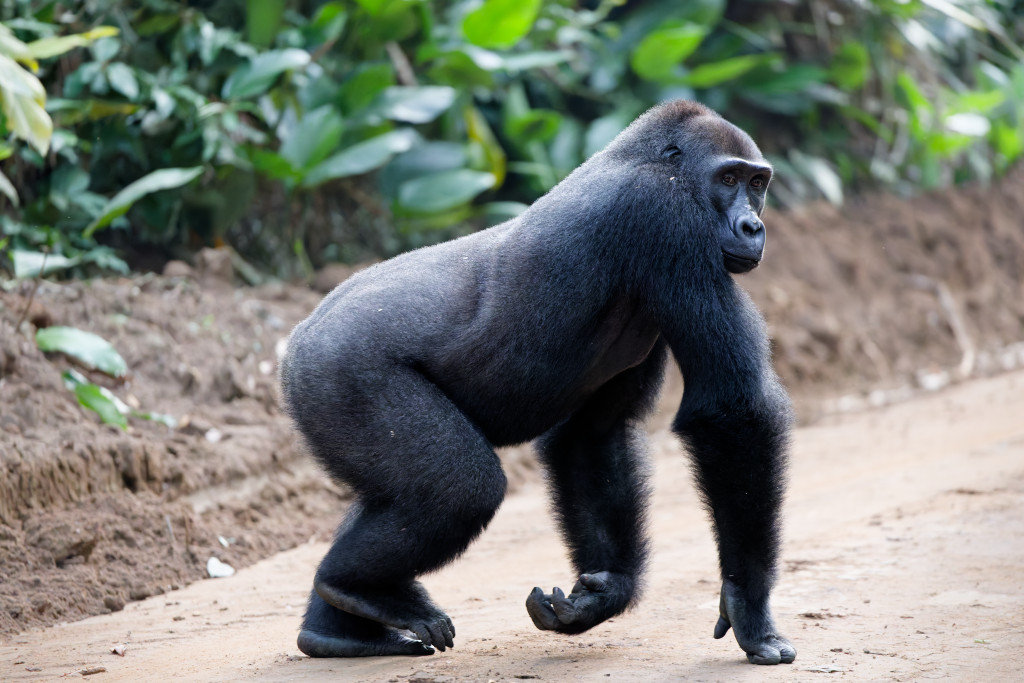
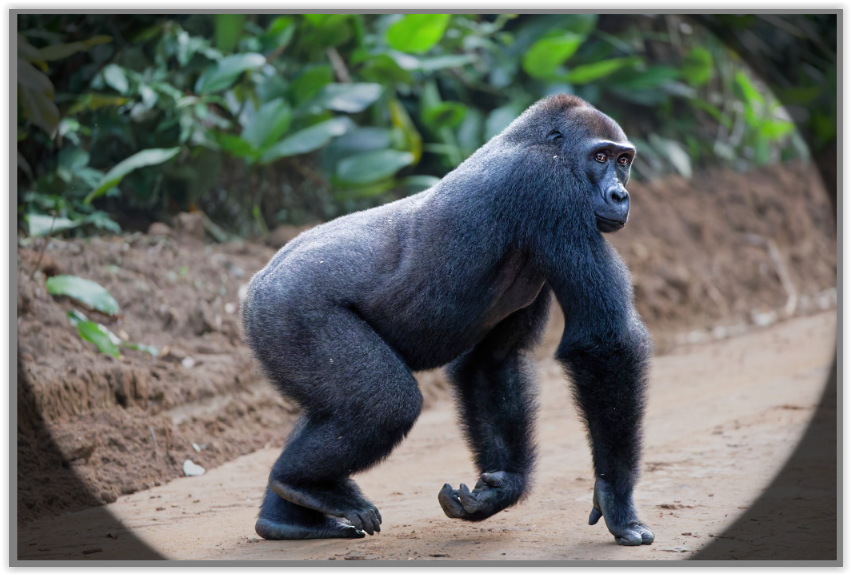
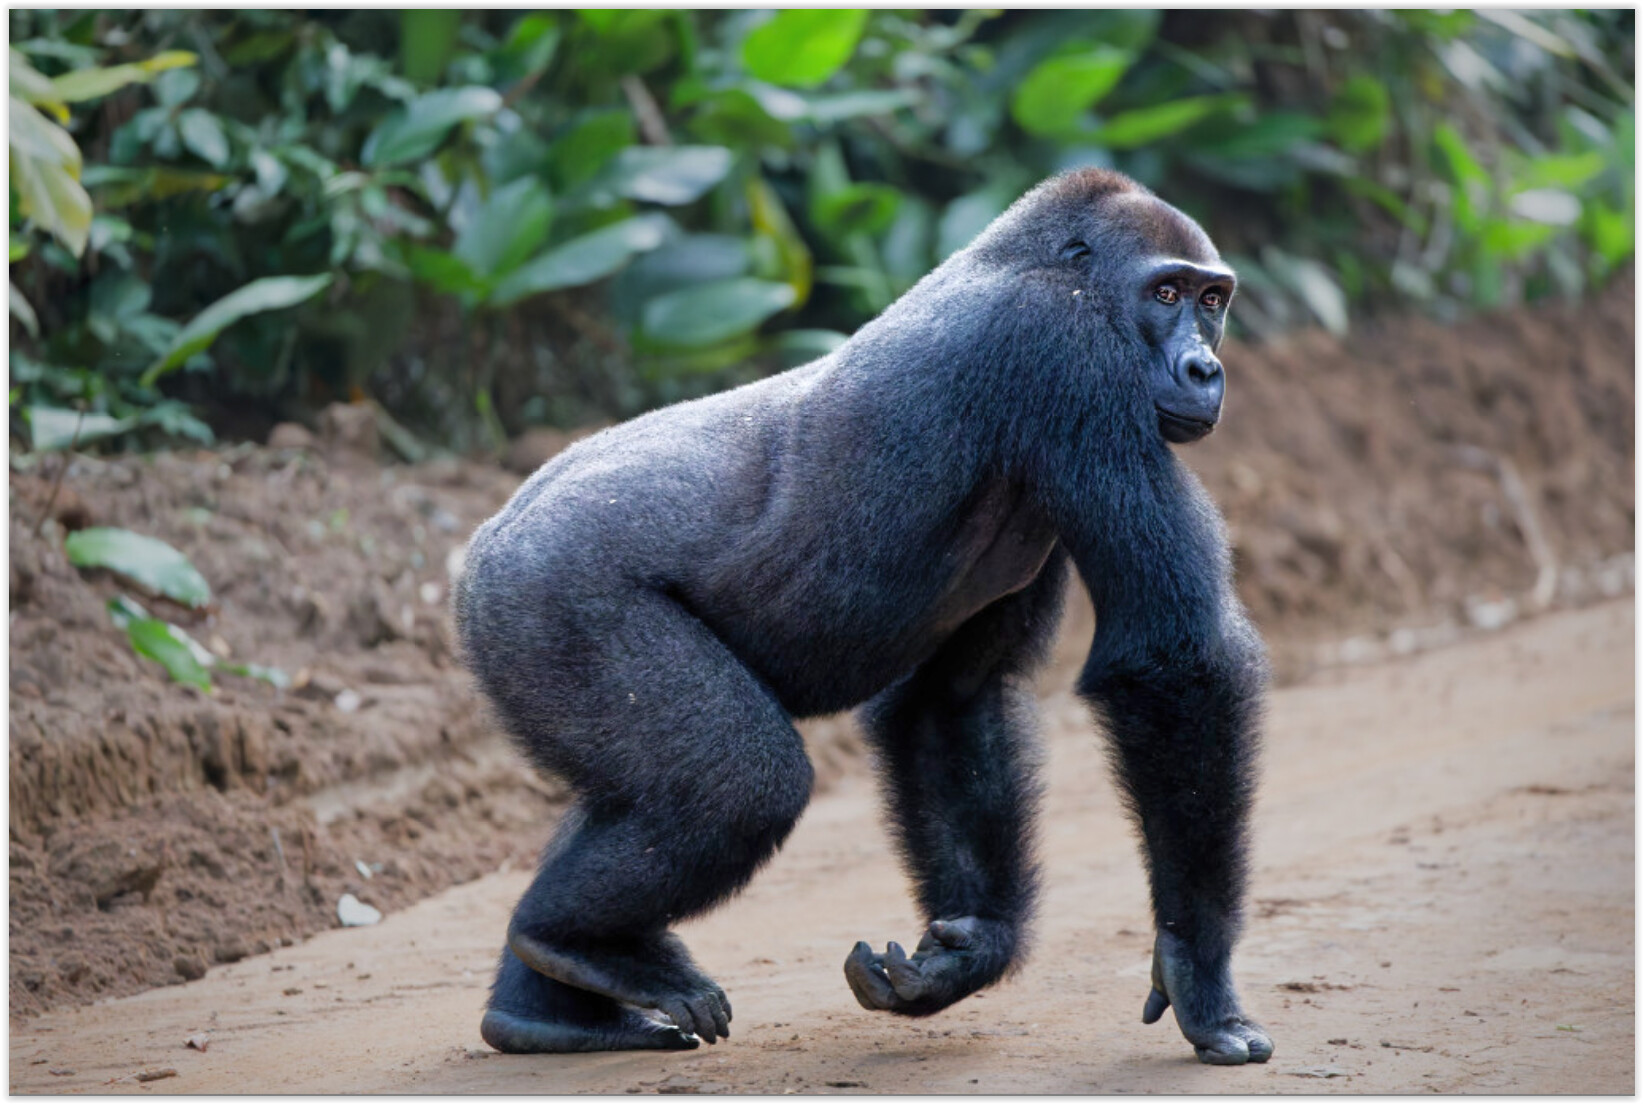
I’m not sure of that, let OP explain. Btw, the photo just cries for recomposing (maybe 5x4 will do, didn’t check). Nice picture though, and perhaps a good and quite easy excercise in editing…
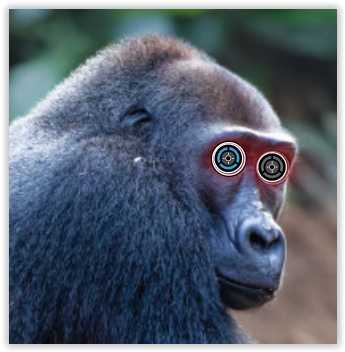
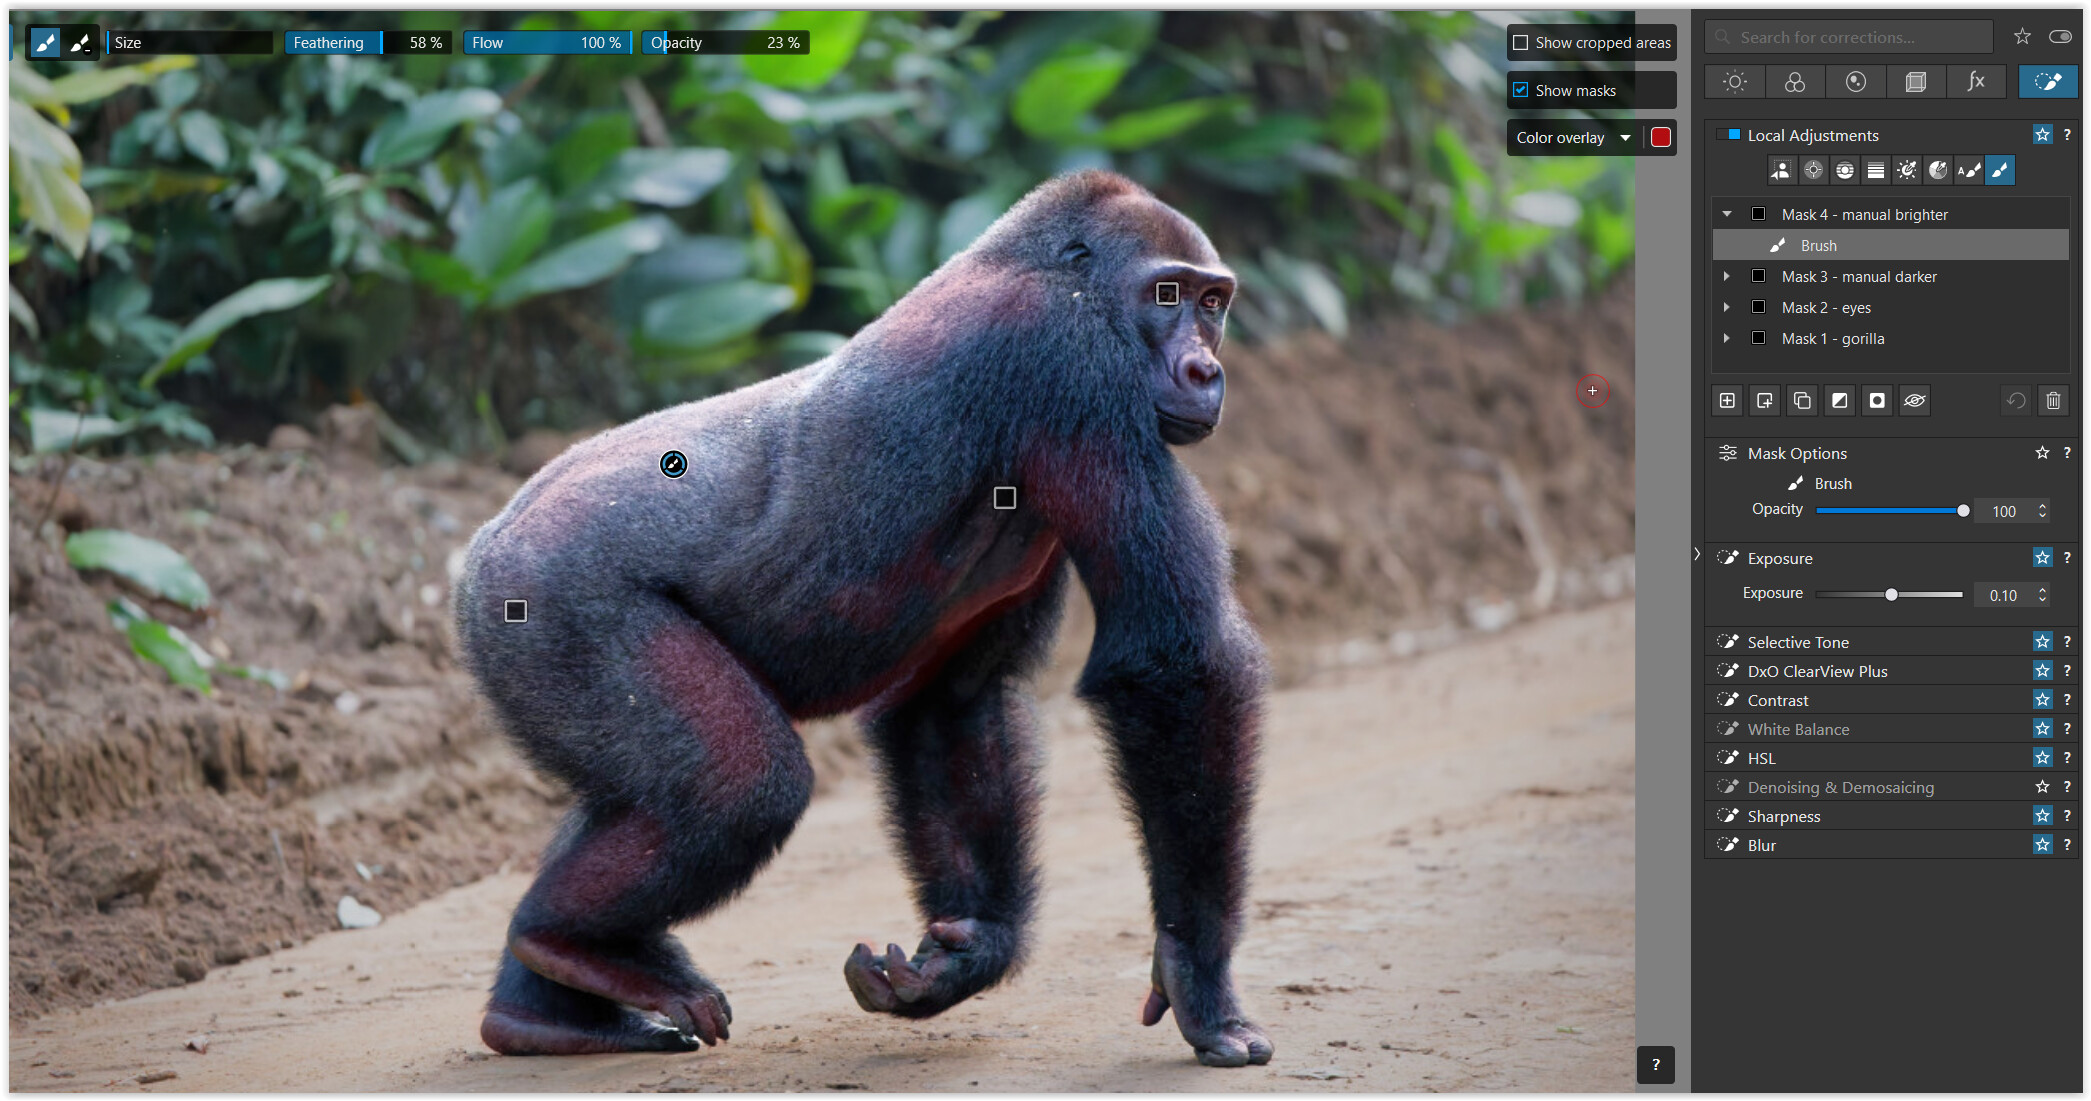
Alas, there are no light reflections in the gorilla’s eyes
Creative vignetting can be used if you have a FilmPack license activated in PL. Otherwise it doesn’t exist.
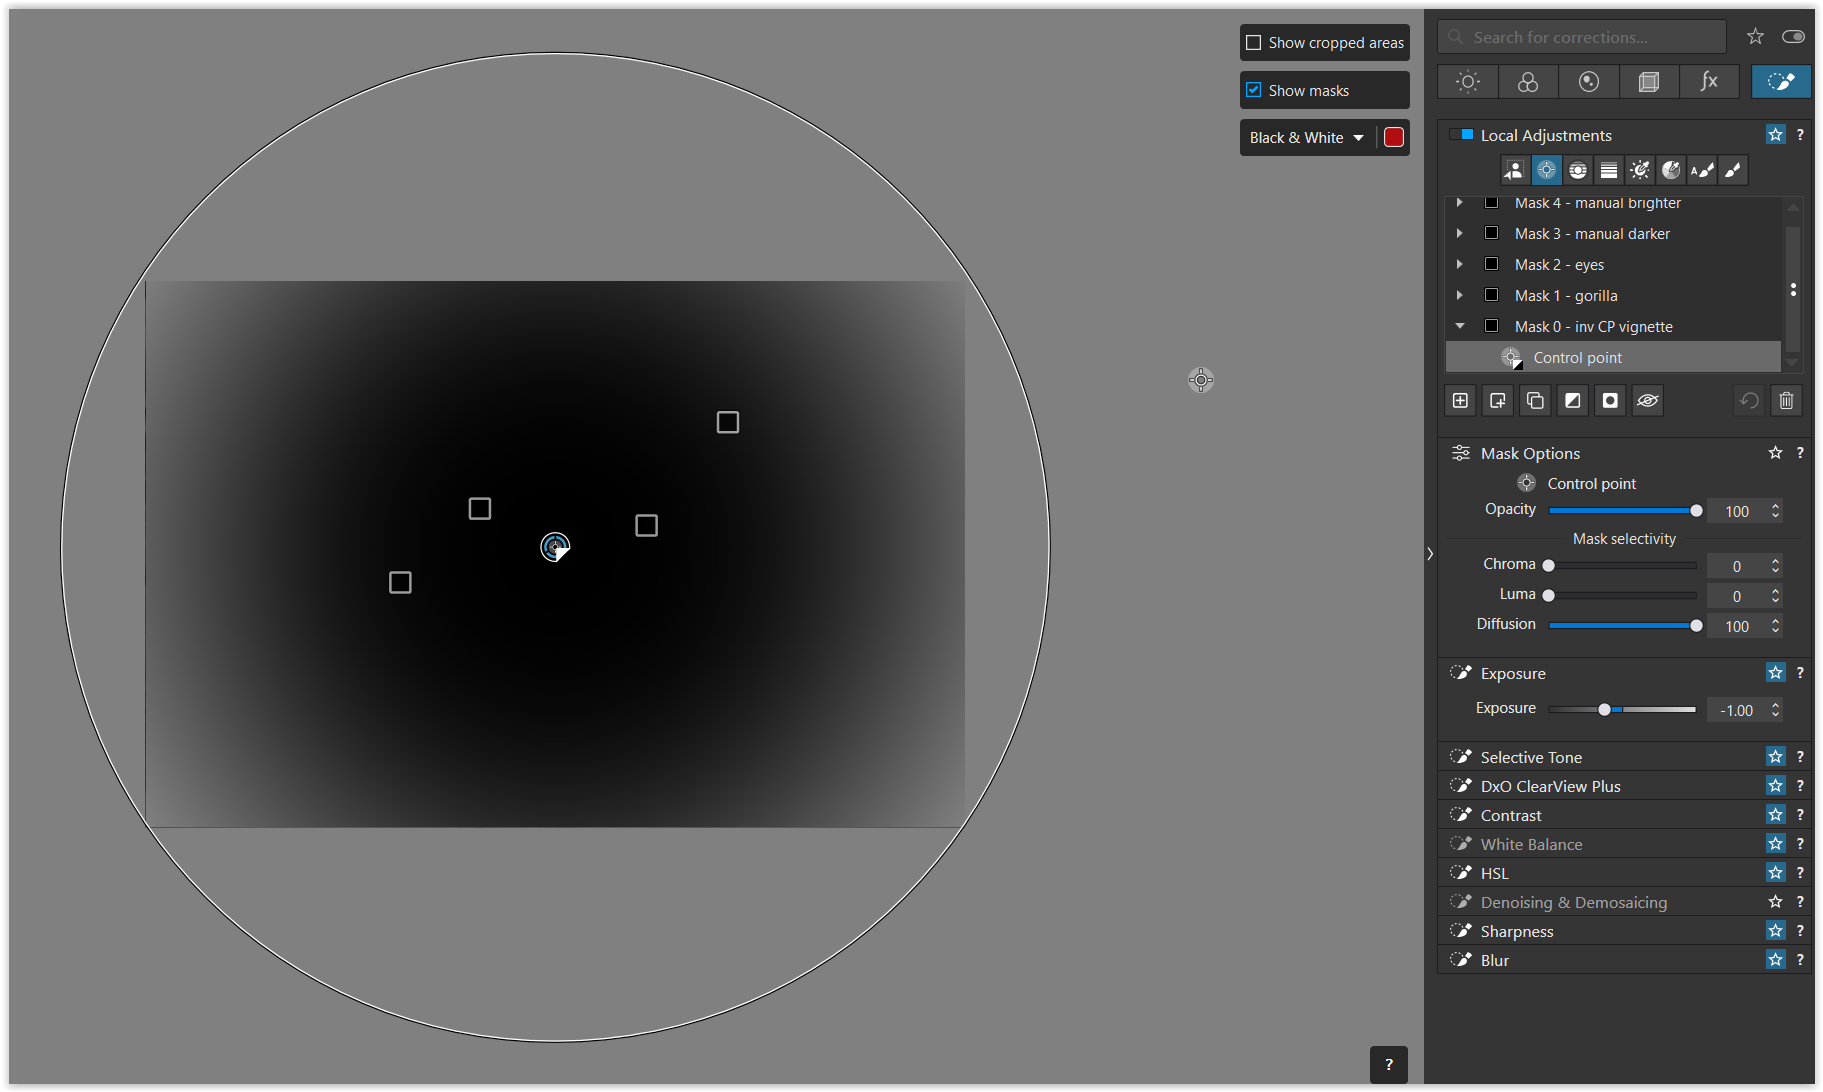
A Control Point (inverted) can be used but is only circular, which is not equivalent to a vignette unless you have a square crop. You can move both selection sliders (Chroma and Luma) to the left to make the CP affect everything. In PL9 you can also change the Diffusion slider to affect the fall-off. You can get from affecting a large area to almost a sharp transition.
One trick I learned is sometimes if you’re ‘faking’ a vignette with a Control Point, you should try just reducing the highlights instead of the whole exposure.
It is also worth noting that the corrective vignette applies to the original frame. Creative vignette applies to the current crop.
I started the discussion because I wanted to get opinions on using various methods to help isolate the subject from the background. I have seen several tutorials where the vignette effect is added around the edges and at least one instance where an inverted control point was used although it was not a square cropped image. As I mentioned at the beginning, I saw side effects from the inverted control point so I wondered how often other people used this method.
I hadn’t considered stacking local adjustments (AI mask + graduated filters), so that is another method to consider.
Usually, I add a vignette at the very end to draw attention to the main subject, but not really for standing out from the background. That said, I start with the vignette later …
… after reducing the global brightness / adjusting the whitepoint.
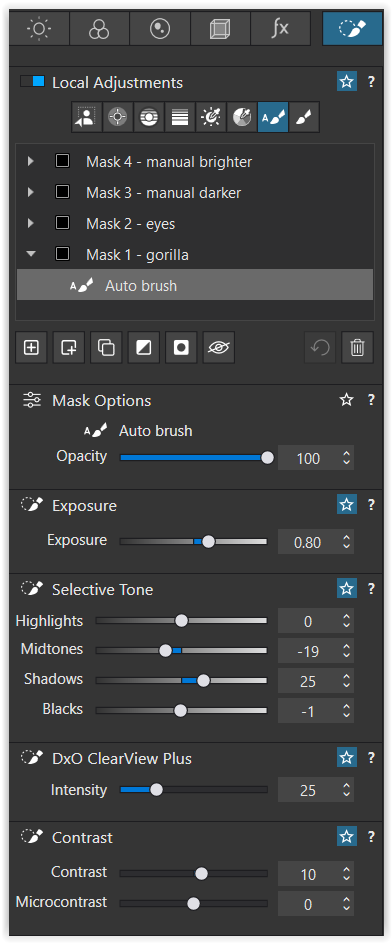
Occasionally, I use the inverted control point for “invisible” vignettes. Instead of a second, smaller positive control point to re-lighten the subject (much better handled in Nik ColorEfex → “Darken Lighten Center”), I used the Autobrush here.
The second example benefits from the optional FP plug-in, which, similar to the inverted control point, directs the viewer’s eye, while here the vignette itself stands out.
To separate the subject from the background, you should, as already mentioned, consider gentle image editing and cropping …