Just wanted to make sure I’m missing anything but, can you use a control point in combination with the [auto] brush by chance? I’m trying out PhotoLab 6 and, while the control points are really powerful (bring me back to the good old NX2 days!), they can also get really annoying! Especially for portrait work!
For example, I would like to mask an area that I would like the control point to effect (say just the face or just part of the background) then use the control point only within that area (excluding an area would be helpful too). Otherwise, I feel like I’m a dog chasing it’s tale trying to wrangle in these control points! It wants to change one part of the background and then, say, random parts of a persons face! I try to alt-click to remove part of the face, and part of the background disappears! Back and forth I go… Any tips?
I have been able to tweak it a little with the Choma and Luma sliders but they still don’t resolve my issue.
Thanks!
(This may be better posted in the feature request board? If so circular/oval gradients like what CP has would be really useful!)
I’ve never run across an instance where the combination of negative CPs and judicious use of the Croma/Luma sliders did not accomplish my goal. Perhaps Control Lines might help you out. Very powerful tool, have you tried it out yet?
Hi Jaron,
don’t know how familiar you are with DxO’s specialities. – There are a some interesting webinars you might want to have a look at, stop them in between and try to follow the tutor with your own material – time consuming but helpful to understand ‘manually’.
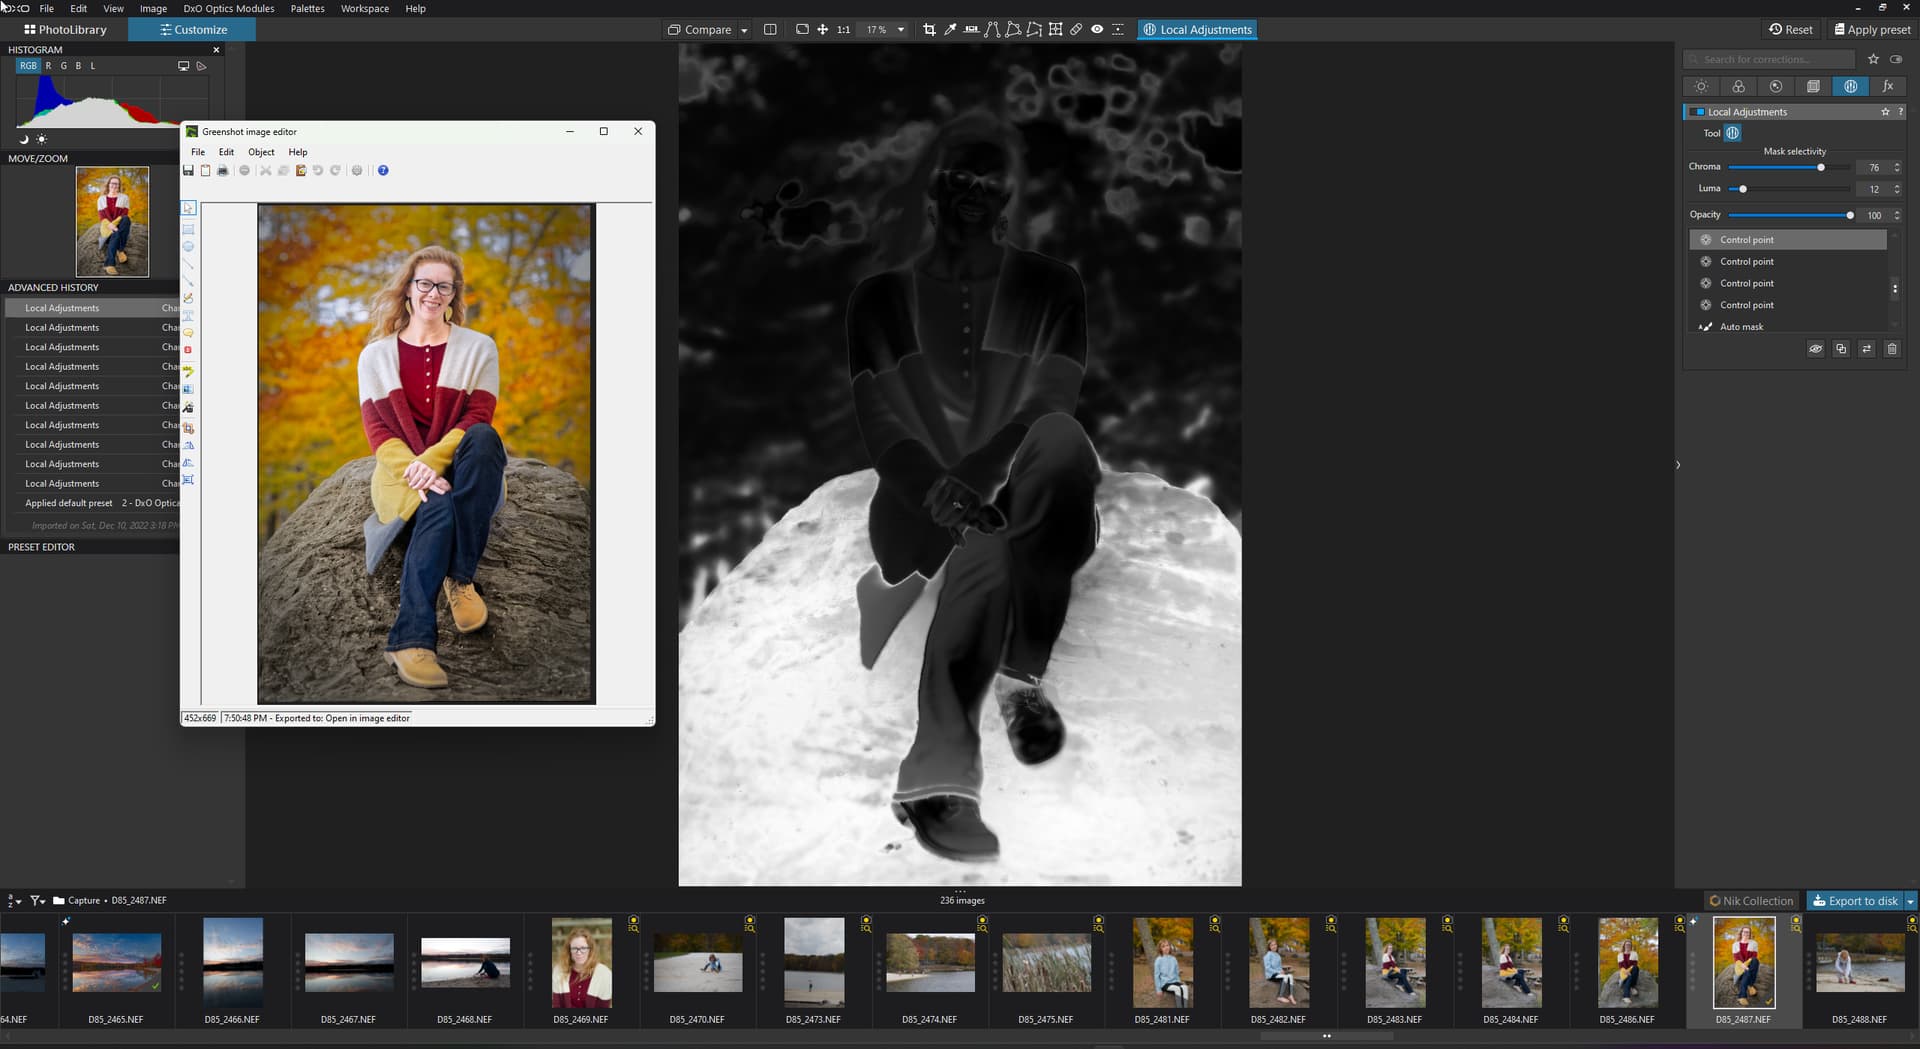
Getting the rock is very simple. However, it always bleeds into her clothing and background and requires a lot of extra CP’s to clean up! Likewise, if I want to correct part of her clothing, it would bleed slightly into the background. It would be nice if I could use the auto mask or brush first to break apart my subject, the rock, and background first then use control points only within the context of those areas.
I would have placed neg CPs on her leg and shoes(possibly a lot of them). You may have to move them around a bit to get them to do what you want, but with the high chroma restriction(as you have) it should easily separate the blue of her pants and yellow of her shoes from the rock’s grays. That way the mask would cover them better without bleeding back into the rock.
However I do think that your idea is a good one. If you wish to start a new “Feature Request” thread I would vote for it.