Before assuming there is a problem with the application, you should at least try to see if it’s not something else. This reminds me of my university days, when during the summer I usually helped my uncle with his car repair shop.
One day, a lady came by for some small repairs and the following day she called back screaming that her car broken down in the middle of the road, because of the poor job my uncle provided. My uncle proposed to tow her car back to the repair shop, and guess what? The dashboard showed the usual yellow ‘car needs gas now’ symbol. The tank was empty. Not a single drop left. This is the same with your statement here. Everything works as expected, not only in Photo lab, but as in any software of this kind.
A mask, when inverted, it’s the negative of what it was prior. Black becomes white and white becomes black.
That’s a great observation, thanks. And yes, if I zero those then I do see the circle/hole invert behavior I would expect. Though I still feel this is not working as advertised. Let’s look at the official documentation of the control point mask:
This is a unique local adjustment tool: when you click on the image to place a Control Point, the tool analyzes the brightness, contrast, and color of the pixels under the point, and applies corrections to all pixels within a user-defined radius that share similar characteristics.
For example, if you place a Control Point on an object that has a different color than its background, and you adjust the radius to fully cover the object, the corrections will apply only to the object — without spilling over to the rest of the image.
If another object with a similar color is present in the image but outside the radius, it won’t be affected. However, if it falls within the radius, it will receive the same correction.
The above documentation is very explicit that the user-defined radius should create a hard boundary to where the effect is applied. The chroma and luma sliders should certainly impact the result within the radius, but no setting should allow mask to spill outside the radius (in my case the feathering effect is effectively zeroed with the diffusion set to zero).
In my scenario, the invert feature seems to violate this notion. If I defined a “don’t go outside this radius” region originally, then on invert I should be left with a “don’t go inside this radius” region. In practice, on invert, I seem to have my radius completely ignored.
I understand the point you are making. They do indeed seem to be simply inverting the final mask bits. The reason I believe this is a flaw in the functionality is that this mask has a very specific notion of a user-defined radius and I believe most users would expect that radius/boundary to be inverted. Post-inversion we have lost our control over where that boundary lies (provided we haven’t slide chroma and luma to 0, which of course completely alters the operation of a control point and makes it just a simple blob)
You do mask, and where is Chroma and Luma not 0, its cover some of the part inside of the U-Point mask. And that’s mask what inverted later, not from the edges.
you adjust the radius to fully cover the object, the corrections will apply only to the object
But again, it only works if you effectively disable the magic of a control point. If you move the sliders to the extreme so the selections work like you are showing then you might as well just use the paint brush.
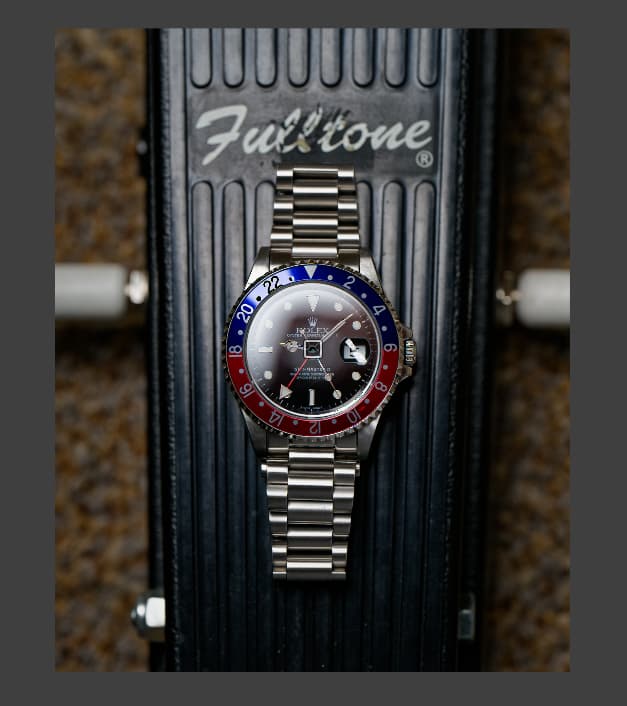
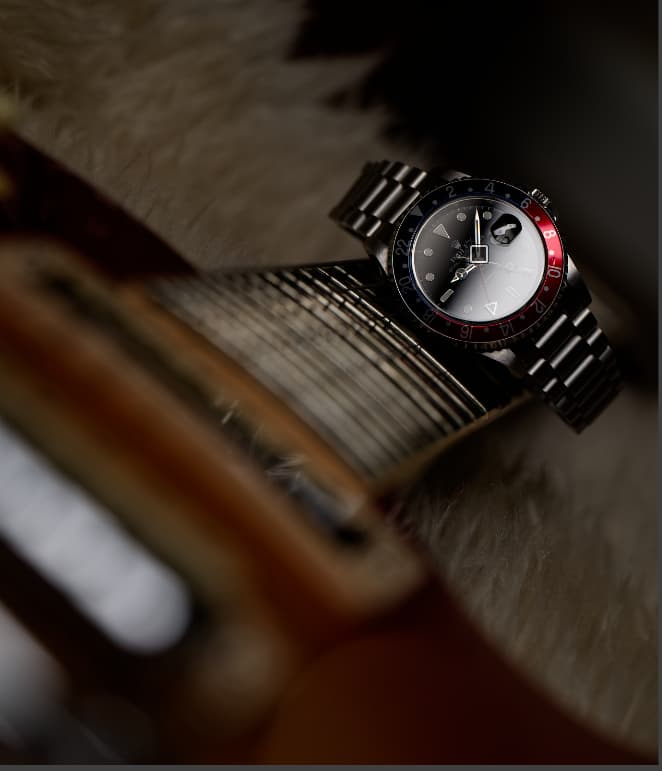
Let’s consider a very simple workflow with this image:
I want to put a control point on the watch and do a few things to it as my “subject” and then I want to have an opposite mask which impacts everything else as my “background”.
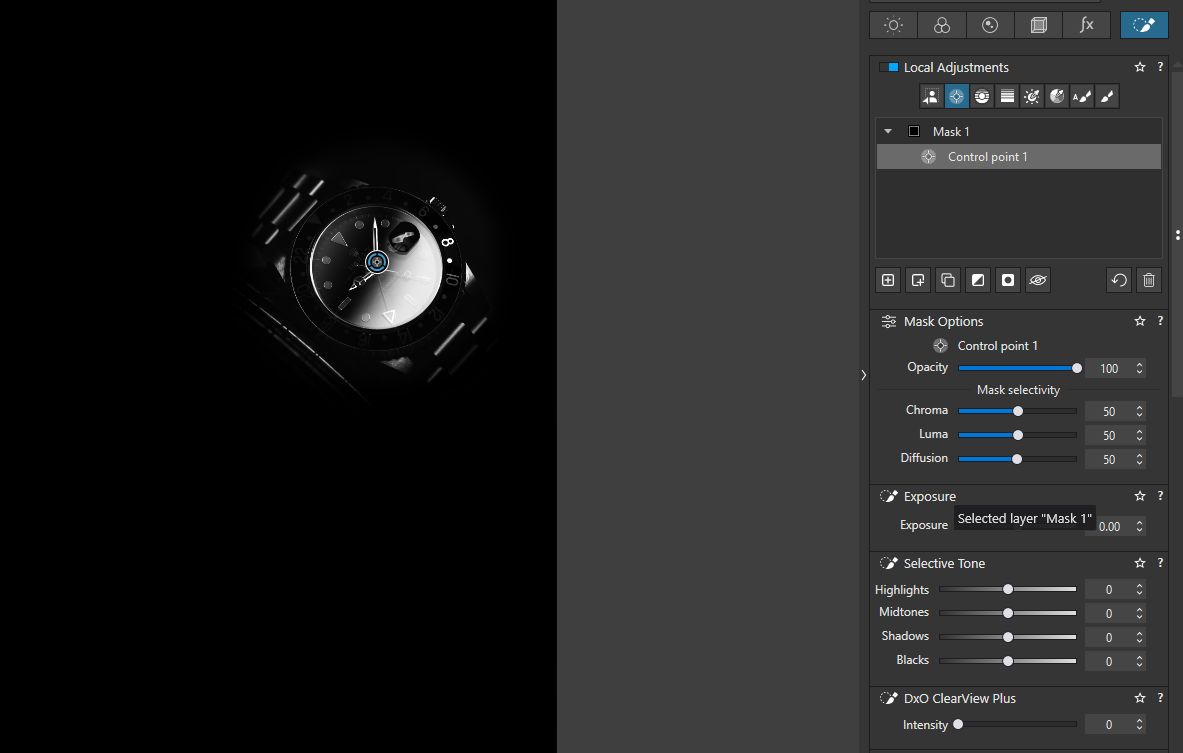
The regular control point works exactly as expected:
We can say this is by design - and I understand that this is working as expected if we just consider the original binary mask and flip every pixel. But functionally, as a mask with a user-controlled radius, I just don’t see how this provides the expected result.
The best way I can summarize is this: The “invert” operation could be applied at different stages of the pipeline. I want it applied to the mask I create as a user, not the resulting bitmap the software calculates. In doing the latter, the former is ignored in an important way (the radius/boundary)
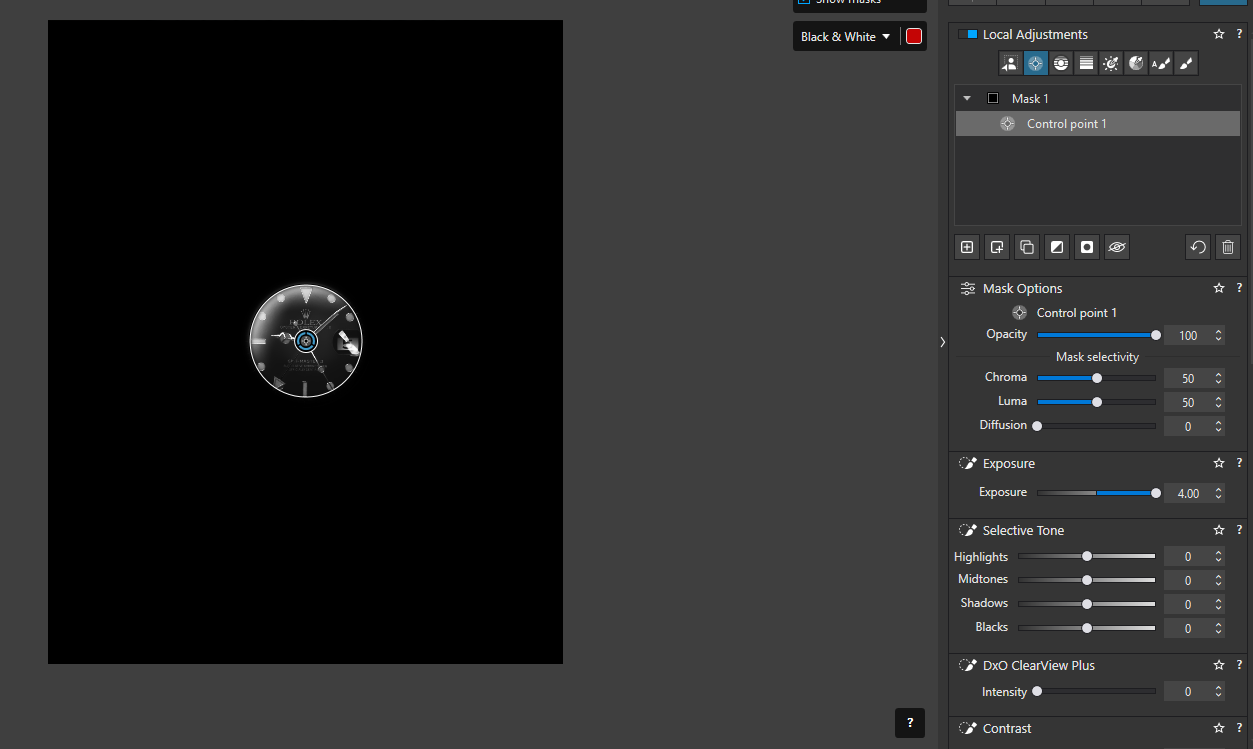
Your initial image shows the black and white mask, so not the watch face itself. So the white watch hands, hour markers, and glare are “selected”. The actual watch face, shown in black in the mask, is “not selected”.
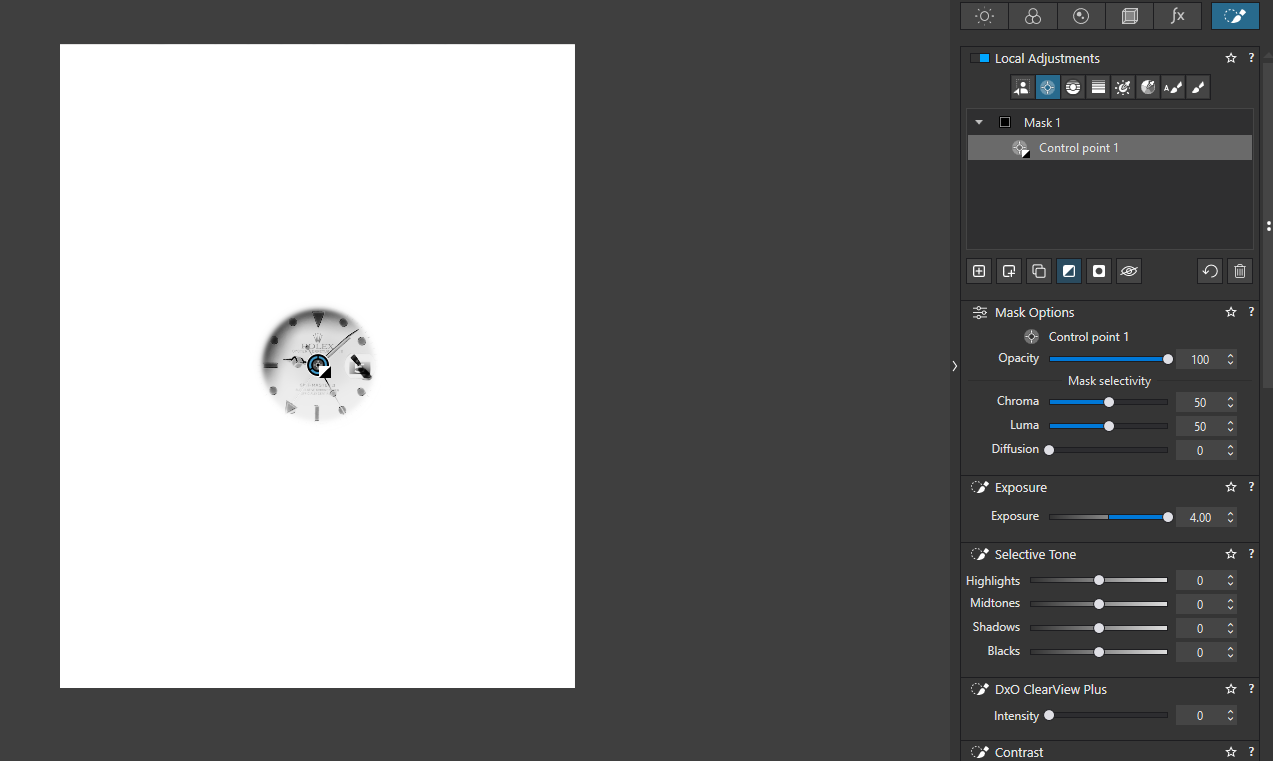
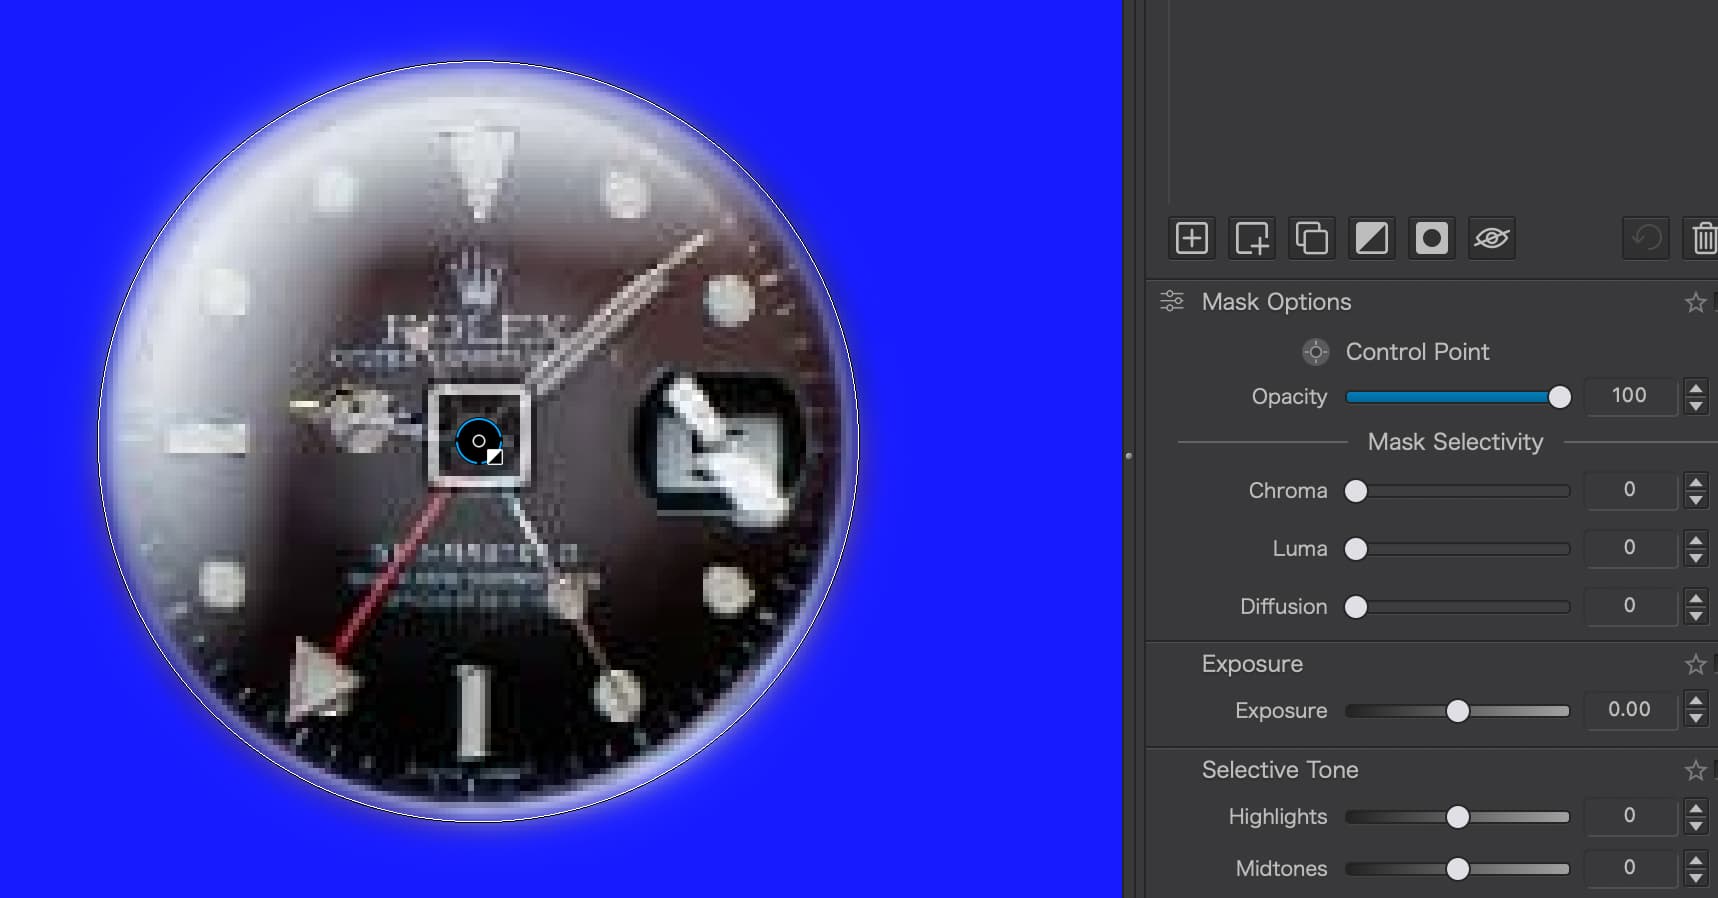
Note, the initial selection does not show the red seconds hand arm, confirming that this selection does note include the entire watch face. In the inverted mask image, the second hand is included in the “white” part of the selection.
Using a color mask at less than 100% opacity would better show what is/isn’t in the selection.
Note, the CP is designed to leave a soft edge to all three sliders, even when set to the extremes. Also note, the CP also affects the image beyond the user defined radius. This appears to be a nominal 50% point in the affected area. Setting the diffusion to “0” narrows the mask’s effect closer to this radius, but does not make it a hard edge.
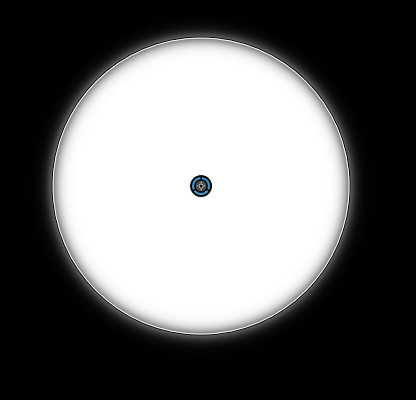
In this watch example the best way to separate the watch face from the rest of the image using a CP would be to set all sliders to “0”, but still leaves a soft edge to the selection.
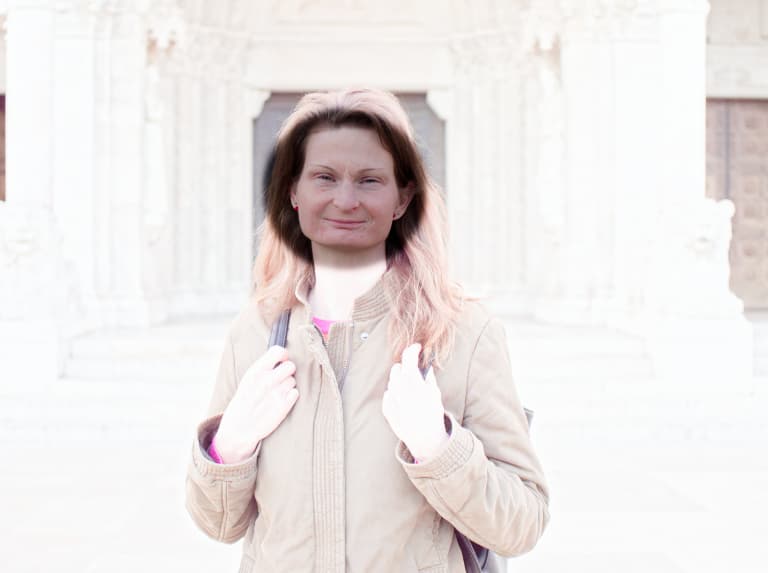
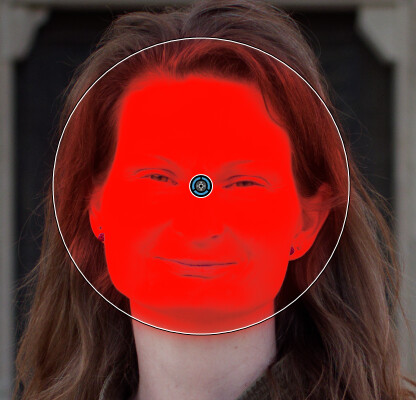
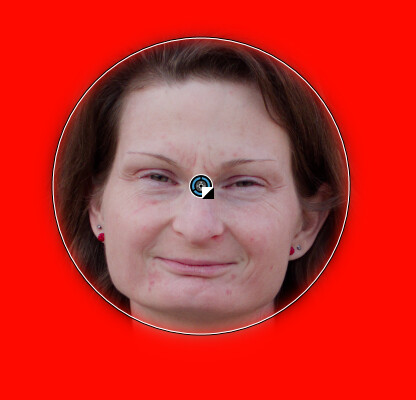
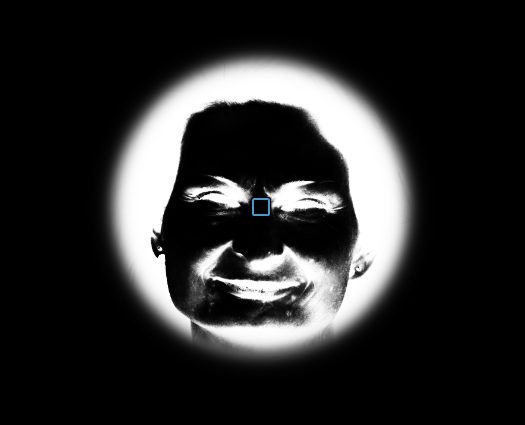
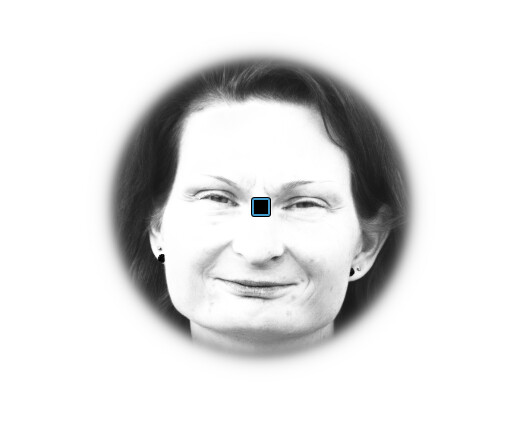
I do appreciate the input. It is clear to me now what is happening to produce the result I’m seeing. To analyze the “issue” another way, I’d ask for someone to provide a real world example where the current invert behavior is useful. If we look at the Photolab documentation for Control Points they show examples of putting a control point on a person’s face. The magic of control points takes care of fine tuning the mask, but it is limited to your radius. This allows you to mask one person’s face, but not the face next to him, for example.
This is an important detail. We’re actually defining control circles more than control “points”. At a high level, I believe if a user wants the “inverse of this one face” that means they want everything in the image other than this face. In reality what they get is everything that isn’t the face plus various bits of the face too. Again, this is understandable because the bits in the mask have simply been flipped versus flipping the shape (circle) defined by the radius. I understand how this is simpler in terms of implementation, I’m just struggling to see how this is preferable in a real editing scenario.
The CP is not an object mask. In your example, the Control Point (CP) does not select the entire watch face, regardless of the luma or chroma. Likewise, the inverse does not select everything but the face. The same applies to a human face.
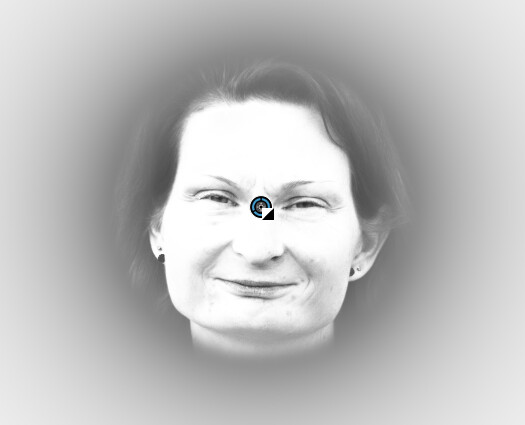
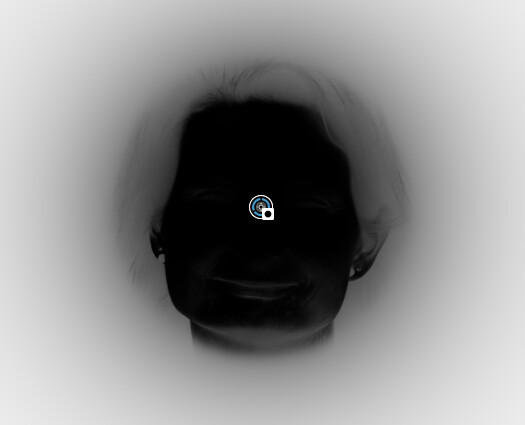
The selection is based on the luma and chroma sensitivity sliders. The CP has the strongest selection at the center of the circle then falls off away from the center. The rate of fall off is controlled by the user set “circle”, but still extends beyond the circle. The inverse is stronger outside the circle but still affects some areas within the circle.
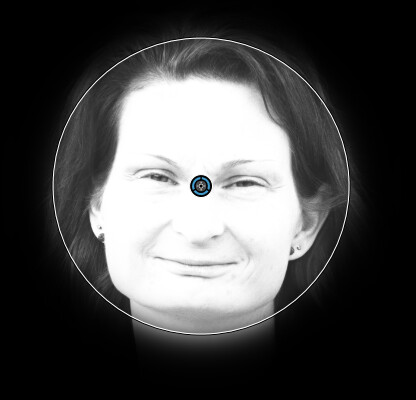
In @andras.csore 's examples the CP selects the skin tones of the human face, but not the eyes and other darker areas which do not match the luma/chroma selection.
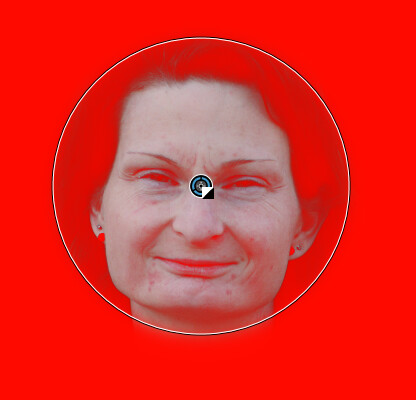
The inverse then deselects the skin tones. Even with luma, chroma, and diffusion set to 0, there is still some softness around the circle. This is by design to help the adjustments blend in a smoother way.
I use this to open shadows in a person’s face selectively, and use “negative” CPs to remove the effects from unwanted areas. Using a CP which filters on luma/chroma gives a more blended, natural look to these local adjustments versus a hard edged object mask.
There are many examples, such as your watch, where a hard edged mask with 100% selection is desired. In this case, the normal brush tool appears to be the only tool with a hard edge (0% feather) in Photolab. Perhaps others know how to get a hard-edged election similar to tools in Photoshop or Affinity.