I’ll be calibrating my monitor (Asus PA278QV) with Xrite’s i1Display Studio and have a question about how best to get i1D to match up with the PA monitor. This monitor will not capture a full Adobe color space, but does well with sRGB.
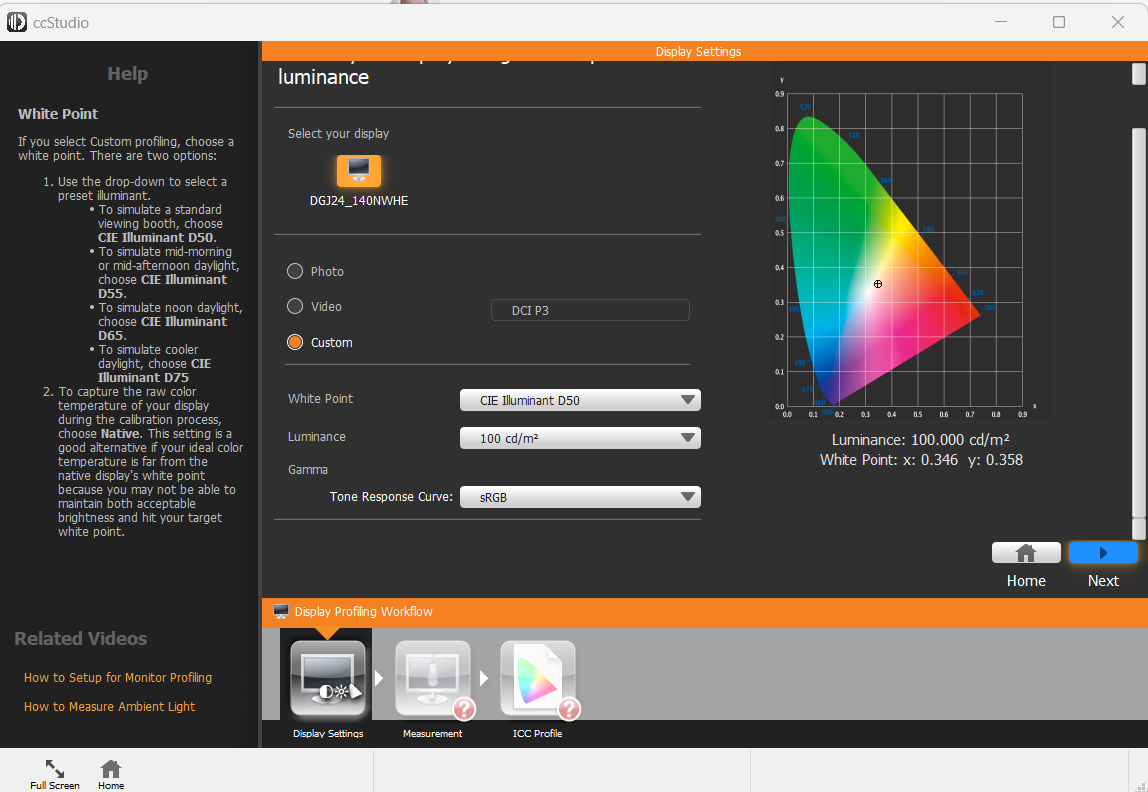
i1D has Gamma (Tone curve response) set at 2.2 as its default. It can be changed to Custom (can set the Gamma level) or sRGB (no further setting). I’m just a hobbyist and have problems with how to handle Gamma. What would you recommend?
Of course, anything you can add to ensure I get a good working image on PhotoLab 5 Elite, is well appreciated.
The easiest should be to calibrate to sRGB and Gamma 2.2.
Try with 6500 Kelvin and no brighter than 120 cd/m².
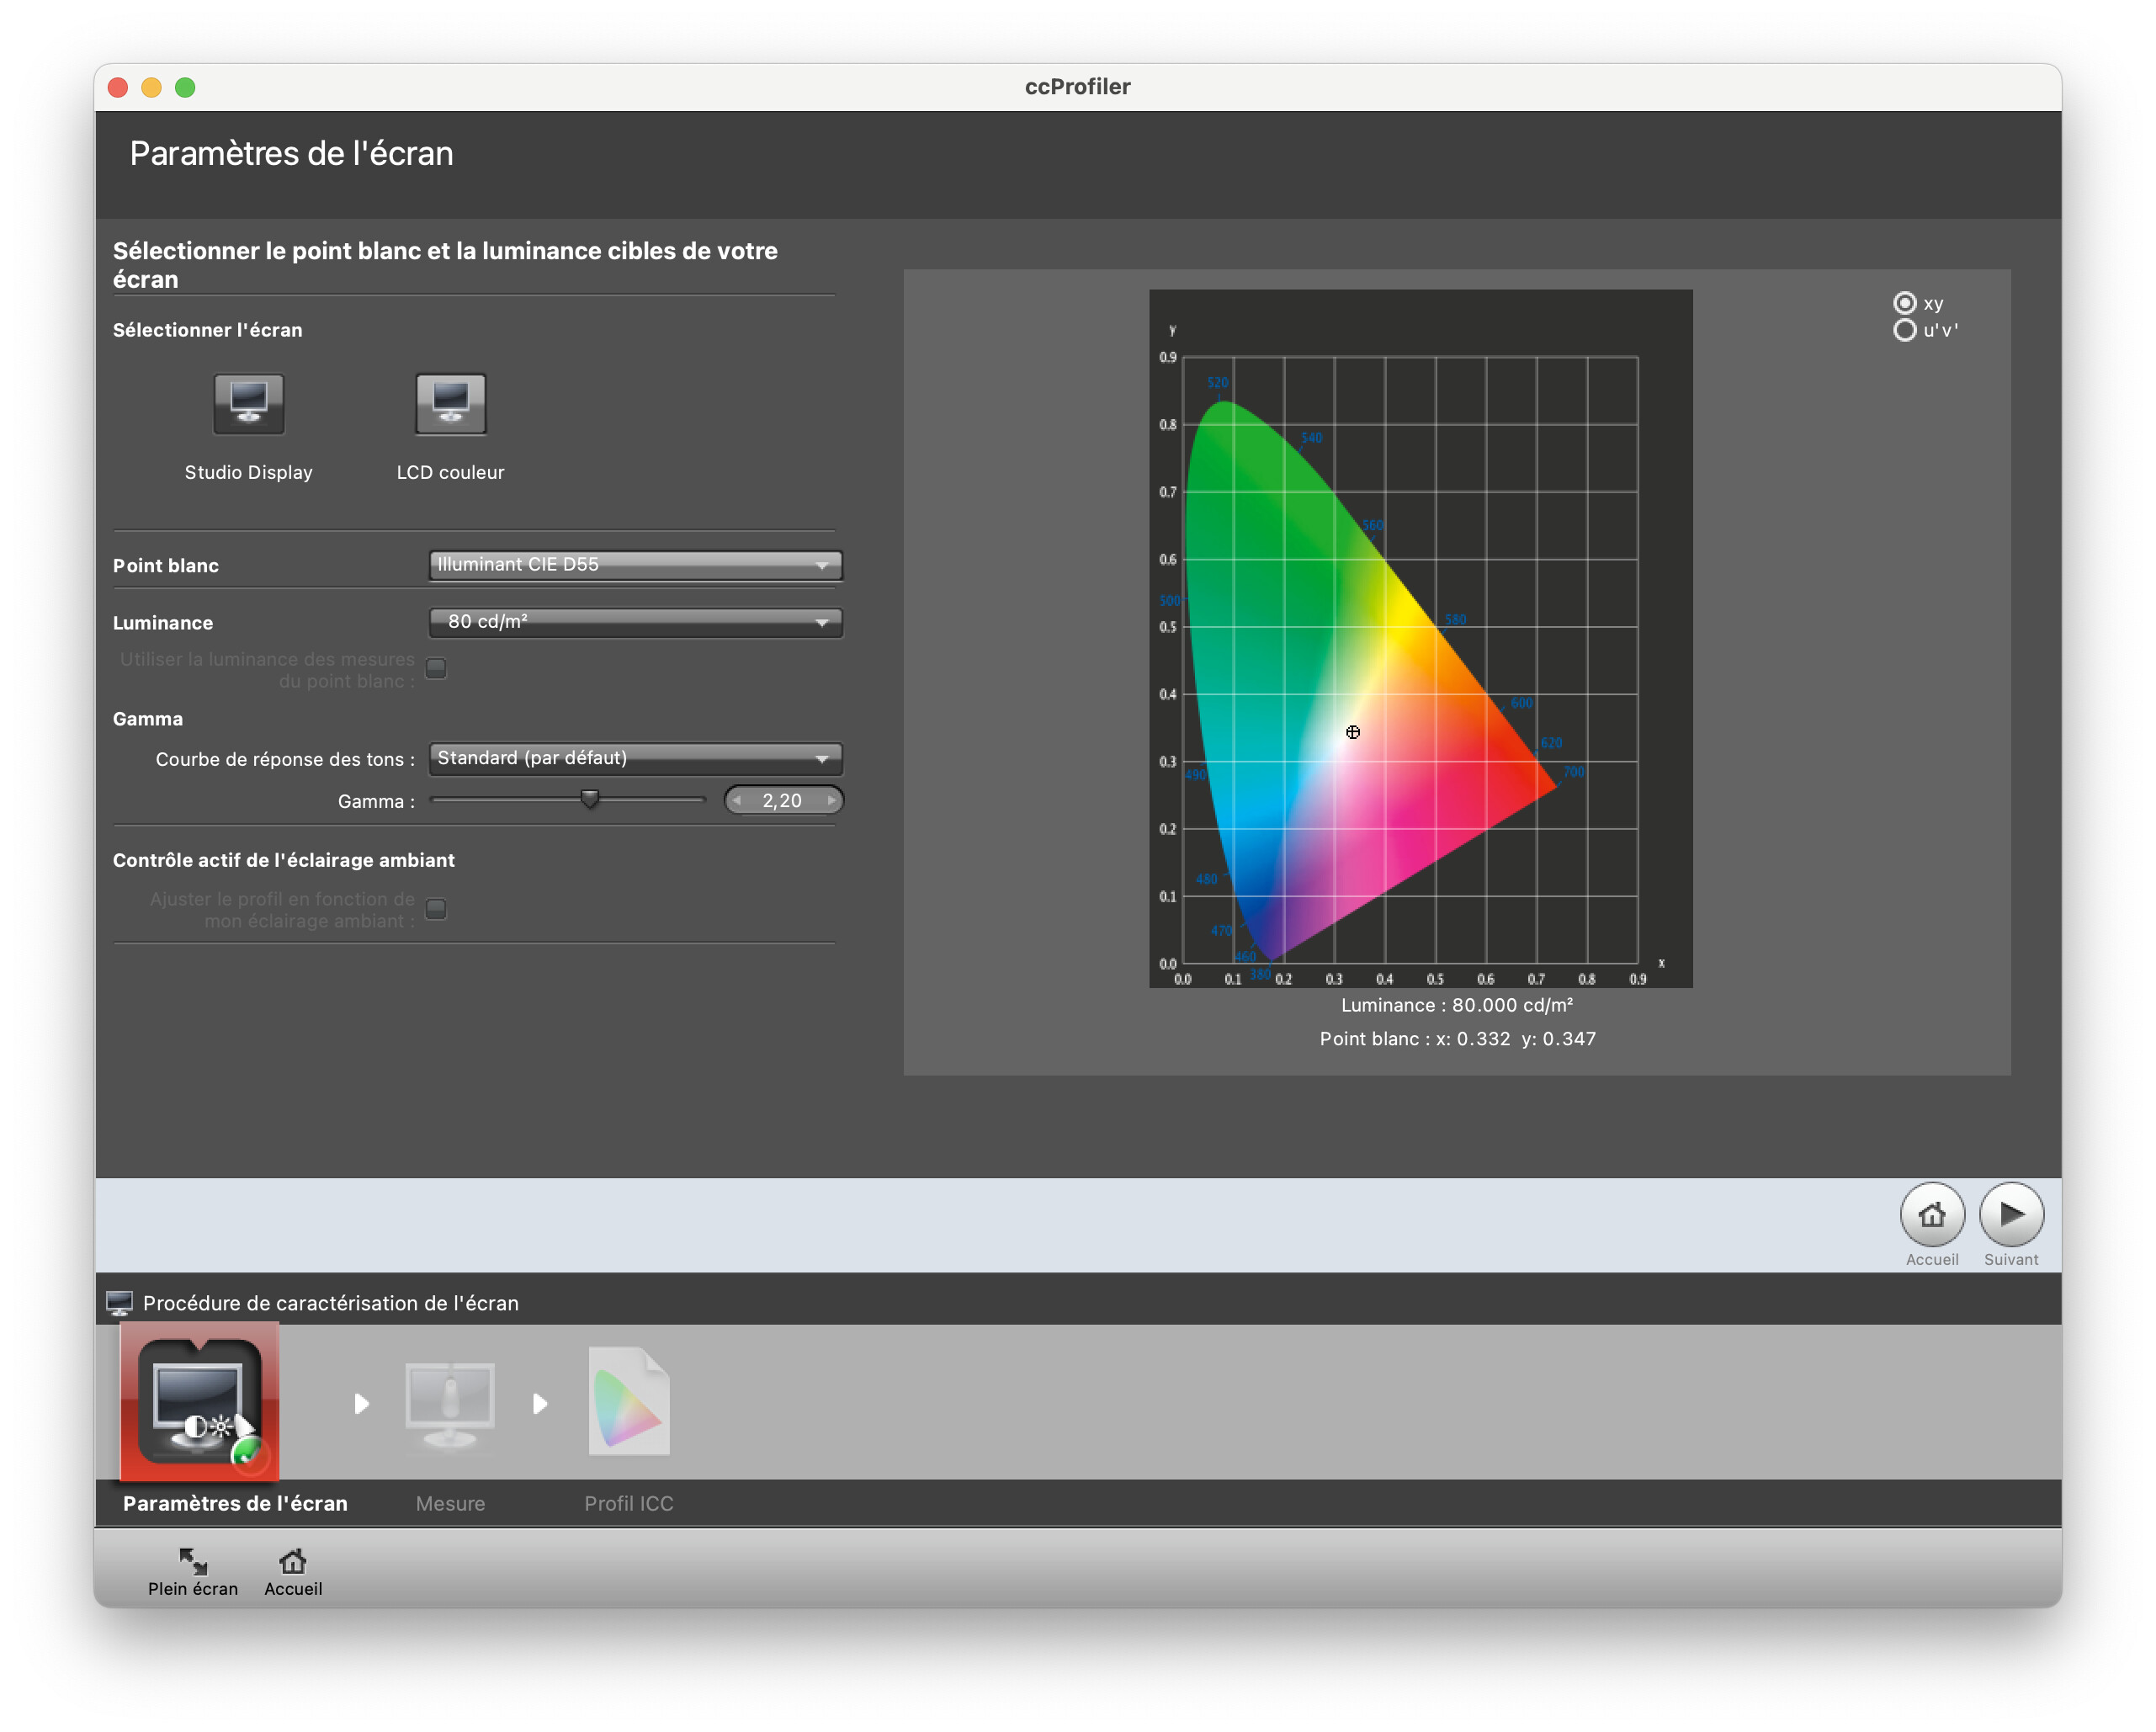
When printing reduce the brightness to 80 - 100 cd/m².
Searches tell me your monitor can display about 99% of the sRGB gamut but only about 70% of Adobe RGB. Thus, as @Wolfgang has already said, calibrate to sRGB and keep the brightness down. Also, as @anon78744791 has said, the ambient lighting is crucial if you are printing, i.e. that too has to be kept down and must be even and as close to ‘daylight’ as possible.
if you are printing then your “calibration” shall match either your print viewing station or final print viewing conditions ( where you intend to hang one )… that is what dictates cd/m^2 and white point … plus if you are printing then you shall deal not with “sRGB” gamut, but what your paper+inks deliver vs what is in your output
in any case a user that works with a non hardware calibratable monitor like this shall not bother much.
Personally I find 6500 to blue to be able to process images well. It means I push my images to warm. When I do print them, they are yellow. 5200 Kelvin is too warm, resulting in very blue images when posted to the web. I don’t want to double process (once for web, once for print) and have found 5800 Kelvin to be about right for prints which are pleasantly balanced. The output for online works out okay as there is an automated conversion to sRGB when creating the jpegs.
Not sure what you meant by “…a user that works with a non hardware calibratable monitor like this shall not bother much.” I think you are saying that I can get reasonable calibration from the monitor itself and don’t have to use an external to calibrate?
I agree with you. I really don’t do much printing, but I have noticed that when editing a RAW, the original images could use a little “warming” because they generally appear slightly too blue. I’d like to be able to set to 5800-60000K, but unfortunately, the i1Display Studio software only allows for 6500K, 5500K, 5000K and 900sK. So, I guess, I’ll have to stick with 6500K and adjust accordingly.
When editing images that will be viewed on any sort of screen by other people (meaning I have no control over how their screen is calibrated), I set the white point to D55. I also use this white point for when clients want to display images (that I’ve supplied them) online and need to print a few for their needs (eg for a future event invitation, etc).
I did a fair bit of reading in this forum and other sites I respect such as this ( How to Calibrate Your Monitor (photographylife.com) for guidance, followed by experimentation myself to get to the settings that worked best for me. I can recommend you take advice from others and then experiment to find what works best for yourself.
As others have said, a darkened room helps a lot, and not having your screen too bright (especially if you are intending to print your images).
Persevering with this is worthwhile as it takes so much guess work out of your workflow which then makes editing quicker, better, more rewarding and easier (and if printing, will save you time and money regarding print costs). Time spent now getting this right for yourself will quickly be saved later on.
And if you are printing, then a lamp like this is money very well spent too. It will allow you to view the finished print under controlled conditions and this will ultimately help save your sanity
Too warm or too cold is also very much a matter of what you are used to. If you switch to something that looks too warm, after a while your initial setting will look too cold and vice versa.
Again: for more options try DisplayCal. You will likely find step by step instructions for the i1Display Studio.
Unless you have software that can switch the mode of your monitor on a per application basis. I have a Dell monitor and associated Dell software that does that. Using that allows my to run my Dell monitor in Adobe RGB mode when I’m using one of my photo editing applications (PL, Affinity Photo, etc.) but for everything else it defaults to sRGB.
So far my solution to quickly changing monitor profiles has been to make a desktop shortcut icon of the Color Manager. 1 click to select icon, 1 click to select the new profile, 1 click to select as default, 1 click to Close…a total of 4 clicks. Would like to have the icon on the Taskbar, but can’t find out how?
Would love to be able to do that. However, there are those files/directories that can be placed on the desktop as shortcuts, but need some special attention to get onto the taskbar…and this is one of them. In other words, not everything that can be placed on the desktop as a shortcut also can be placed on the taskbar. I don’t know how to get this one on the taskbar.
What version of Windows are you using? If you are on Win 10 then you could activate the Quick Launch Toolbar, which will appear on yoru Taskbar, as described here:
and then drag the Colour Management shortcut from the Desktop onto that toolbar.
If you are on Win 11 it is more complicated and it requires a third party utility but it still can be done, as described here:
Hey, Stuck, thanks for the Quick Toolbar lead. A bit of work, but easily doable. However, for the time being, I think I’ll just stick with my present method of getting to Dolor Manager. But, if I change my mind, at least I have the path to solution. BTW, W11 (latest version)
Think I just came upon my solution re: Color Management onto Taskbar. Again, I want the ability to quickly change between my 3rd party calibrated profiles. And, to do that, I need to go through the taskbar.
When opening from the TB, it will list all your profiles with the current one being highlighted. Simply select another one as desired. 3 clicks: Open app, select new profile,close app.