It would be quicker and easier to select the sky using a control line and then invert that to mask the stones and foreground. Fairly sure that would give you a clean mask in one go.
Yes, I know, and generally it’s faster. In my example, however, we don’t have a uniform, brilliant blue sky, and the mask still needs to be refined (at least partially).
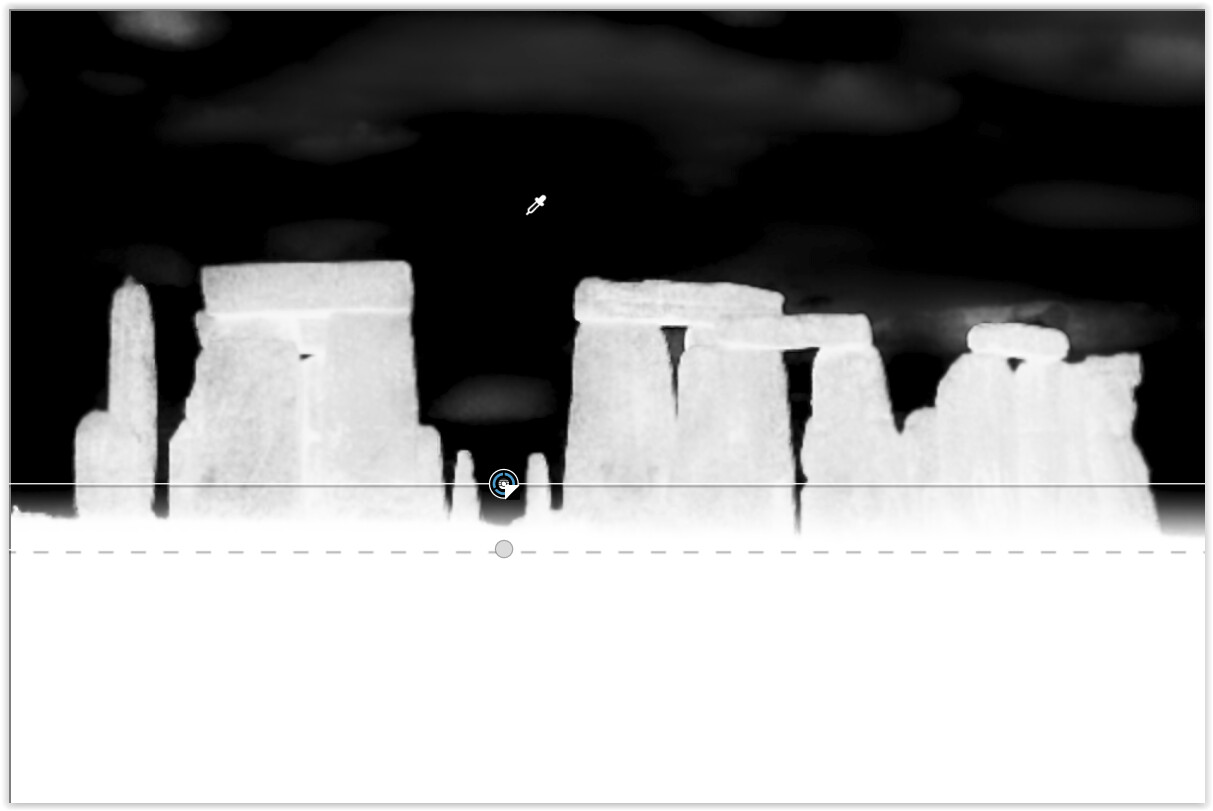
The goal was to show how easy it can be with the Automask. 
My sincerest apologies for posting an incorrect reply. How it happened is only important to me so I don’t repeat it.
Hmmm… now I have to look up how a control line works.  Still new at this.
Thank you for the instructions. I pondered a bit about what was being presented, but I think I got it now.
In general, it takes some time for the AI masks to show the final outcome. Check the exports, it may be better than what you see on the screen. WYSIWYG problem again (unverified).
1 Like
I believe the most common cause of halos is too much contrast between light and dark areas. While you have received many replies regarding masking, have you reduced the contrast on your photo and see what happens with the halo? May be worth a try. I tend to never touch the contrast slider (it can be too aggressive) and use the tone curve (in Adobe Camera Raw) to add or reduce contrast. A much better result IMHO. I am sure PL has a tone curve tool.
PL has a global tone curve tool, but not a local one (so you can only change the whole image, not locally).
What we see in the masks can be a lot worse than what we get if we adjust and then export the images. Nevertheless, halos exist and so far, AI and NI need to decide what to include in a mask, which is usually not a pixel precise clone of the maskable object.
For the time being what we get is what there is…and we can expect things to improve over time. We’ll see new releases of PL each October (or so) and other products will be masking more precisely (or not). Time will tell.
I did read of an interesting and alternative approach to masking which might help a bit with halos.
- Create an AI mask as usual.
- Use a Control Point (or points) to create an area within that mask that signifies the centre or main points of interest of your mask. Have this within the same group as your AI mask.
- Select the control point mask.
- Invert the shape AND invert the mask.
- When you view your overall mask of your object, you should now have a mask that’s focussed on the centre of the control points but tapers off around the edges, like so:
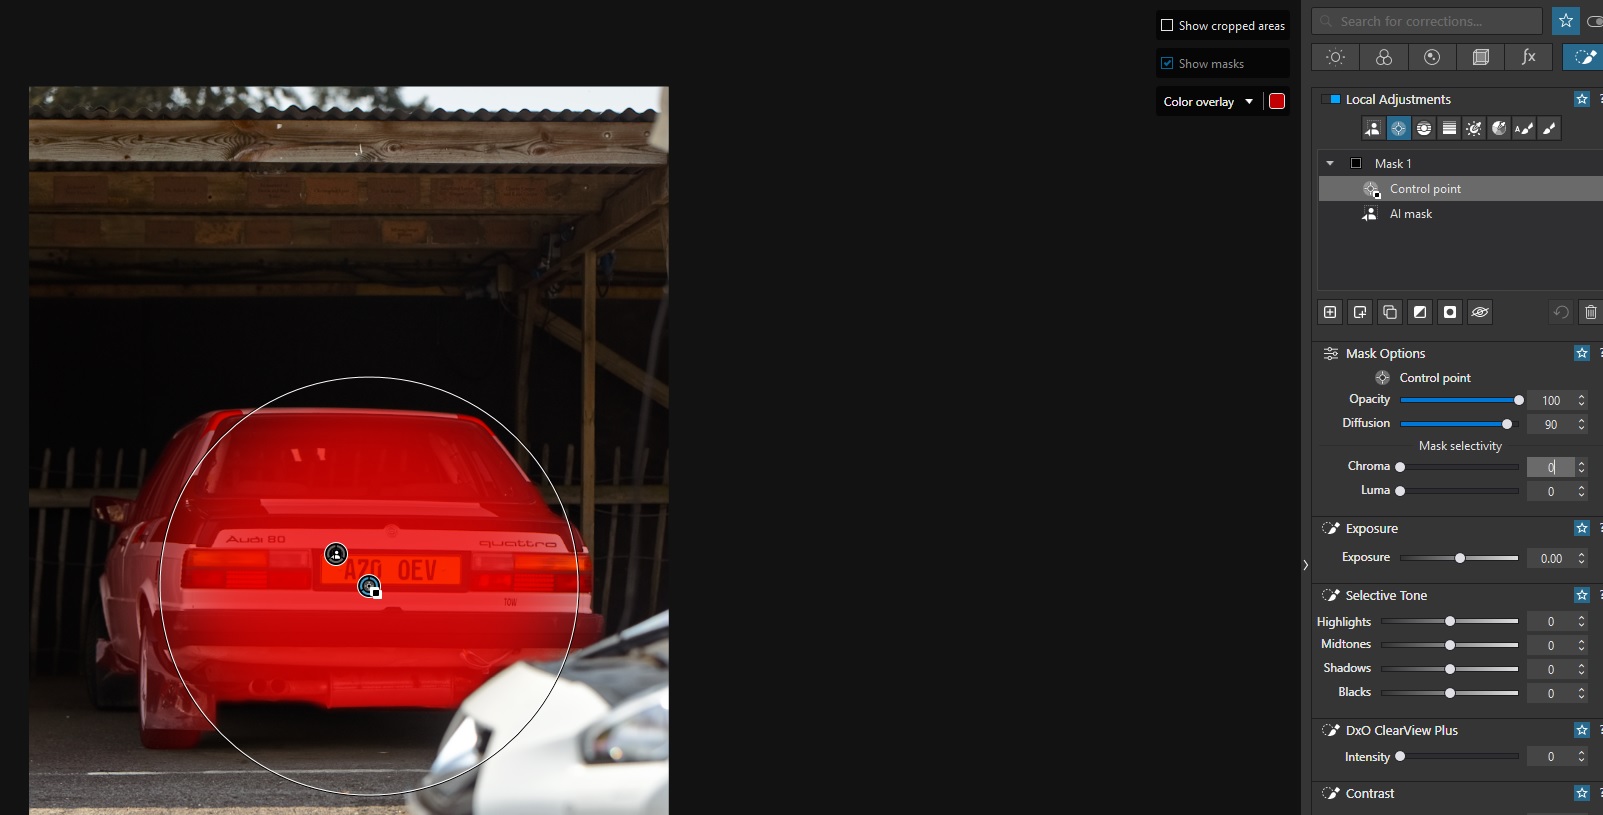
You can now edit your object but the changes should taper towards the edges, creating a more realistic look than if you’d not used this method.
Final image with this method (A) and without (B):


This could help with halos too.
3 Likes
Thank you for the alternative. I’m slowly coming up to speed with control points and lines.
I’ve made a lot of progress in the last week or so. So much in fact that I’m going through ALL my photos and making adjustments. I am very pleased with PL9. Thought I might go back to LR, but it’s not necessary.
2 Likes