I’ve seen videos online where people are clicking an AI Mask (i.e. sky), then choosing the control point to protect areas that the AI selected and clicking on the image and it applies within that mask group. No matter what I do, it adds it to a “new mask”. I know I can click New sub mask, but there is so much manual clicking around, I’m trying to find a way to make it simpler
Use the shift key to add to the selected mask
3 Likes
Yes, but that only works with a couple of masking tools, not all of them
Thanks for the tip Jeff. Frankly I find the PhotoLab masking tools confusing when trying to subtract myself. It would be great to read or watch a first class tutorial whether written or video.
I’m still on PhotoLab 8.
1 Like
@raidersdp: The shift key works to add a submask for all 8 mask selection tools in PL9. (Mac version at least).
The "option key (Mac version) allows a negative mask, called “Invert Shape” for AI shape, CP, CL, Autobrush, and brush tools.
For GF, Luminosity, and Hue submasks, had to create the submask with the shift key as a positive submask, then invert using the new tool - “Invert Shape”. After applying the invert, the handles for adjusting were still available for tuning.
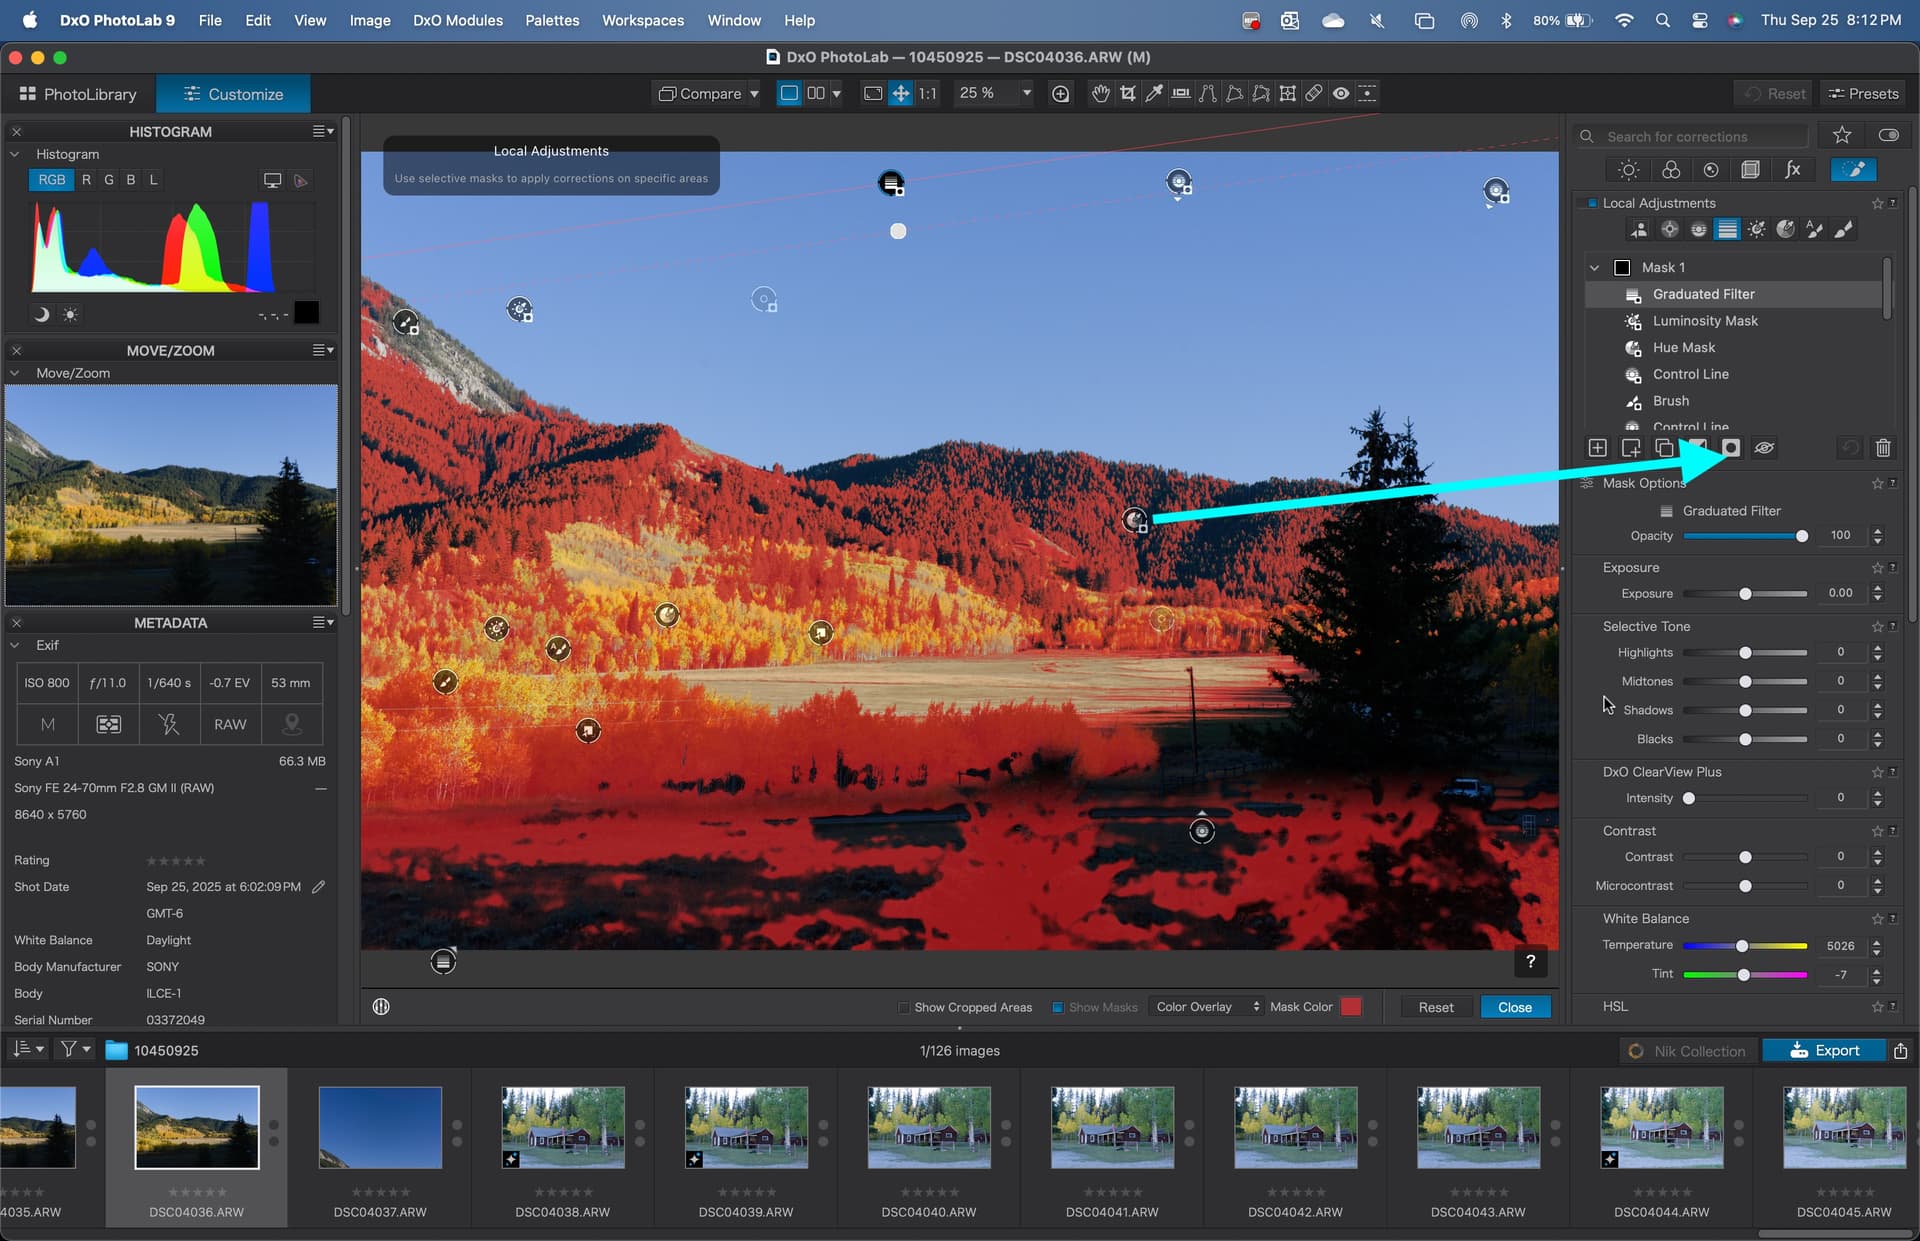
Screenshot shows a single mask with all 8 selection tools applied as both a “positive” submask and an “inverted” submask. (16 total)
@uncoy : There is a new invert (subtract tool ) for submasks in PL9. Results appear to act like the traditional negative control points or eraser brush. Mechanics described above. The eraser tool is gone; replaced with "inverted brush or auto brush.
When adding a brush or autobrush, pausing between strokes and then using the “Option” key toggles the action to a “negative” brush just like the old eraser.
If starting with the "negative version of these tools (started with the option key active), pausing between strokes and releasing the option key reverts to a “positive” brush.
If working with an existing mask, the above can be combined in one submask if desired. That is, add positive strokes in one area of the mask, and add “negative” strokes in a completely different area to erase the mask.
When starting with an existing mask, the CP default becomes a negative mask.
There are several YT folks showing usage. The manual, and practice worked for me. Seems very intuitive to me after a few weeks of use.
4 Likes