i am now behind my PL desktop and some extra info:
In this version above we didn’t had the circle which showes the “feathering” amount before the masking.And neither the outlining which is following the feathering changing after brushing. so it’s evolved to a better control.
The cleanup masking it time sensitive.
So first clean up the source area then the bigger part.
Repair is looking at the luminance and colorstructure and tries to blend in the donor patch.
Clone is more a 100% patch replacement.
by zooming in to the max and repair the edges first it easier to repair the surounding area’s.
example video
And after larger pieces of cloning you can repair the “repeated marks” out by masking them after placement masking the cloning patch from its original structure.
one tip extra: if your cloning is needed but the luminance is off so you see the patching.
reminder: controlpoints are color driven so hit the lighter or darker patch with a control point and blend it in with exposure/contrast/color changes And you can always go back to the patch and readjust opacity and feathering or change to repair vs clone.
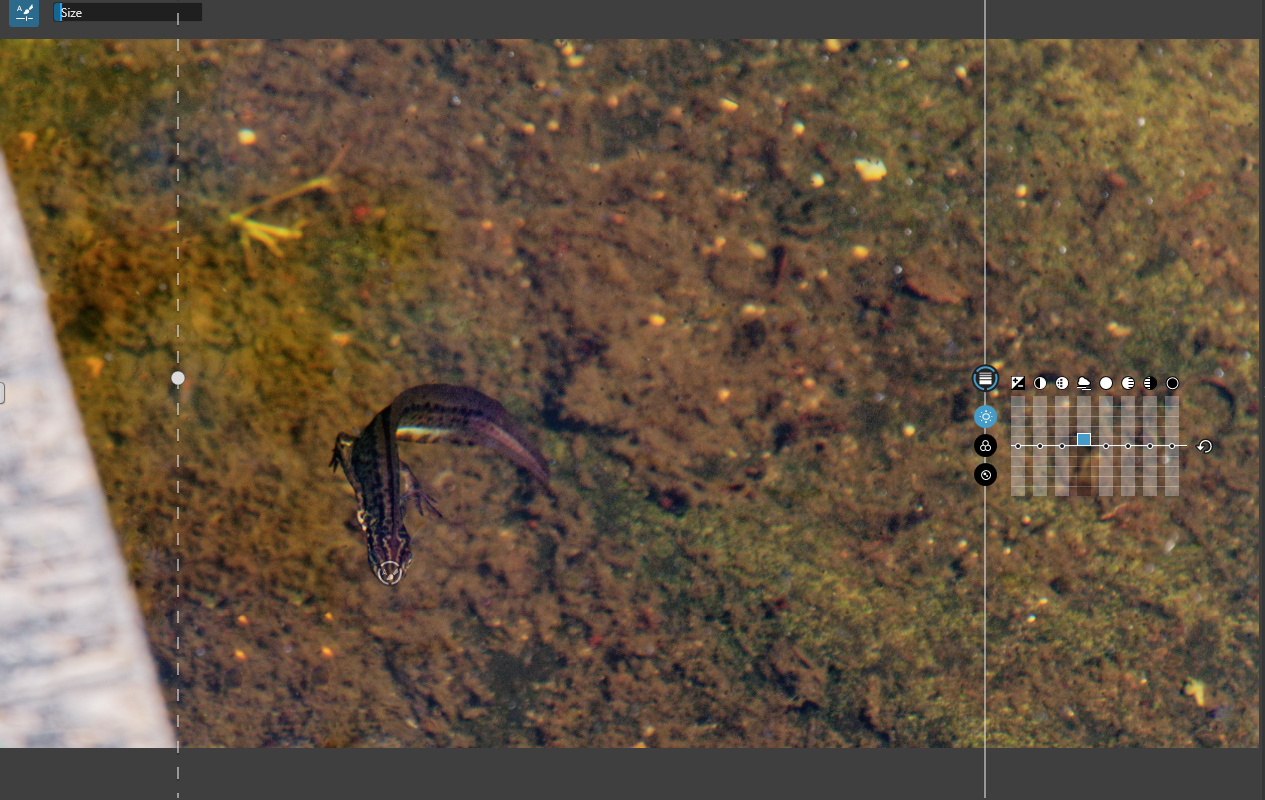
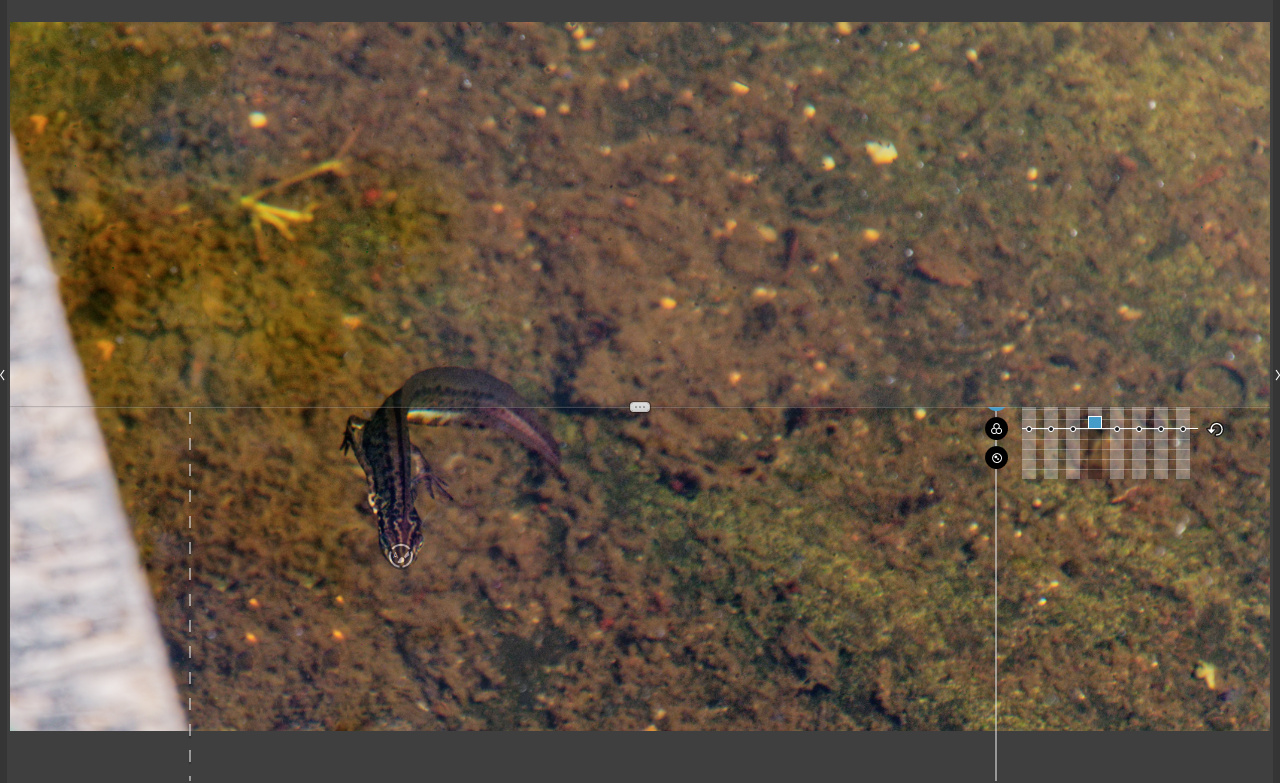
And if controlpoints doesnt cut it automask works fine:
To see which part is effected use exposure or saturation slider:
Saturation does keep details of the object visible:
example video
Remember also clearview works with local adjustments filters
this is no repair and cloning feature:
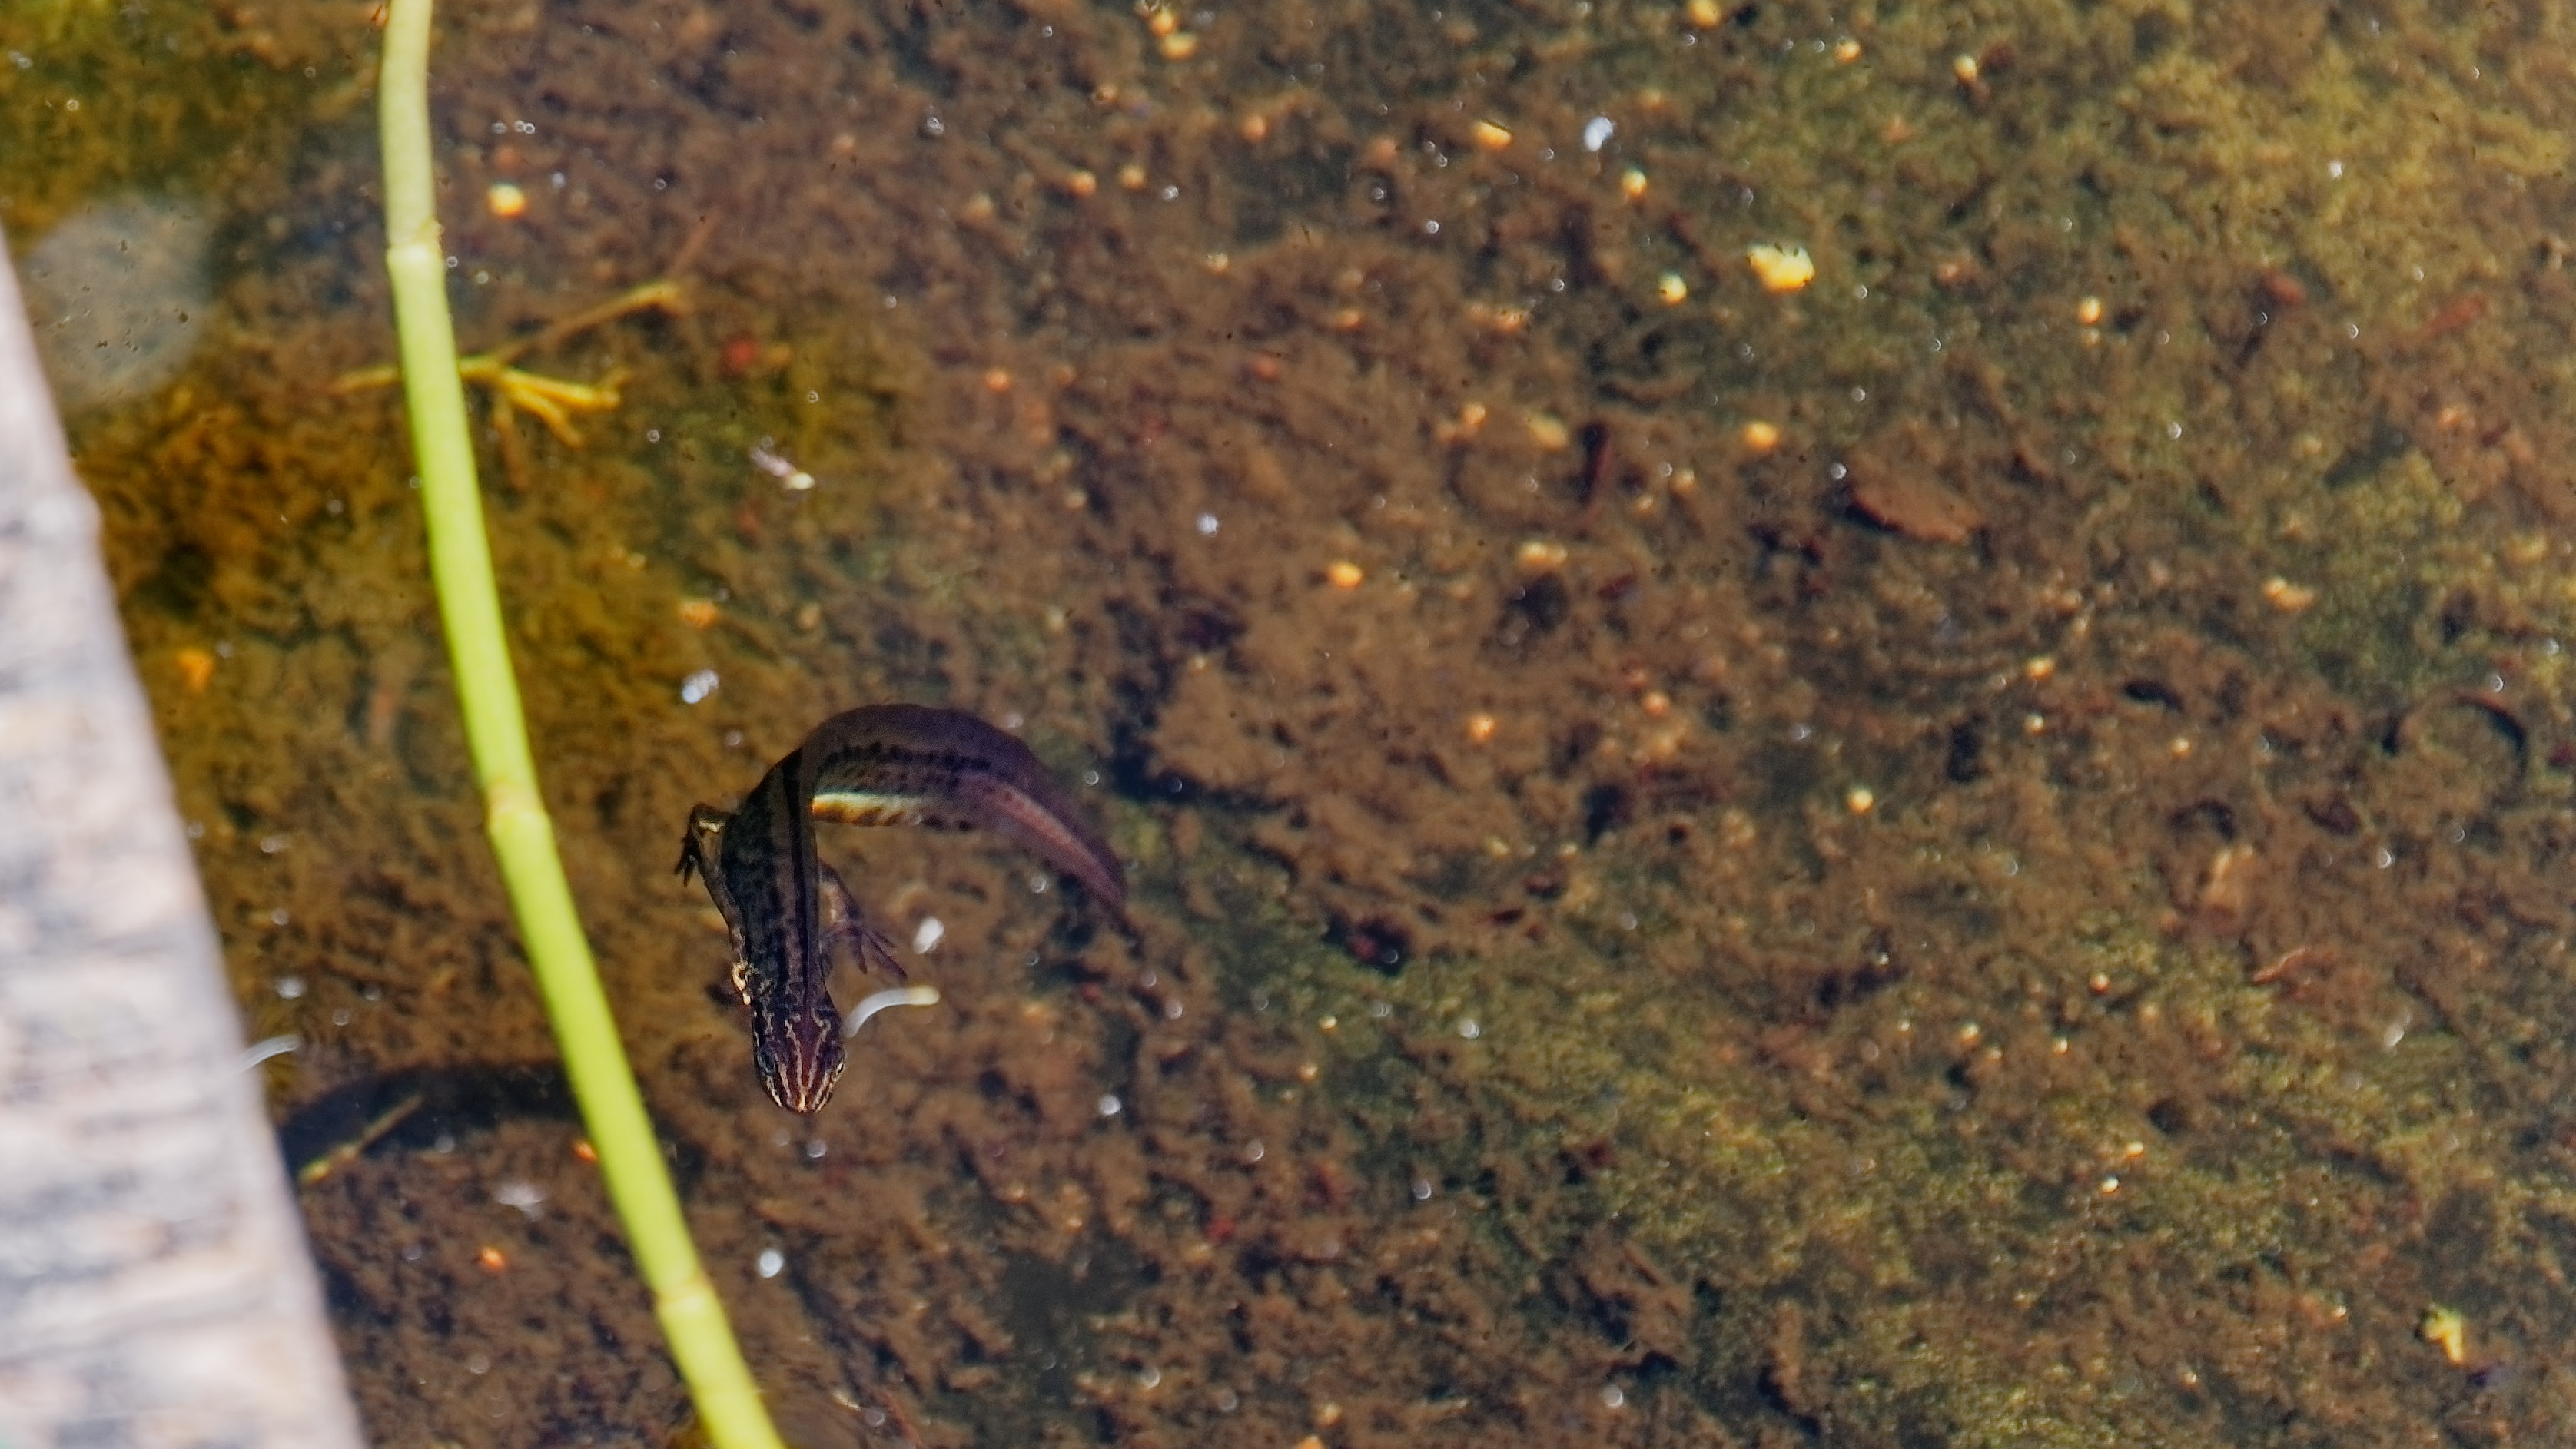
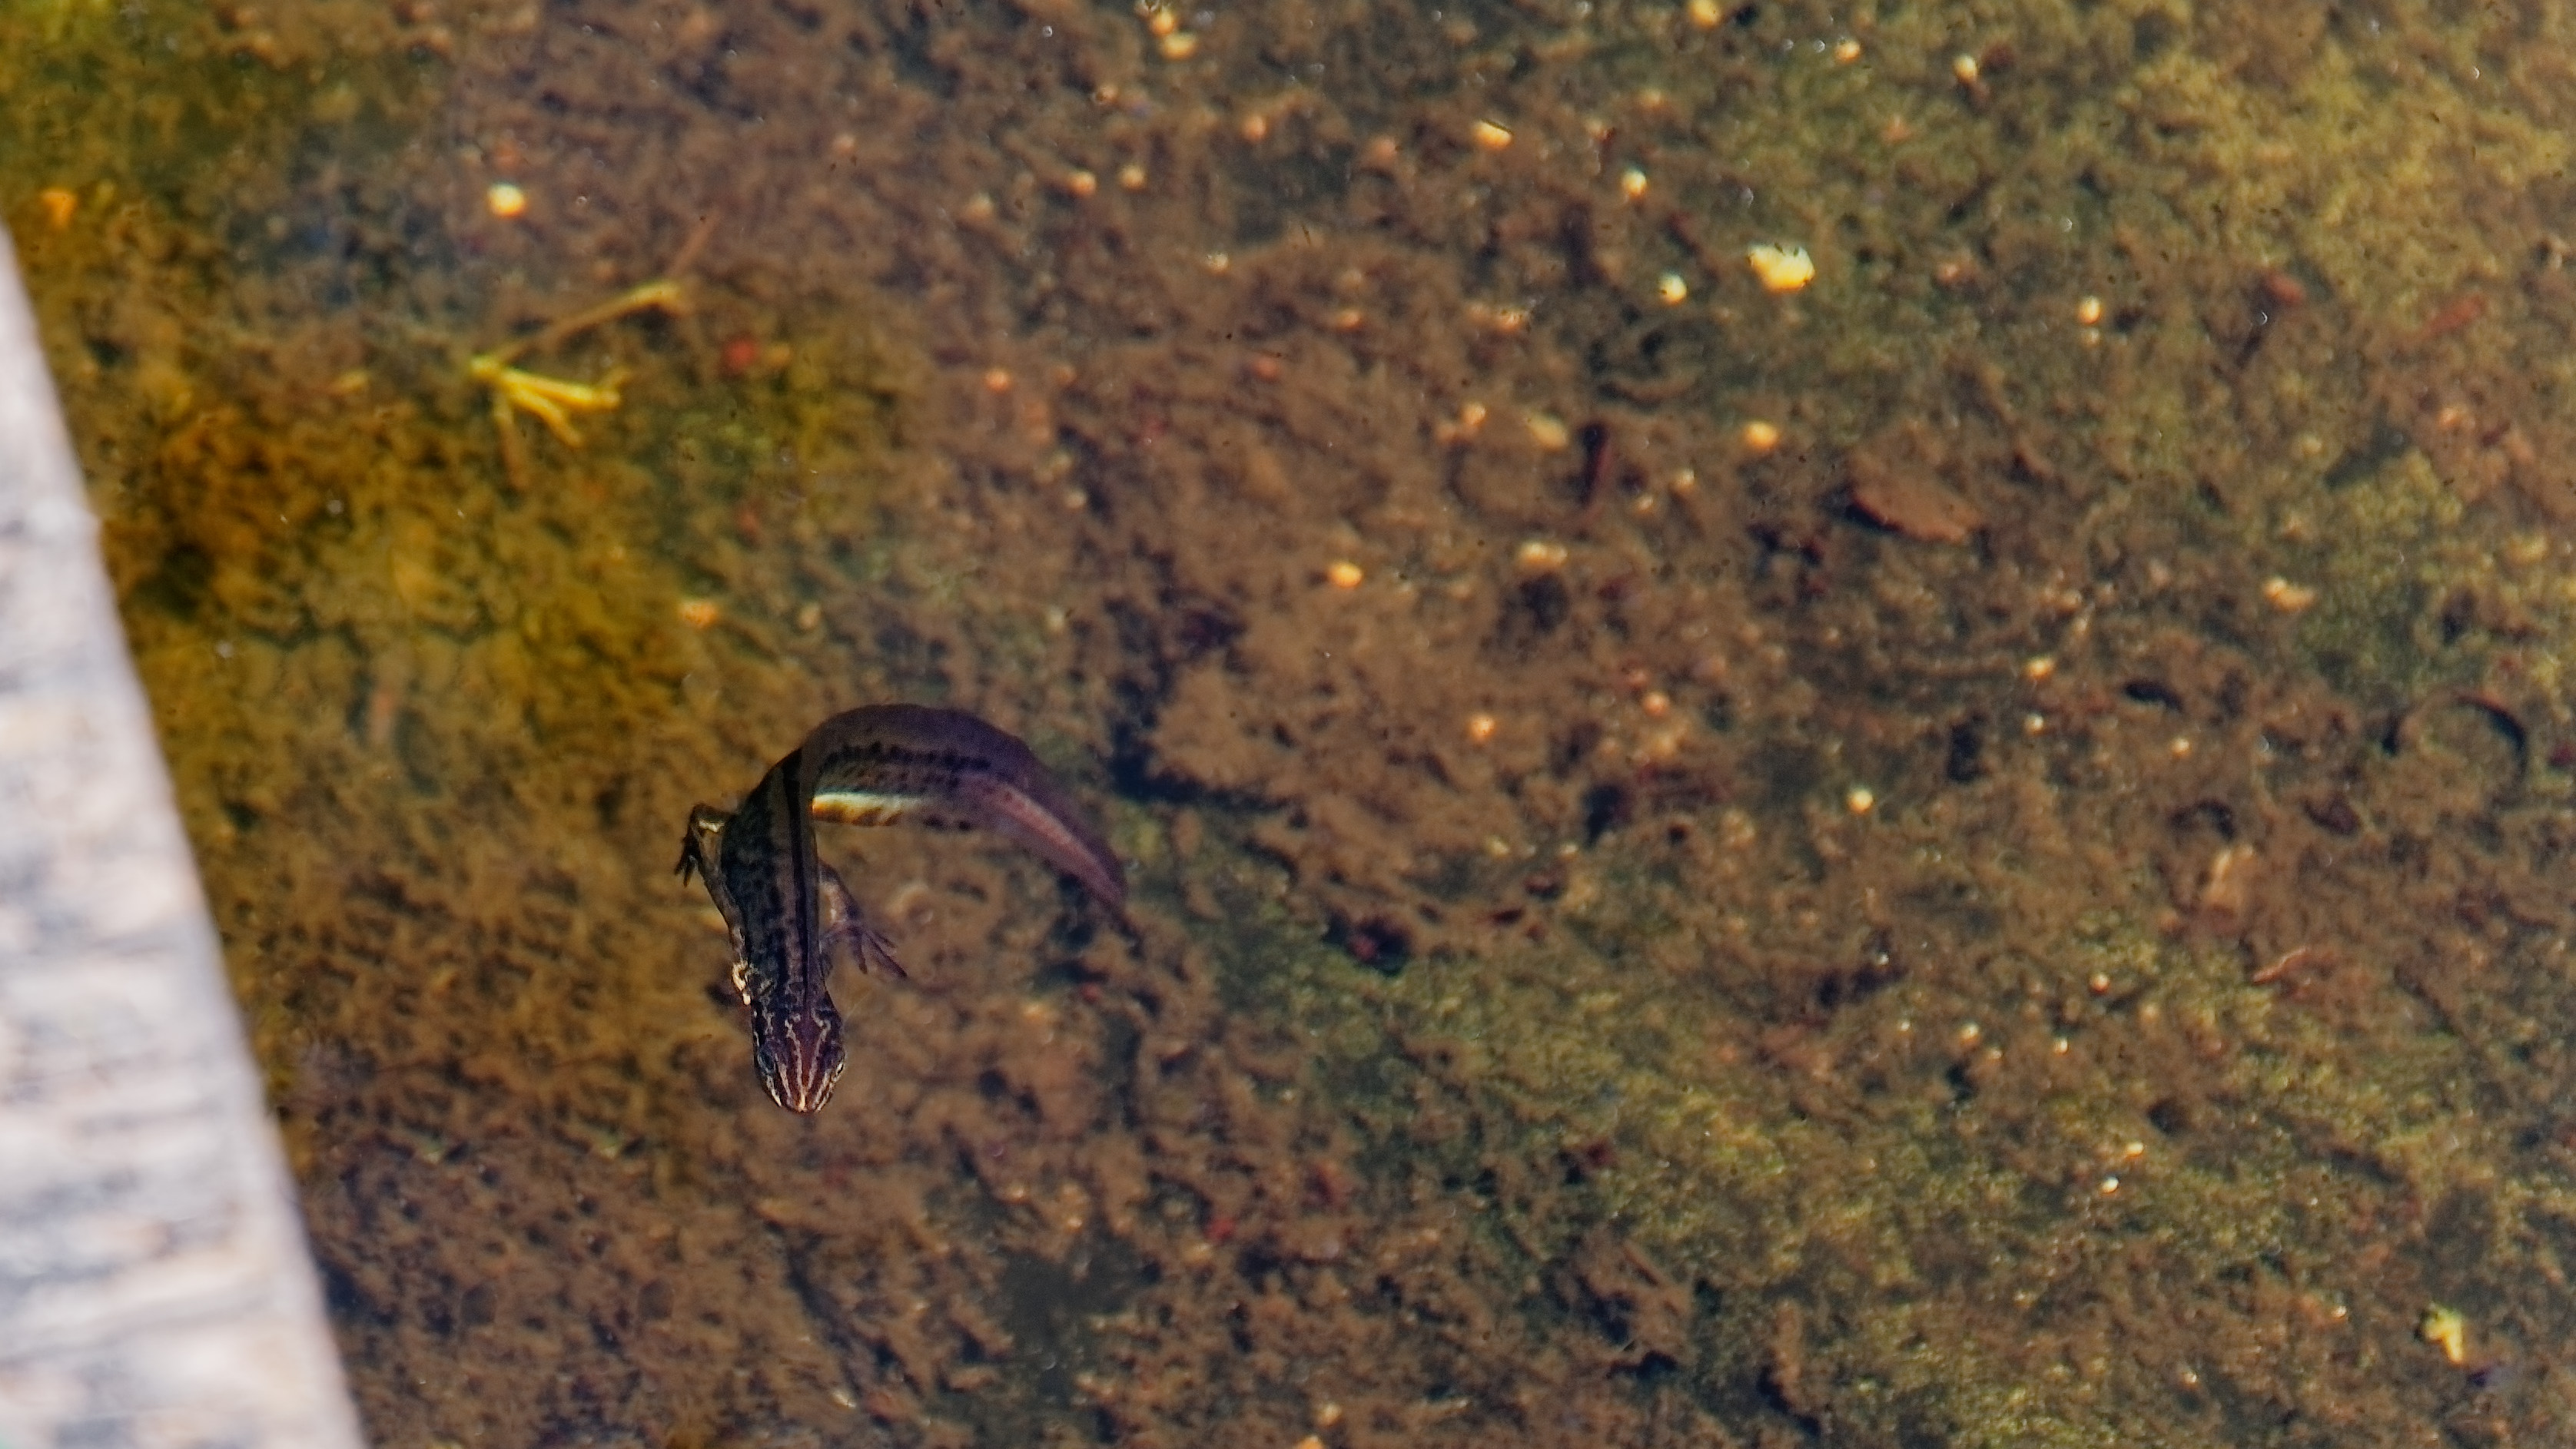
And my finalized image with repair cloning: