Also not being young any more, I suggest to use the best monitor that fits your needs (you can afford).
→ How many of you uses a big or dualscreen mode and hoe many is working on tablet/laptop? - #82 by Wolfgang – It’s Your interface to the digital picture world.
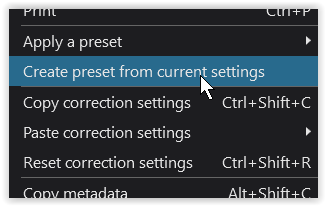
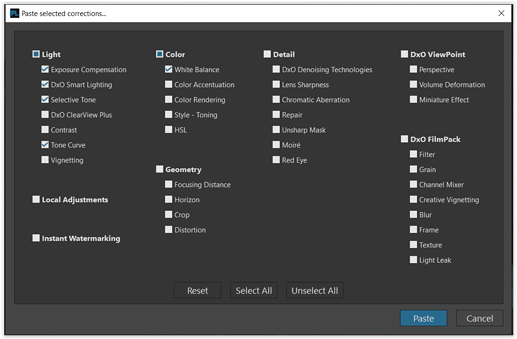
Concerning presets – there are some tips in this Forum about ‘full’ and ‘partial’ presets. As I never made one, you’d better start a search → Search results for 'presets' - DxO Forums.
– Maybe simply choose a ‘representative’ pic for your series, apply some basic adjustments and copy them to the other ones.
and / or

Ok, enough of the preface – PL’s histogram shows your exposure was fine (well, some leeway left to the right – could have had more exposure compensation in your cam). But been an afternoon shot, I tried to keep the ‘mild’ light in post.
-
‘sensor spots’
When I pulled the exposure to see what’s in the pic, I could spot something – and repaired it.
Now, as I copied ‘my version’, deleted those repairs and scrutinized them carefully / compared instantly, I could identify tiny bits of clouds in the otherwise blue gradient.
→ I’d better be careful with late night editing!
Completely forgot about your UV-filter – no, at F5 you shouldn’t see anything like spots (maybe some general diffusion like from a dusty front lens and not using a lens hood). -
‘far from a smooth gradient’
Well, how to explain? … [ May I ask you to also check → Understanding Selective Tone control - #61 by WitheringtonM ] … The Selective Tone sliders do overlap (not sure, but I think also those in the Local Adjustment tools). Anyway, this functionality can lead to confusion.
Interestingly this “strange line” appeared first roughly in the middle of your gradient – a result of your settings. It looked like a tone value separation, similar to when reducing tonal values and turning a linear gradient into steps with slightly pronounced ‘edges’.
Luminosity 255-0 in steps.tif (1,1 MB) -
‘Vignetting/Preservation’
Checking the blue sky at some point, the corners appeared brighter. Instead of adding an additional vignette, I checked the auto-vignetting-setting and changed that to taste.
– Make a VC, set it back to Auto and see, what you prefer.

