Well, sort of but not quite ![]()
- When you place the first control point, it will adjust the tone under the point, wherever it finds it within the circle.
- When you place a second control point, it will add the tone under that point to the list of tones to adjust.
So, here…
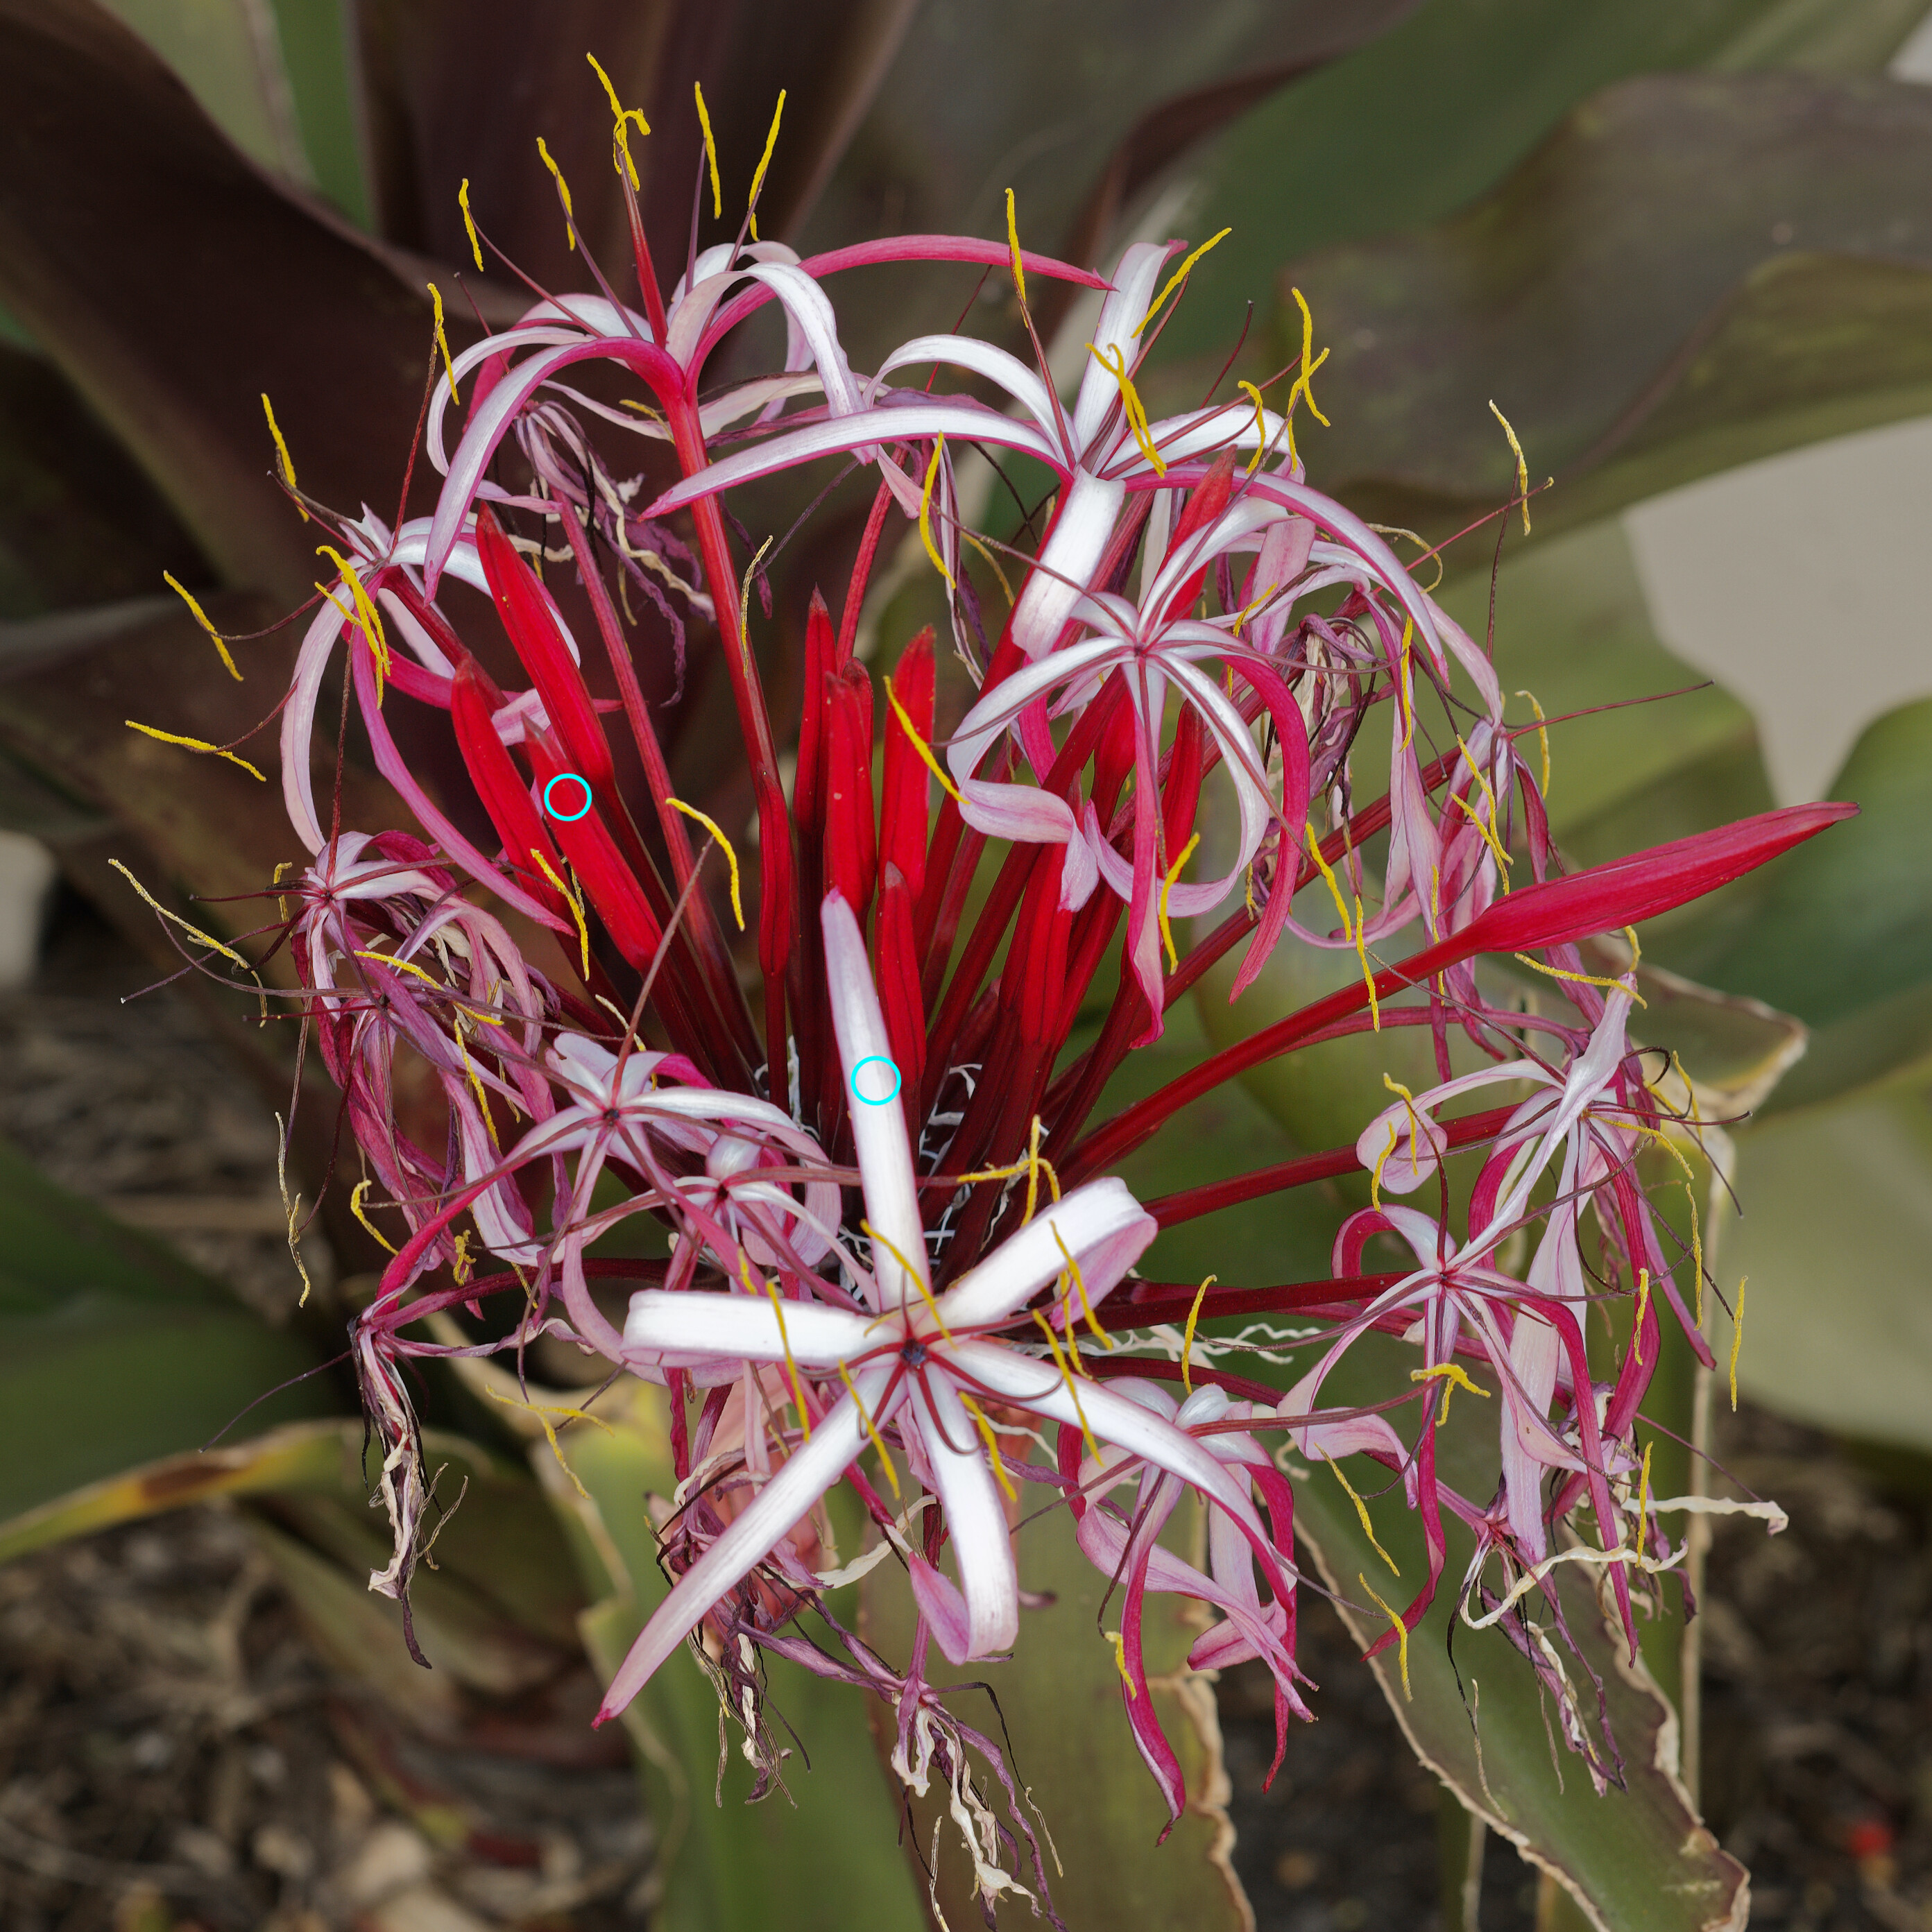
… I want to adjust the tones for everything that has tones similar to the points where I have drawn the two cyan circles…
So, switching to the mask view, I placed the first point on the red petal (viewpoint tool) and the second on the pale pink petal (red circle)…
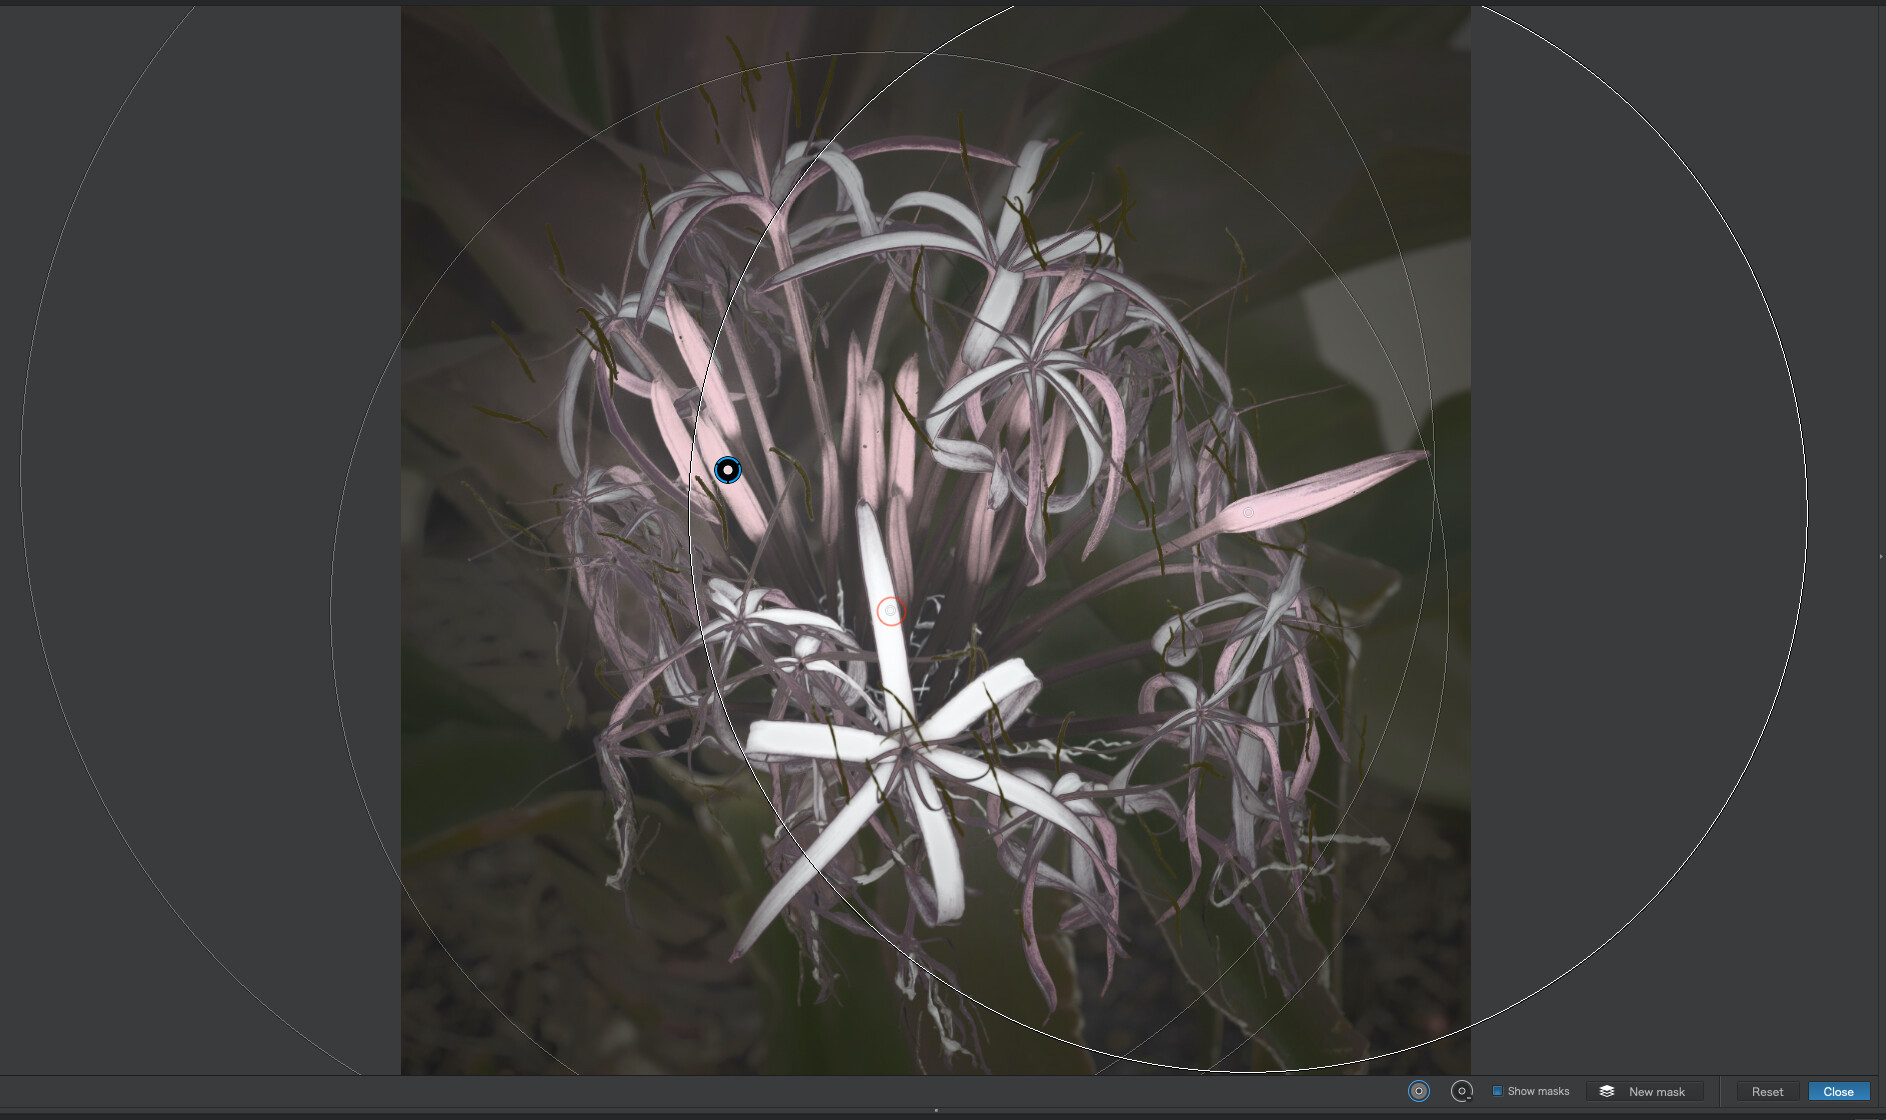
At this point in time, the settings for the point are irrelevant, you are just trying to select the areas that you want to adjust.
As you add points, you see the areas under those points become lighter. This is the signal that they have been selected. You will see the not just the petals immediately under those points become bright but, also, anything of the same tonality within the radius of the circles from those points.
I then continued to add control points to other parts of the flower head that I felt needed to be part of the selection to be brightened.
No, it isn’t obvious, which is why it has taken me some time to get to grips with it myself. But, as soon as I saw that, I suddenly realised just how powerful control points are!
If one shade shows bright in the mask and the others show duller, then, yes, you should continue to add points to other colours or shades until they all become the same brightness in the mask, indicating that they have all been selected.
Then, turn off the mask and start playing with the adjustments on the equaliser.
As I have said, this is relatively new to me but, now that I’ve found how to make it work, it has changed how I edit “complex” images like yours.