Part 2 - Off-Topic - advice, experiences, and examples for images being processed in DxO Photolab

Am I talking to a fool??

What does my link say???

nikonclspracticalguide.blogspot.com

1. Nikon Flash - Two Separate Metering Systems

After several years of using the SB800 with my Nikon D200 while shooting weddings and events, and after writing numerous posts about this on…

Cls means creative lighting system.

I’ve to give up again.

George

1 Like

My definition of my “creative lighting system” is the button on top of my cameras that causes the flash to pop up. For the Fuji, click on the setting for “fill flash”, and let the camera sort it out.

If that makes me a “fool”, so be it.

All this “stuff” is getting way too combobulated. I would rather enjoy photography, than struggle with it.

(Years ago, I had a very different attitude.)
(Years ago, I clicked on every link I was sent - no longer.)
(All of you are way beyond where I’m at.

I bought the D780 because it was a step up from the D750.
Only recently am I learning about all this other stuff that comes with it.

I don’t consider myself a “fool”, but am certainly getting burnt out with all this technology, and the new books I ordered explaining the D780 are just beginning to make sense to me.

…seriously, I know, and have read, how multiple flash units can improve an image, but I’ve got too many other things to assimilate before I add to my list. Not sure if this makes sense. It’s difficult to describe “feelings”. The closest word to it as it applies to me, is “overwhelmed”. Eventually all this will make sense, just as eventually PhotoLab started to make sense to me.

I want photography to be “fun”, and “enjoyable”, and “creative”.
Sorry if that doesn’t make sense to others.
But at the same time, thank you all for taking the time and effort to help.

Please don’t “give up”. Eventually I will catch up.

Yes, so be it.
Cls is a way Nikon flashes work. That popup doesn’t work like that.
Don’t give another definition or interpretation for a name coined by Nikon. That makes any discussion or helpfulness impossible.
And damned, READ THAT ARTICLE. It’s very simple written.

George

1 Like

Read the article - very nicely written. Then I read it a second time, more slowly, and trying to think things through.

I guess the article should have included the pop-up flash, as so many people are limited to only that.

A few follow-up questions…

TTL - I know it means through the lens, so the flash presumably is getting information back from the camera as to what is happening due to the flash, and the flash also knows the focal length of my lens, focusing distance, and other things. I assume the flash uses this data to allow it to only provide just the right amount of light? Same as “iTTL”.

About the two images - the top one appears as a typical flash photo, while the second one is crafted with additional lights to light up the parts that the camera mounted flash did not. I’ve always thought that to accomplish this, I would need additional flash(es). Yes, I know the bottom image is better, but most of the time when I use a single flash (mounted to the camera) I get images like the top image. …which is why I used to raise the built-in flash, using it to “fill in” more of the photo.

Quoting:
The first concept to wrap your head around is that when you take a flash picture it is actually a combination of two exposures; one from available light (also called ambient) and the other from flash. Already you may be able to see intuitively that flash photography will be easier in the dark, because the contribution from ambient is zero! This concept is critical to understand.

Yes, it makes sense, and no, I never thought of it that way before.

The first concept to wrap your head around is that when you take a flash picture it is actually a combination of two exposures; one from available light (also called ambient) and the other from flash. Already you may be able to see intuitively that flash photography will be easier in the dark, because the contribution from ambient is zero! This concept is critical to understand.

Never thought of this before, but yes, it makes sense to me. By the third time I read it, it started to make sense.

(What is TTL-BL mode?)

Now, decrease the shutter speed to 1/10th sec and shoot again. The background will be brighter, but the subject will be the same brightness as before.”. …because the ambient light falls on the image in the camera for a longer time??

If the flash contribution to the shot will be less than the ambient contribution, then it is called Fill Flash.” This is not how I used to think of “fill flash”, but it makes sense to me now.

“TTL-BL” - what is this? I thought the BL stood for “back lighting”???

All of this makes a lot more sense now, than it did before. Thank You!

It took me all of 10 seconds to type it into Google and find hundreds of answers. You don’t need to ask such questions here

1 Like

READ THE ARTICLE!!!
Intro in chapter 3.

George

George

Both with the SB800, the one you wanted to throw away.

George

Wit a longer exposure of the camera will catch more of the background. The exposure of the subject is taken care for by the flash.
Camera and flash: 2 metering systems and 2 exposures.

Read it a couple of times and try it in your apartment

George

OK. Here are some comments

Taking…

  • Quite a nice composition, with a strong leading line from the bottom right corner. Well proportioned but you could have chosen a “regular” ratio like 5x4 rather than just dragging it without constraints.

  • I see you are still relying on centre-weighted metering instead of ensuring that you didn’t blow the white plumage by using spot metering on the white plumage and placing it at +2EV.

  • You only used f/5.6 and therefore, the background and, especially the foreground birds are well out of focus. You could have had the same exposure at 1/1250sec @ f/11, ISO 10,000 and got a lot more in focus.


Post-processing

  • you set a Tone curve, that is designed to flatten the contrast…

    … but then you set the Selective Tonality to further reduce the highlights and, more peculiarly, reduce the shadows that you had raised in the Tone Curve…

    Capture d’écran 2024-03-03 à 19.36.31

  • You raised the exposure, which was totally unnecessary and further increased the chances of blowing highlights.

  • You then used the global contrast slider to increase the contrast you had just reduced with the Tone Curve.

  • You used the (global) Fine Contrast slider, which will introduce some sharpening on the sea, which you really want to be as soft as possible.

    Capture d’écran 2024-03-03 à 19.36.49

    You only need to use the Highlights and Shadows sliders to add detail into the dark and light feathers.


Here is a screenshot of my version…

And here is the DOP file with yours as master and mine as VC1…

780_2342 | 2024-03-03.nef.dop (29,6 Ko)

I added some notes to my original post on DPReview:

From how I interpret your advice, I could first meter the light as. if I wasn’t going to use any flash. That is exposure #1.

Then, I could use the flash in the way that lets me set the “power level”. I could start at a low power reading, and adjust as needed.

I tried this on my balcony, taking a photo with the flash off, and then attaching the flash set to different power levels. My balcony railing was about five feet away from me, and with power level #1 I got a combination photo of the Miami sunset, and a properly lit railing in front of the sunset.

@George, that sounds like what you are telling me, combining an ambient light photo, in this case, of a sunset, with a simultaneous flash exposure from SB-800 at power level 1.

That’s not exactly what you have been describing, but it’s a pretty clear example of how I think you want me to think about this.

Now, it seems to make sense, thanks to your posts showing me I’m taking two simultaneous photos. I’ll try this again tonight, documenting the readings. The flash was only set to a “power level”. I don’t think it was using TTL.

I guess I’m still a klutz at how I’m making adjustments.

One thing I did very deliberately though, is I wanted the board at the bottom right to end exactly at the corner, and I cropped the image at the left along the edge of the board.

Also, maybe because your image is a screen capture, the “texture” of the large flat board in the middle of the photo lost the clarity in your view?

I certainly did NOT want to lose any detail in the white areas on the birds, but what you did was much better.

I wanted that center bird to stand out more, the bird that seems to be looking at me, but I couldn’t think of a good way to do this.

Guilty as charged. I never even considered this. With all that white, I should have tried. Spot meter on the white feathers, over-exposing by two stops.

The gull in the middle seems cross-eyed! Very obvious in the photo.

I took a dozen shots, and ended up with four that I liked.

That was very deliberate, because of what I wanted to do with the boards and cropping.

OUCH!!!
you set a Tone curve, that is designed to flatten the contrast…
… but then you set the Selective Tonality to further reduce the highlights and, more peculiarly, reduce the shadows that you had raised in the Tone Curve…
** You raised the exposure, which was totally unnecessary and further increased the chances of blowing highlights… * You then used the global contrast slider to increase the contrast you had just reduced with the Tone Curve…You used the (global) Fine Contrast slider, which will introduce some sharpening on the sea, which you really want to be as soft as possible…You only need to use the Highlights and Shadows sliders to add detail into the dark and light feathers.*

How do you know/undertand what tools to use, in what order, so you end up with consistent settings???

In that case, look at my version in the updated DOP.

That’s just going to look plain weird. Next time try to get all the birds sharp.

Well, my version is cropped to 5 x 4 and I don’t see much difference to yours.

Do you understand how the Tone Curve works? It is one of the primary tools I use to regulate tonality and contrast.

I suspect I could ignore many of the other tools, and try to do as much as possible using the Tone Curve. I think I know how it works, but let me ask you, is there a preferred way, including what to do first? For all I know, maybe I’ve been using it incorrectly, along with so many other things.

I would probably have gotten sharper birdies had I used f/11.

Even the way it is now, I enjoy this image, with the bird in the center being my focus point. I should give it a name, perhaps Gertrude. How do I know if it is a “he” or a “she”?

I certainly use it before any of the sliders but after the Smart Lighting tool, if there is a relatively high dynamic range.

The basic principal of the curve is the steeper a part of the curve, the higher the contrast on that part of the curve.

Well, if I want to continue with bird photos, I need to do a few things, and probably more.

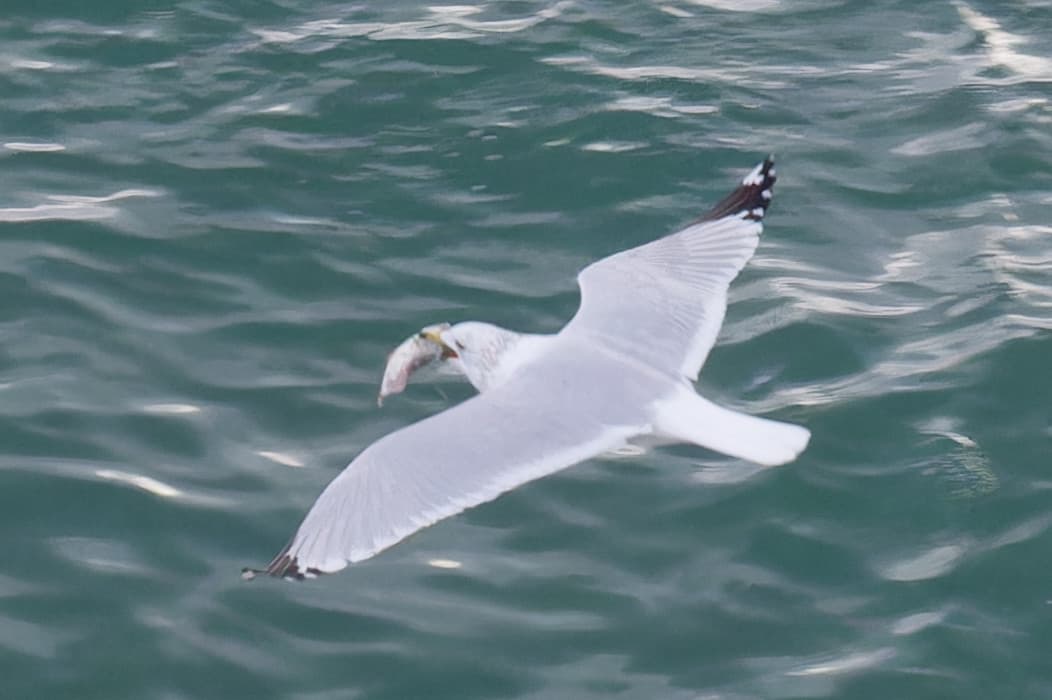
I stayed on my balcony for going on four hours, watching the birds (and manatees) coming and going. Several enjoyable scenarios came to pass - one, with a bird with a large fish in its mouth trying to find someplace safe to eat it, without having to fight to keep it.

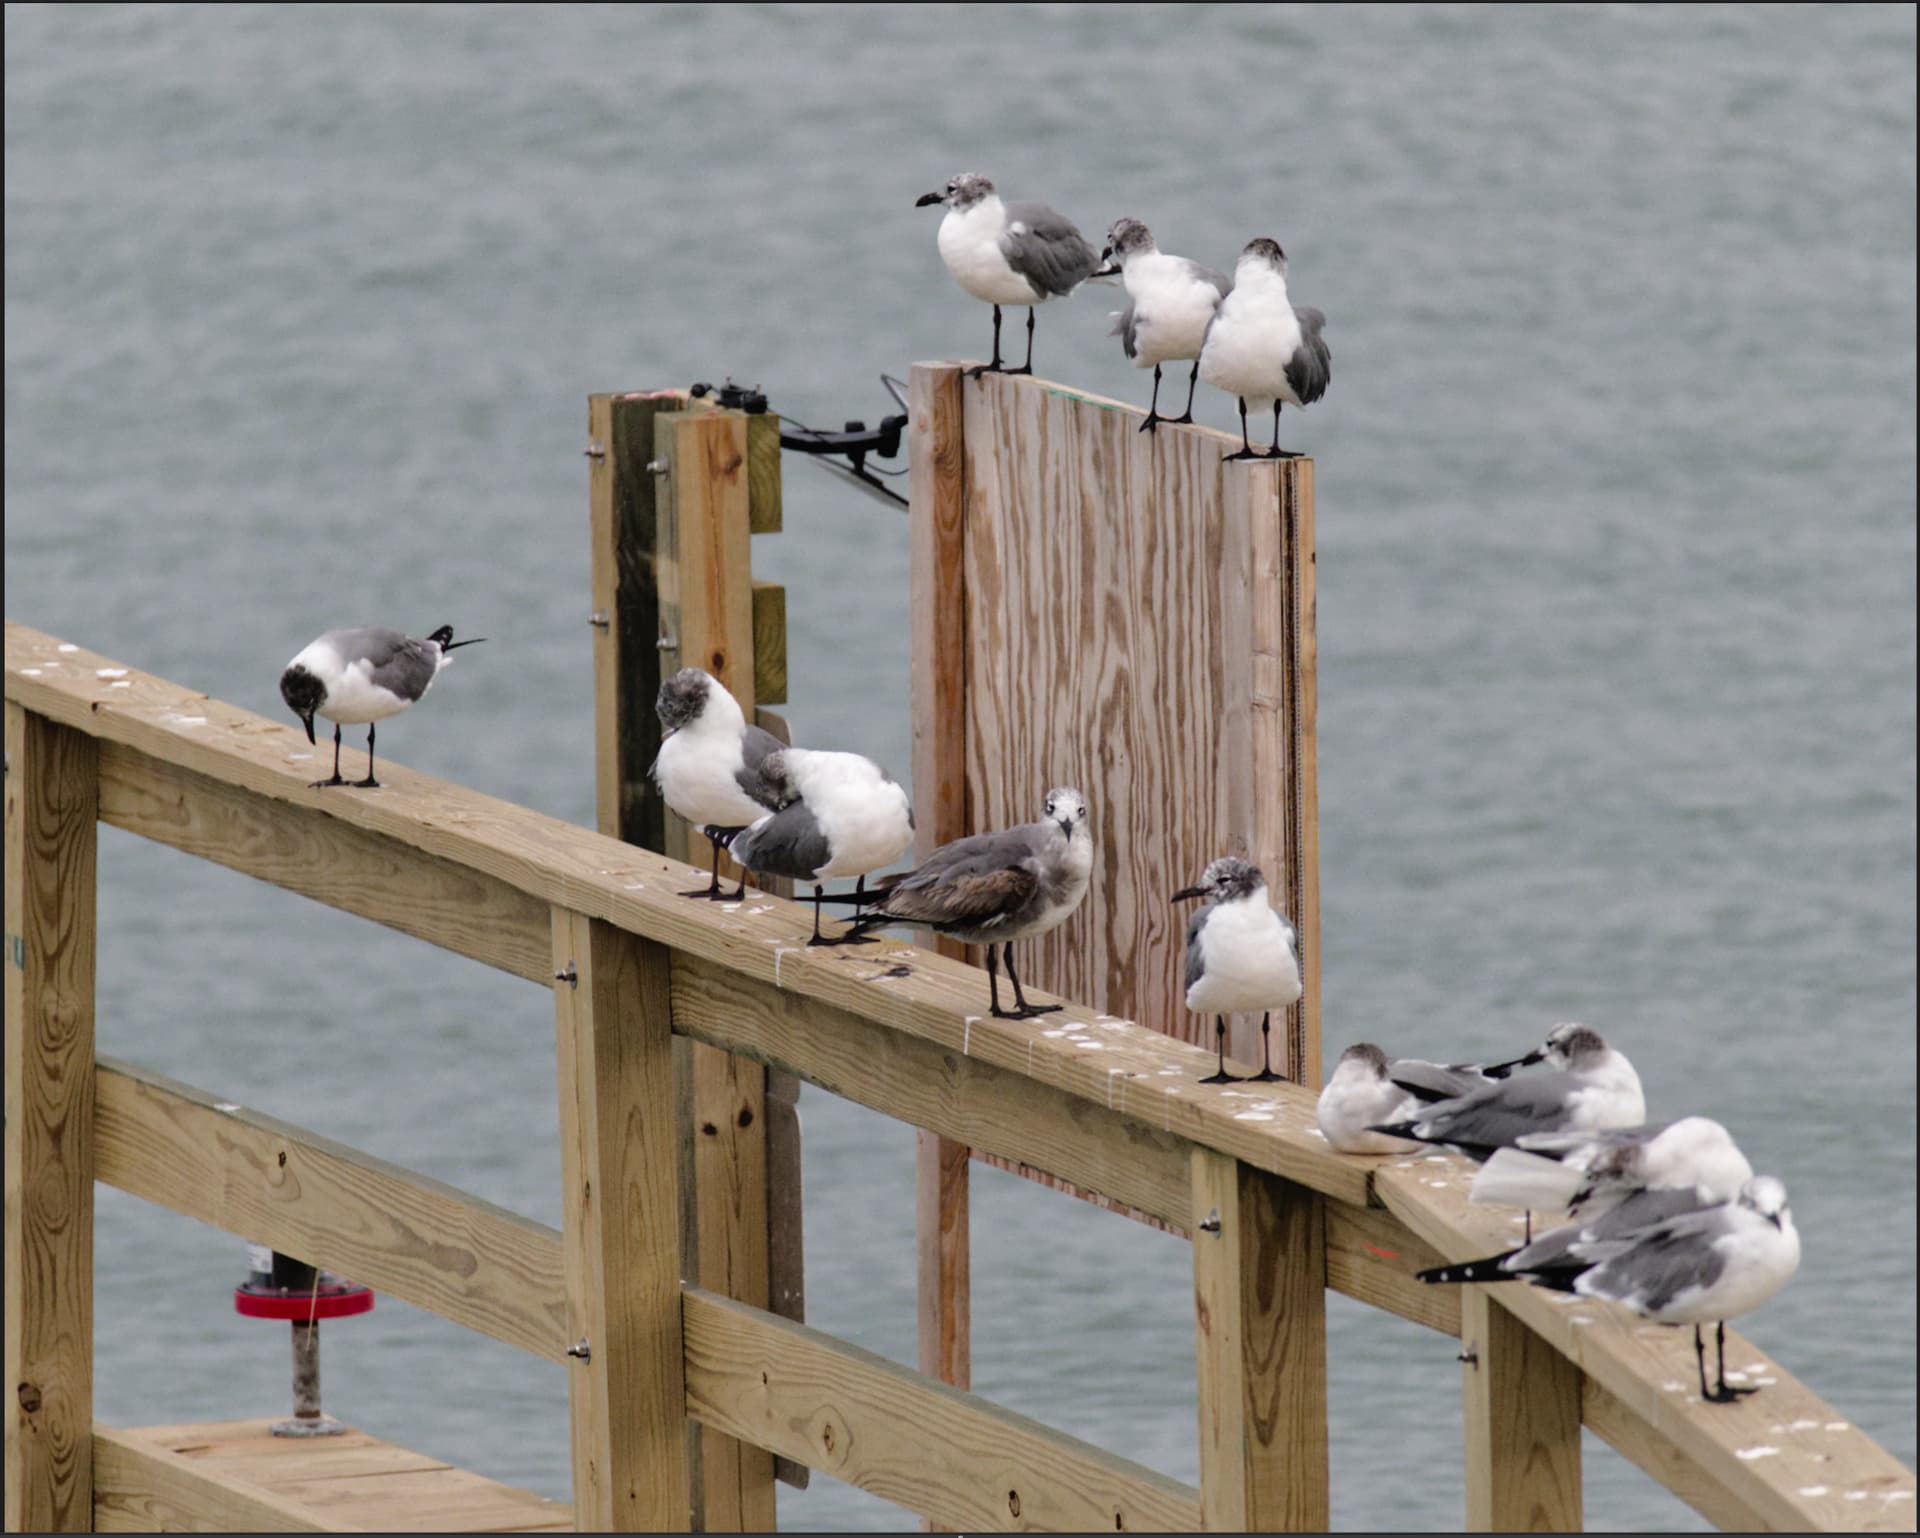
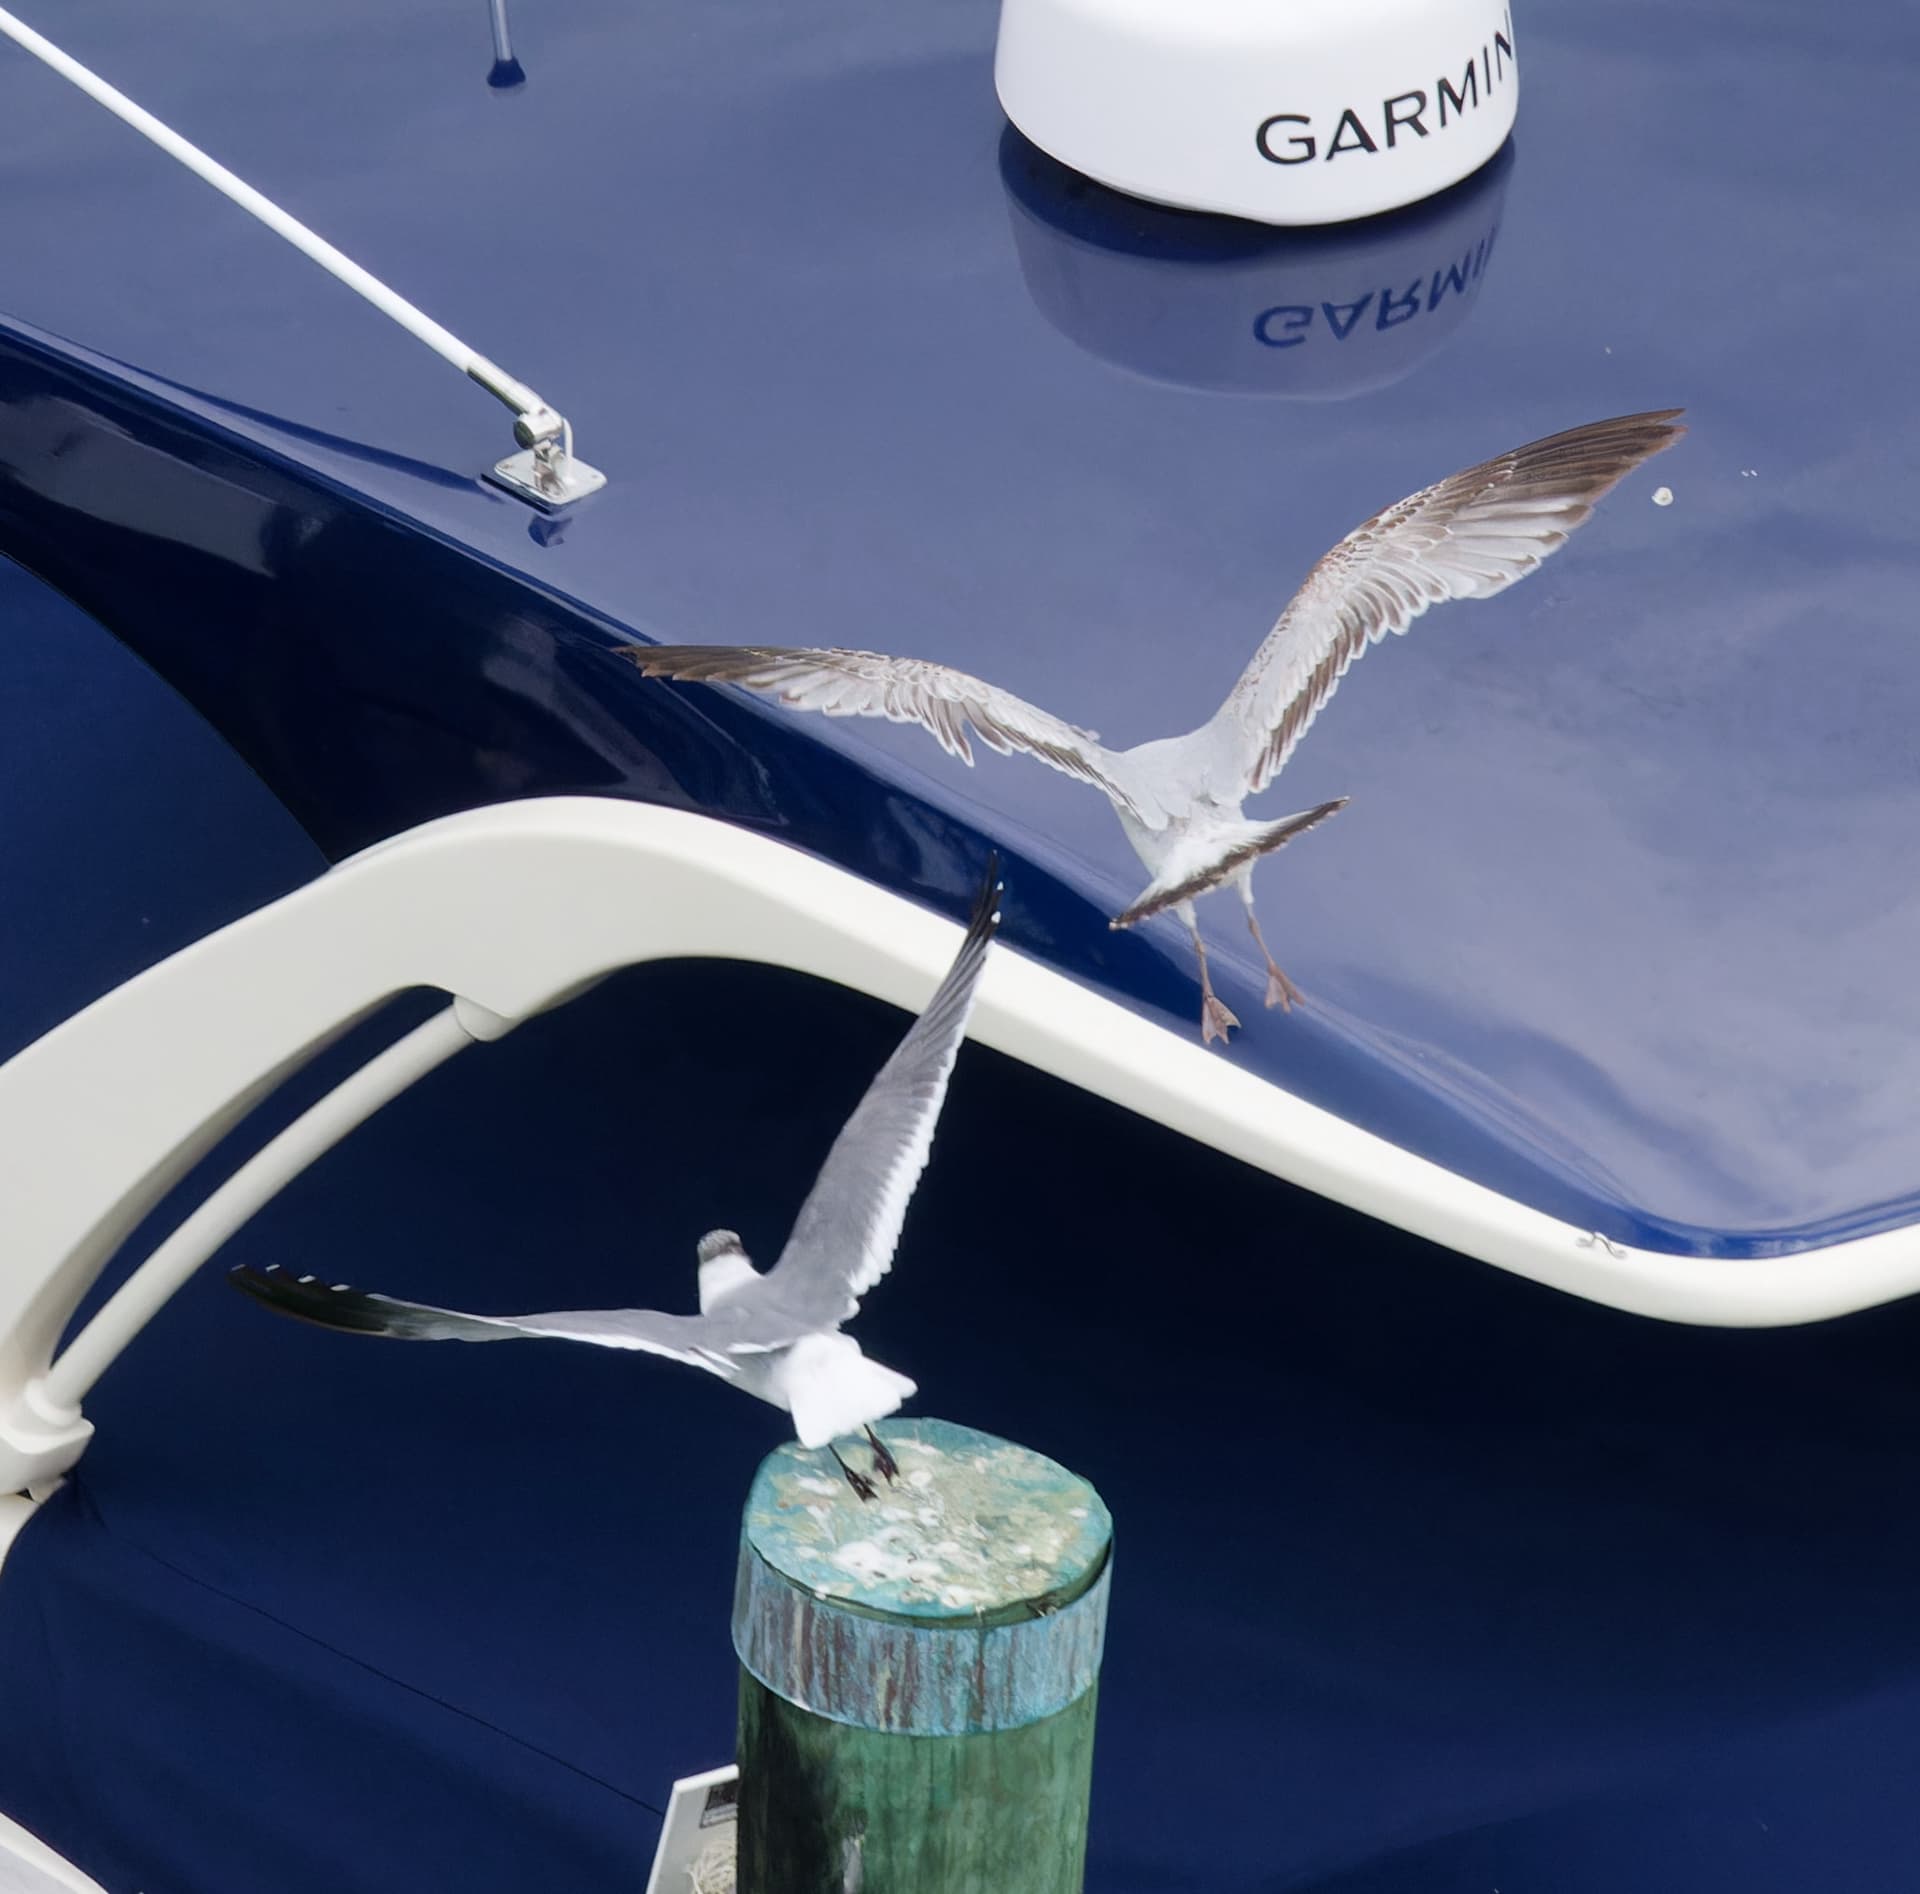
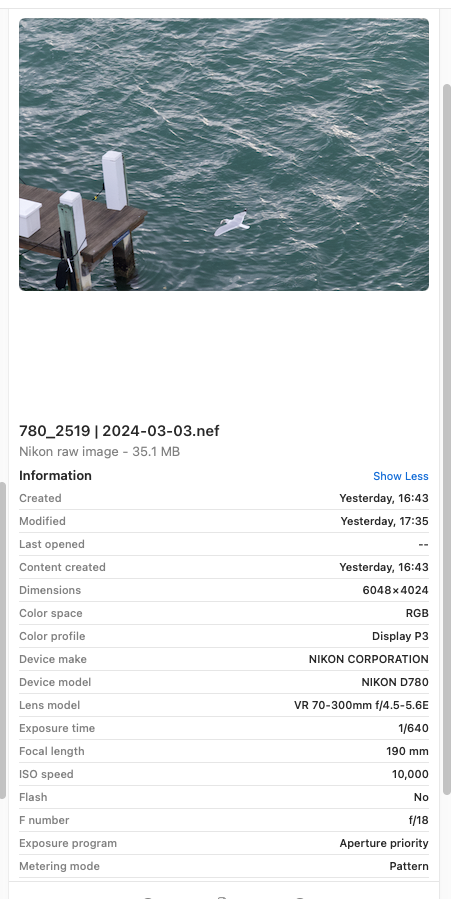
And more enjoyably for me, to watch the interactions between the birds. In this photo one bird was determined to land on a pylon, but another bird wanted the pylon for itself, and forced the first bird to leave.

I guess there is a “pecking order” among birds, for “who’s the boss!”

Watching them for several hours became enjoyable, to see the interactions between the birds.

I don’t think my 9th floor condo is a good place to photograph and observe the birds down near the ground, but it was enjoyable.

As @Joanna and others have pointed out, my 300mm lens isn’t powerful enough to get the photos I want to capture, and even 600 may not be enough. The 300 on the other hand was plenty powerful enough to let me get photos of a huge manatee, something I’ve been trying to do for a decade. I guess I got lucky today.

One of the most difficult things seems to be capturing an image that is both a quality image, and an interesting image.

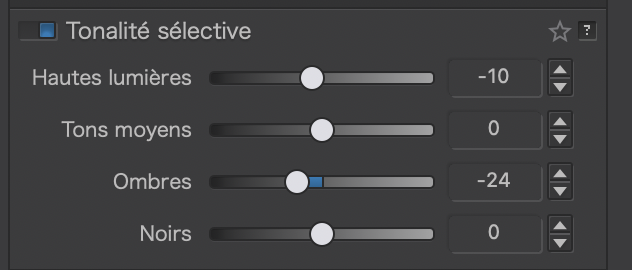
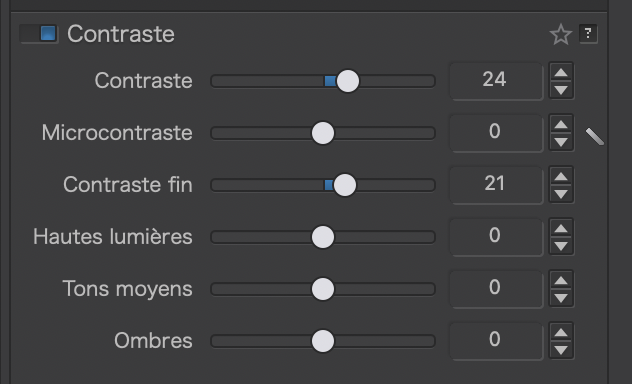
As a side note, I used to think PhotoLab had all these tools and controls, I ought to use as many as possible. Then, after reading one of @joanna’s posts up above, I started to wonder if I ought to use. the fewest tools and controls, and only use them to correct a specific problem, not to mold an image into something in my imagination.

(I suspect before I edit an image, I ought to be able to first visualize what I want, but sometimes it’s enjoyable to just mold the image as I play with it, until I like what I see. Of course, then, @Joanna points out that one tool did something, and the next tool un-did that something. I suspect that all my tools TAKE SOMETHING AWAY from an image, rather than ADD SOMETHING, and if that’s true, the fewer tools I use, the better?)

I wish I could look at an image, visualize what I want, and them apply the tools to do so. I’ve gotten into what might be some bad habits, maybe lots of them.

It’s really difficult to put what I’m trying to say into the right words. Maybe I should be less of an “artist” and more of a “technician”?

PhotoLab can be a world that I enter, in which I manipulate my images into something I want to show others. PhotoLab can also be many different “things”, such as correcting errors…

Not 600 but only 200 mm.


Definitely not, especially with only 300mm. you are never going to get detail at over 1000ft away.

Believe it or not, it is possible to create a good enough image in the camera tht needs nothing doing in PhotoLab.

More like look at a subject and pre visualise the end result, then do the best you possibly can in the camera. No amount of tinkering in PhotoLab is ever going to create a good image out of a badly taken one, especially when it comes to framing and cropping.

Remember the saying, “you can’t make a silk purse out of a sow’s ear”.

If you are using PhotoLab to correct errors, you are doing it wrong. Go back and take the shot again without the errors. If you can’t go back, bin the image.

1 Like

However, 600 (or more) is generally the solution for most bird photographers.
600 is generally the right compromise for good image quality and a good reach.

EDIT : and 600 is often too short for very small birds.

1 Like

After checking the actual image, I see that it was ME that screwed up, not the camera, or the bird, or the scene - this is about my photo with the bird carrying a fish in its mouth.

  • Since I knew I was going to process it in PhotoLab, I set the ISO to 10,000.
  • I was zooming, and didn’t realize at the time my lens was set to only 190mm, possibly to make sure the bird stayed near the middle of my screen - not what I intended.
  • I set the camera for aperture priority, and intended to be shooting at f/11, but unbeknownst to me, who didn’t check, I must have bumped the sub-control wheel, setting the aperture to only f/18.
  • The camera, reacting properly, then dropped my shutter speed to only 1/640th, not nearly fast enough - I wanted more like 1/2000th - probably as a result of my messing up the aperture.

After all this, the image was much more blurry than expected. Even set correctly, the image might still not be as sharp as I wanted, but I’ve got nobody to blame but me.

I’d like to think that if I keep shooting like this for a while, I may or may not improve, but maybe I’ll cure myself from making mindless misteaks!!! …stupid spelling deliberate.

Just like with the flash, I’m confident I’ll eventually get it right, and no need for a 600 mm lens until I can do the best with what I’ve got.

(Fortunately, there are lots of seagulls to practice on, and being so small, they make for a good challenge. I will also try shooting from ground level.)