@RvL agreed I didn’t bother to make it a separate edit (control point) so that I could alter it independently. I had already spent longer than I do on my images and it was an excuse for not going back to tackling some filler which is proving a devil to sand successfully!
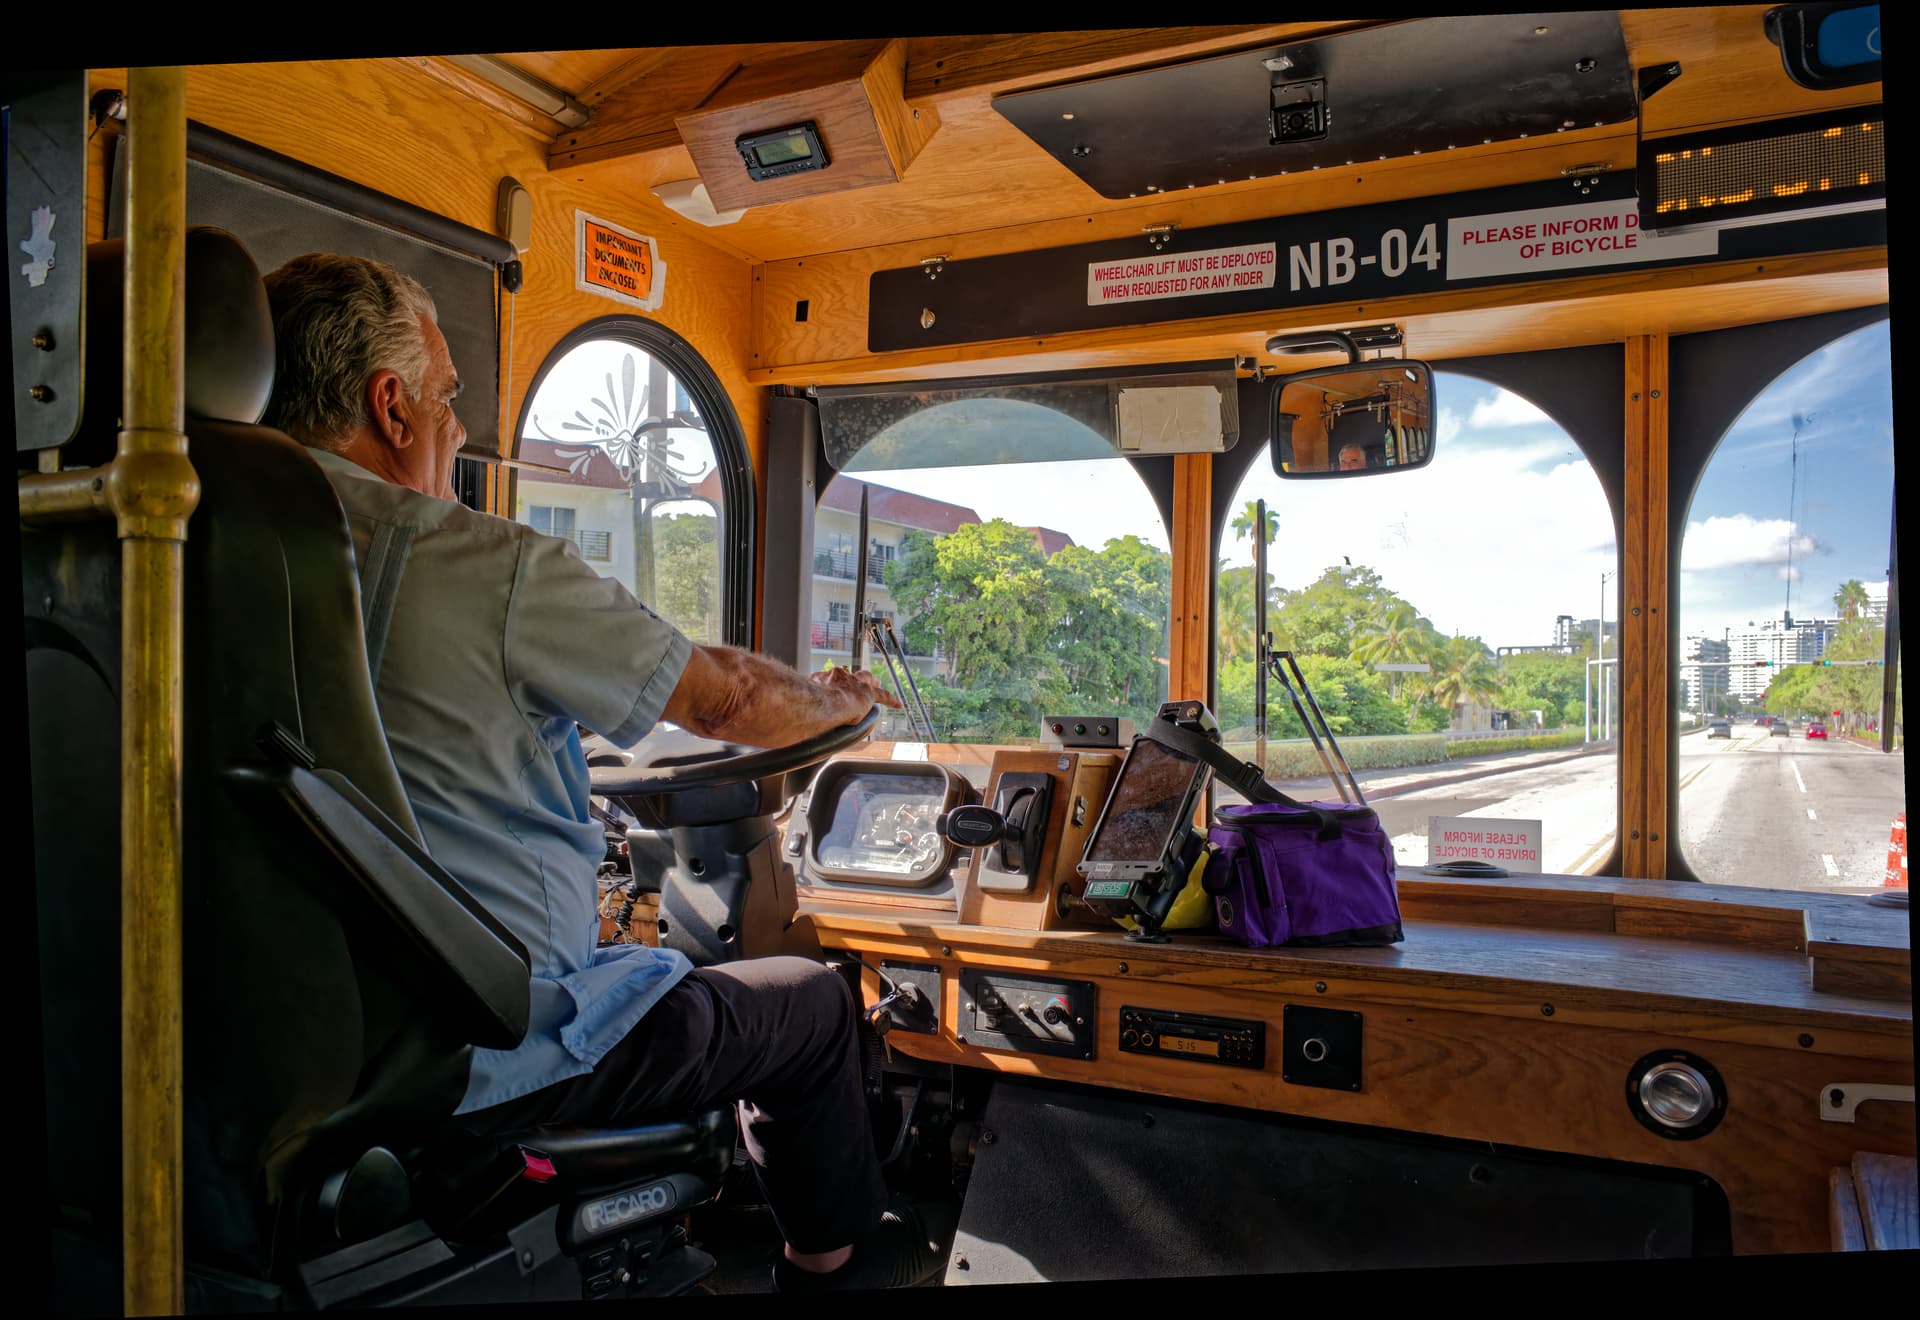
It would be a boring world if we all edited exactly the same way and liked the same results. I like the “expanse” of the scene and the brass or brassed hand/dividing rails are part of the character of the vehicle and the scene outside conveys context (even with the overcooked sky)!
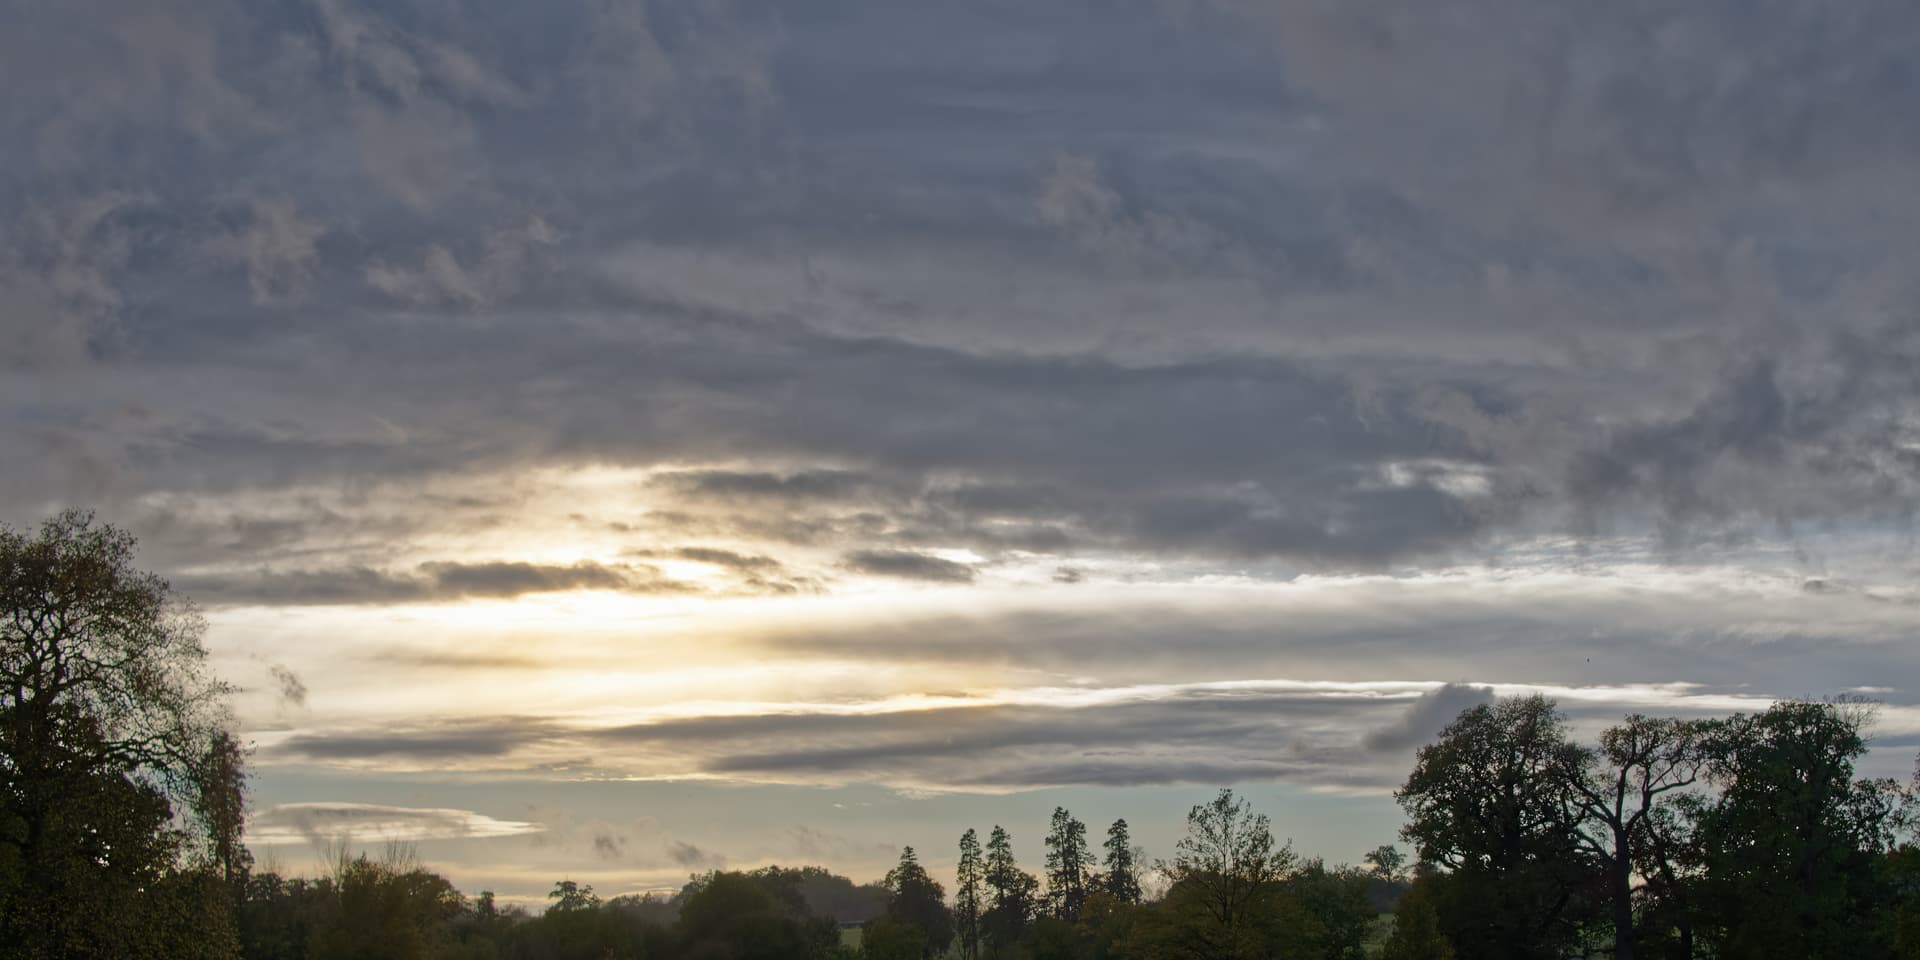
Skys can be fun. I took this on Sunday afternoon during a visit to my old school - I used your trick @Joanna, +1EV in camera (as a starter) then AE-Lock (@BHAYT, I set up the FN key in the end) just off the brightest part of the sky.
@danielfrimley Good sky shame DxPL doesn’t have “sky replacement” so you could use that for other images!
But while that would be “fun” it would go against my KIN philosophy (Keep It Natural) although I am not above a bit of KINish or almost KIN or very nearly KIN or …nothing like KIN from time to time!
On a course some time ago the tutor was discussing the idea of focussing on the scene part way in but by
using the AE lock to lock the exposure by pointing at part of the scene to give a more “balanced” exposure and
Using the half press to secure the focus point
Compose the shot
Take the shot by fully depressing the shutter button
But subsequently I read about Back button focussing and decided that was useful if you are chasing bees or butterflies around some flower heads, to set a focus point that might at least be in the vicinity of correct and then adjusting on the lens.
So my process would now be (I think I mentioned this before, sorry)
Select and set the focus point using the back button
Select an exposure point and reselect until happy with the exposure, using the half press
Compose the shot (I always use a zoom lens, a hangover from my Bridge camera days plus gardeners are not very keen, for some reason, on you trampling through the flower beds to get a close up of a particular flower etc. and I hate getting other visitors in the shot, even if that is KIN)
Take the shot by fully depressing the shutter button
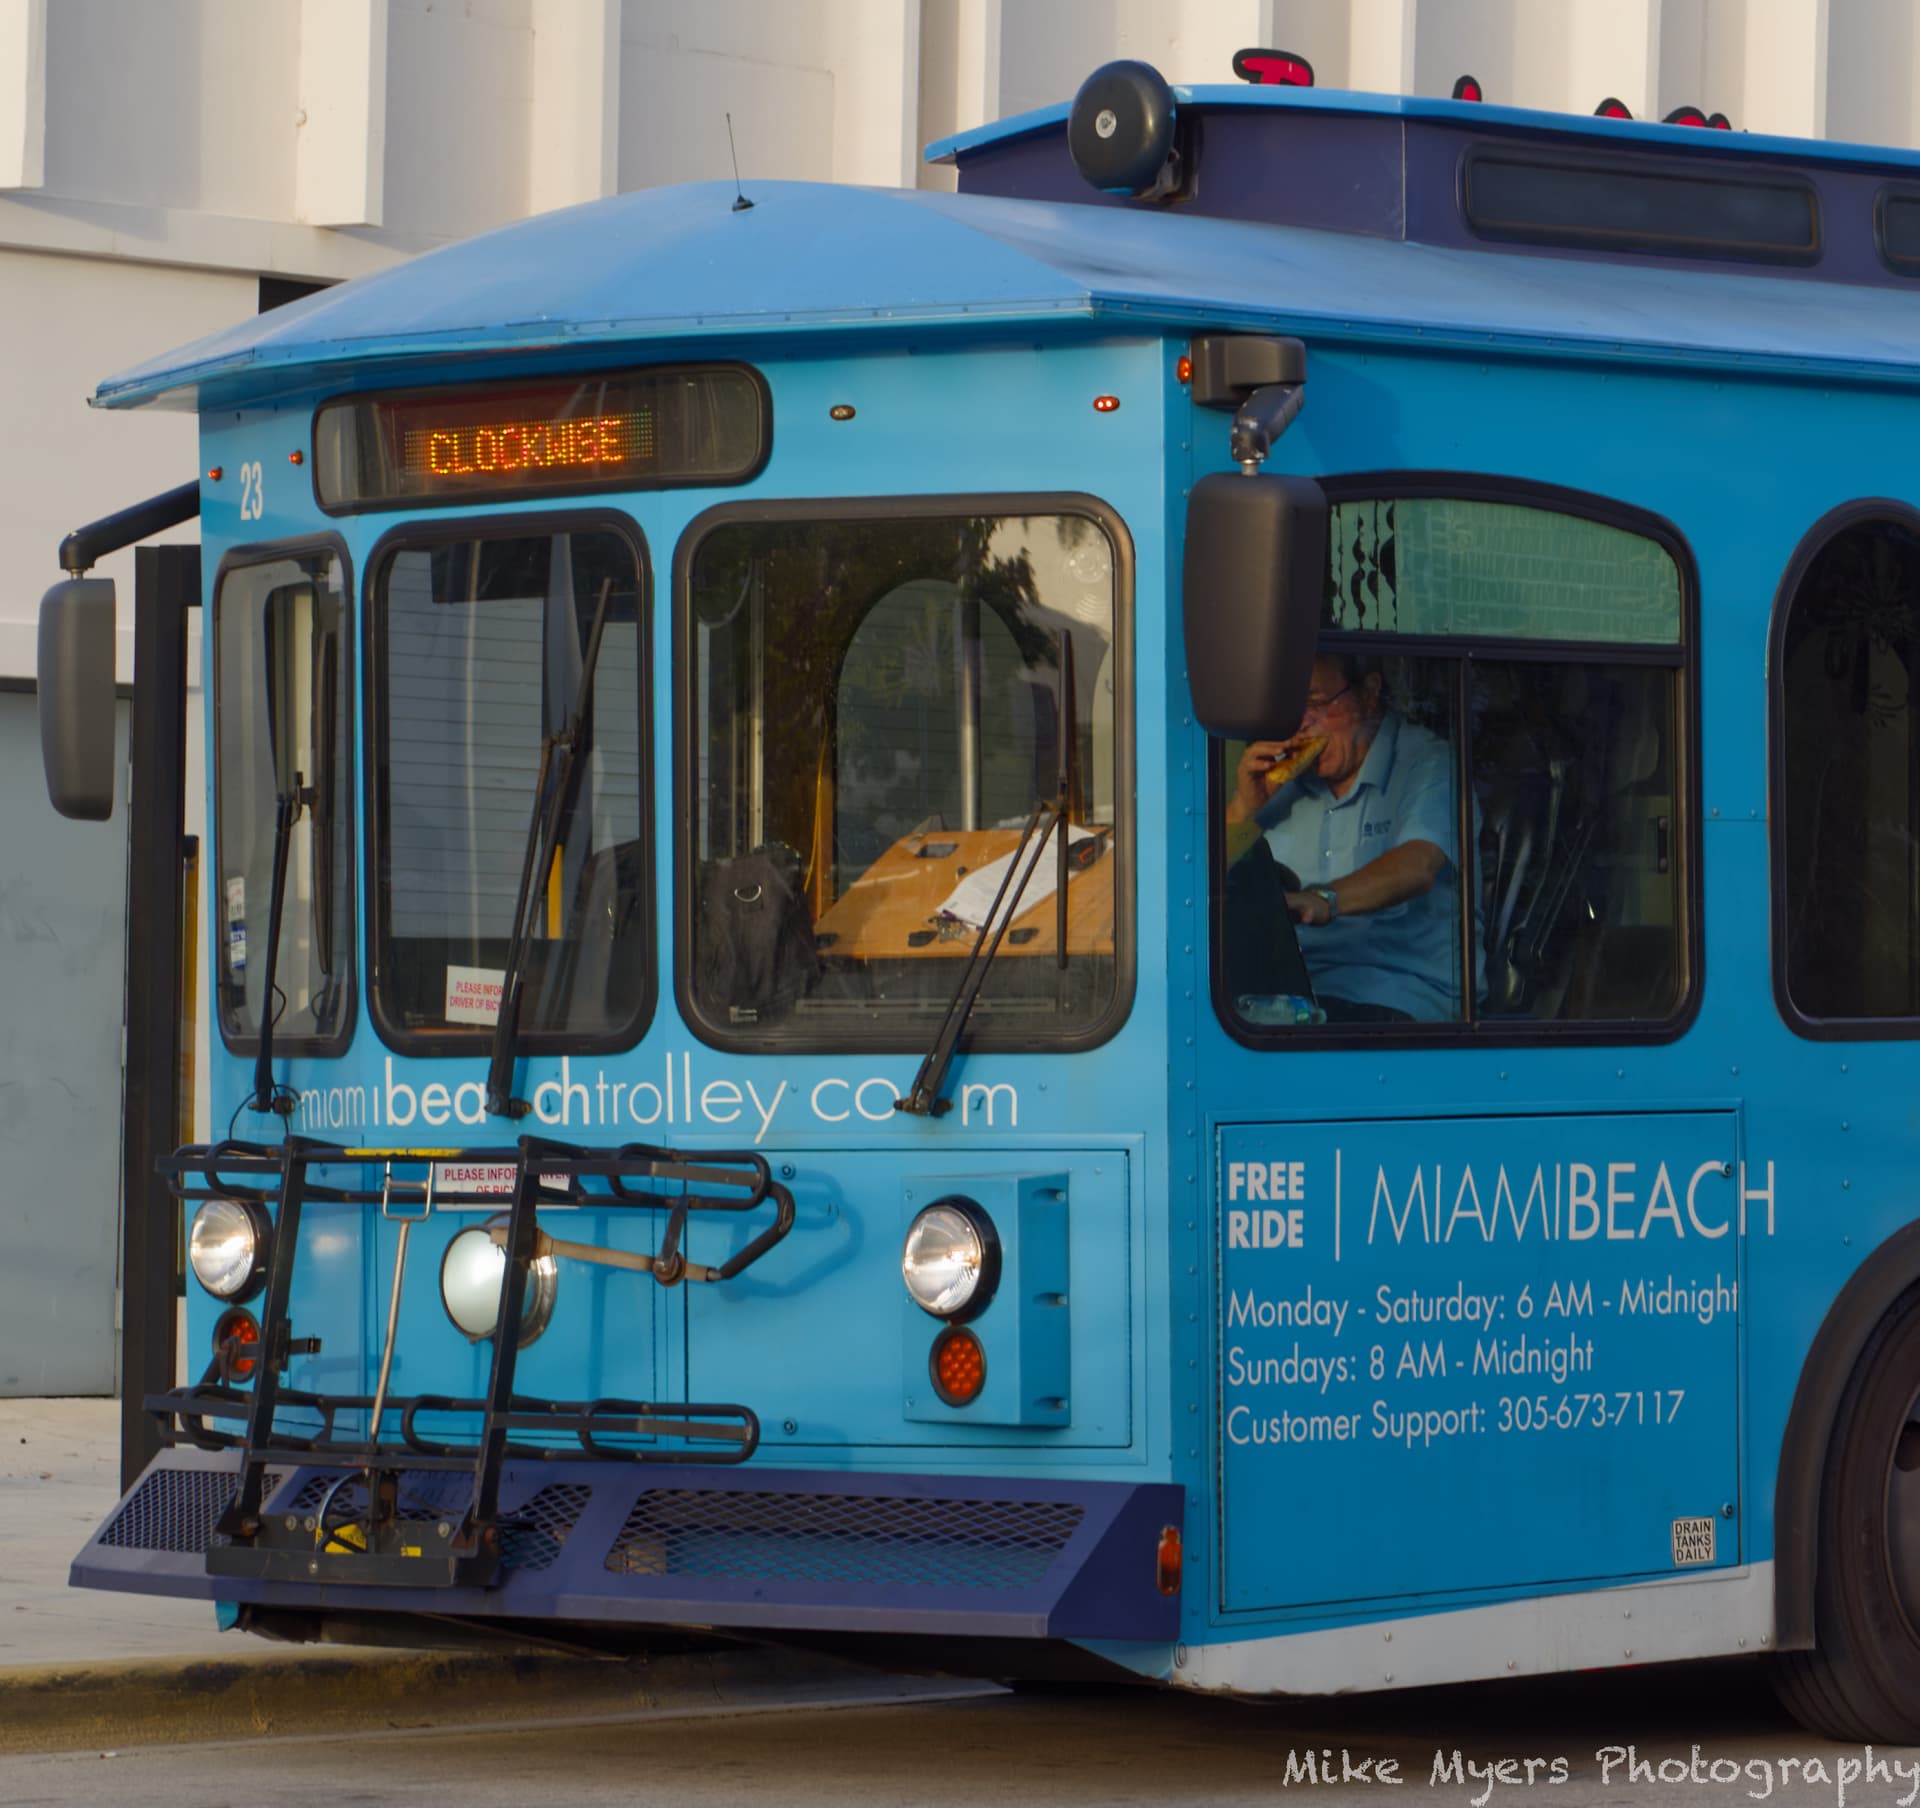
A few more details exposed, to show how they made this trolley look more like the “real thing” from so long ago… and in this case, to answer my question of why the trolley was stopped alongside the road. Lunch Break! I guess I should find a photogenic spot to capture a good shot of the trolley itself. There are larger and smaller trolleys, some with one door in the middle, and others with a door at the front and at the back. I grew up with trolleys - maybe that’s why I want to capture good images of the new ones, while I can.
The second workflow won’t work for me unfortunately, I can’t combine the focus and exposure lock - it’s one or the other per shot on the Leica CL, they can’t be used together. So, I have one customisable button (the top of the right thumb wheel) assigned to AE-L and the back FN button set to AF-L. I can either:
point the camera at a neutral/ brighter area and one-click AE-L
find the focus point I want and half press shutter release to acquire
recompose with shutter button held at half press
take the picture
or:
find the focus point I want and one-click AF-L
point the camera at a neutral/ brighter area and half press shutter button to acquire exposure
recompose with shutter button held at half press
take the picture
I told you it wasn’t quite the same as proper back button options for the sky shot I used the first method.
The two programmable buttons (right thumb wheel click and rear FN button) can be assigned to more than one of a whole bunch of functions but doing so means you have to interact with a menu before you select anything - too much for me I’m afraid, I like simple UX.
@danielfrimley as I read your response I thought but they are the same or rather you can do the same.
I think there might be a way that I can change from AEF to AEL easily (i.e. without wandering too deeply into the menus) but the risk is getting hopelessly lost remembering what way things are set up at any given time
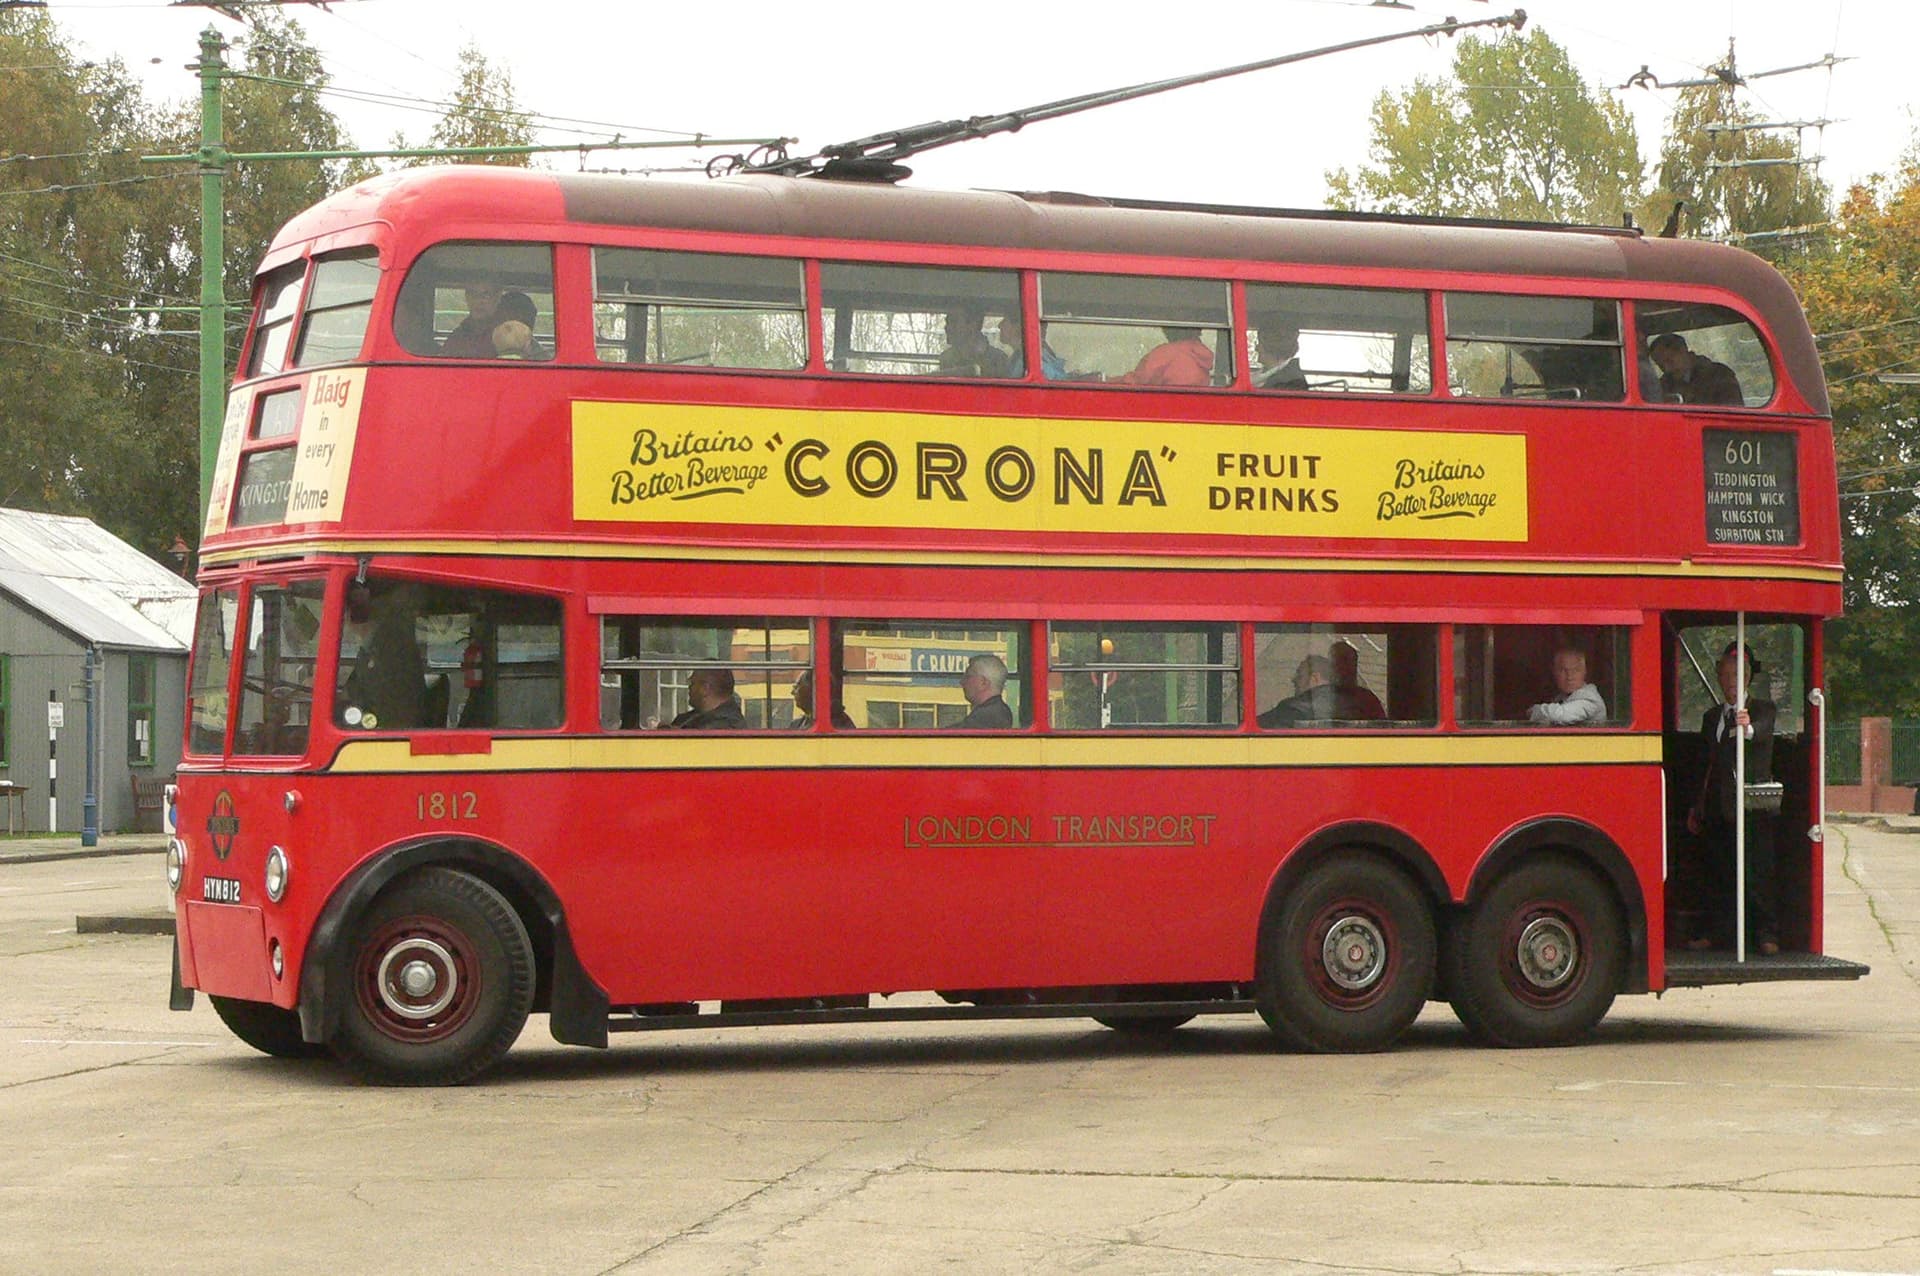
@mikemyers in the UK we used to have trams in many cities until they died out but have since made a bit of a comeback. In my case we had electric powered trolley buses running on the main route through the town where I lived in the West of London.
A cross between a tram and a bus, they were double deckers (smoking on the top deck) the same as the buses and not particularly interesting to look at and a “pain” to ride on when they jumped their power connection, no bikes and no wheelchairs allowed and they vanished from London in 1962 and the rest of the UK in 1970(I believe?) !!
Hi Mike! Unfortunately, I find your picture much too artificial. Others have already written this before me. That’s why I first set everything back to zero and started again. I did it without any local adjustments though, otherwise I might have put more effort into the sky. The funny part about this is that my inner Monk told me I really needed to straighten the image. Unfortunately, I didn’t realize until afterwards that I would have had to cut off the driver’s foot and another piece off the top of the console. That’s why you now have a crooked picture. :))
@Ian78 That remark would upset the designers of this utilitarian form of transport for the masses, and the giant might not be happy about the disrespectful remarks about his toy or his snack that came with it!
If you start at the original, un-edited image, nothing there would be artificial. As to the framing, my DSLR allows me to be much more precise than the small viewfinder in the Leica, and while I was trying to keep the camera level, the best time to do that would be when the trolley stopped. I think I would have been better off with a wider angle lens, which would have allowed cropping to make the image level, without cutting out essential parts of the image. You’re right of course. Next time I’ll use a 24mm lens on my DSLR.
Also, I was trying to keep the outside view level. The trolley rocks back and forth, and I was making no effort to keep the trolley perfectly vertical, as it wasn’t. If you look at the city in the background, you can decide if my camera was level. The trolley was rocking side to side, and as it went over bumps, it was moving up and down. I was concentrating on what was outside the trolley. Maybe that was a mistake?
I’ve watched most of the video, three times. When the images were viewed in Davinci Resolve, I was lost. I do have the program, but I never got as far as to learn about those controls. Until I learn that, I’m stuck. Excellent video, but I had to keep repeating things to make sure I understood.
So I need to open up DaVince Resolve and learn those tools, before I can continue on with this video.
Mike, sorry for the missunderstanding. I didn’t mean the picture itself, which looks too artificial, but the processing you showed first. I think the picture itself is great. It can happen that it is a bit crooked. I just didn’t want to cut away so many important parts when straightening. So maybe a little more wide angle would have been better or you leave it a bit crooked.
Photo Joseph is using Davinci Resolve’s Vectorscope display to show the effect of the vibrancy slider on different hues. Simply said, the vibrancy slider changes saturation, but less so for red/yellow hues, while the saturation slider acts equally on all hues.