ok: (Don’t be blown away by all details just read and try for your self then you will see the light.)
there are two “microcontrast” tools.
1 the slider : “microcontrast” which the manual says:
Citaat Microcontrast : also known as “local contrast,” it can be measured in small homogeneous regions that the software automatically detects. Improving the local contrast provides results that are similar to the sharpness correction, without the disadvantage of generating artifacts around the edges. Microcontrast brings out the details and gives the image more “bite.” It is ideal for landscape, architectural, and industrial photos.
So it global sharpens the image by adding microscopic “blackdots” around edges of color in colorplanes. It enhances the non uniformity of the image and wile it adds “black” dots the color looks more saturated. (not comparable with CPL-filter which only saturate)
2 clearviewplus:
Citaat The DxO ClearView Plus tool automatically eliminates atmospheric haze in both RAW and JPEG files.
What this tool does is using Microcontrast and other contrast types to enhance colors and structures get rid of haze in the mean time. (less agressive in sharpening then “microcontrast”)
then we have “dehaze” by tone curve: basicly adding blacklevel, dragging lower luminance to “black”.
no sharpening only saturation.
Fine contrast:
CitaatThe Fine contrast slider brings out or softens medium-sized details, and is gentler in its effects than the Microcontrast, slider, making it appropriate to use with portraits.
Less deep blacks are here enhanced and bigger spots/dots as it seams of nearblack which is less agressive in sharpening so better to use in skin and skinlike (small color nonuniformity and dips and dimpels) structures as stucked walls.
And we have to connect your naming to dxo’s tools:
Clarity is sharpening and saturating colors so connects to microcontrast and thus “clearviewplus” (so Dehaze is build in clearview by using less agressive means to saturate.)
Dehaze (less sharpening): curvetone blacklevel pull, and maybe fine contrast slider.
and we have “blacks” in selective tone. that just pulls down or raises the lowest part of the histogram/luminance. (deepshadows)
Now we establish the toolset we can test what it does:
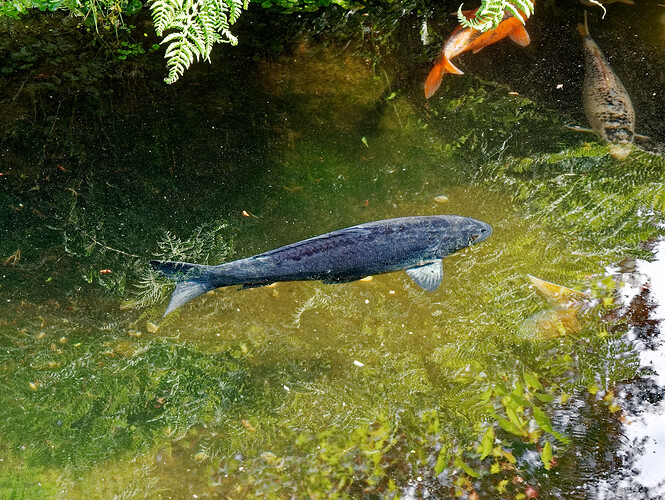
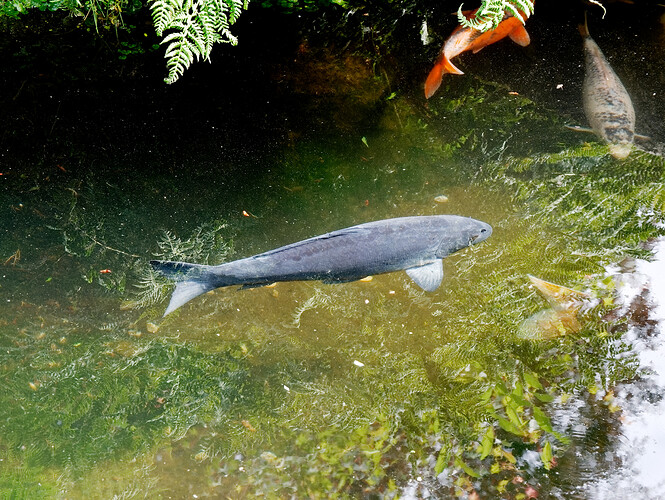
image 1 clearview at max: it tries to identify the “details” and objects which need structure and dehazing.
Not bad but still to much sharpenend. (note i over do this to show.)
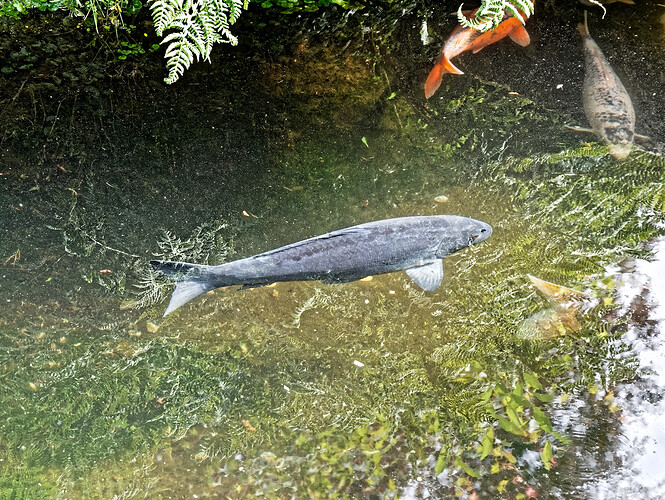
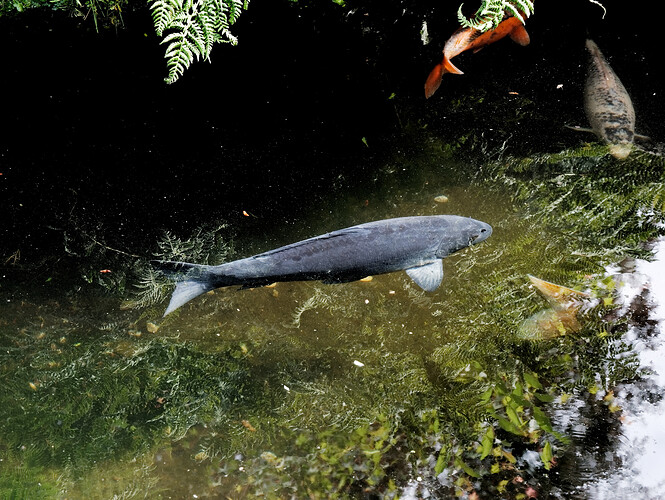
image 2 blunt plane microcontrast slider at 100%
this does no “blacklevel” dehazing kind of saturation only structure see the tonality is more “hazy”.
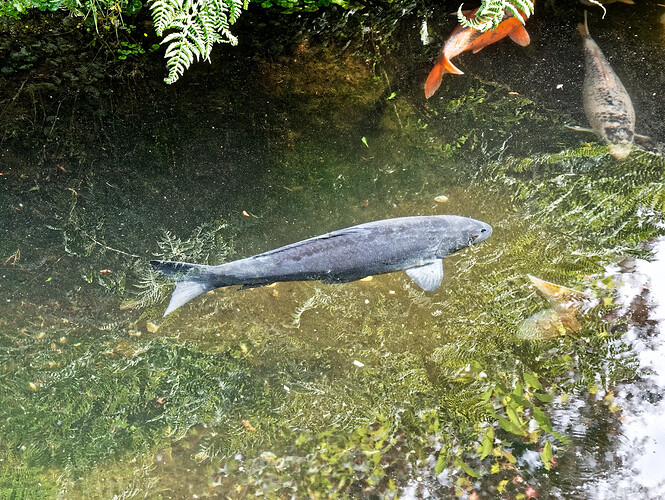
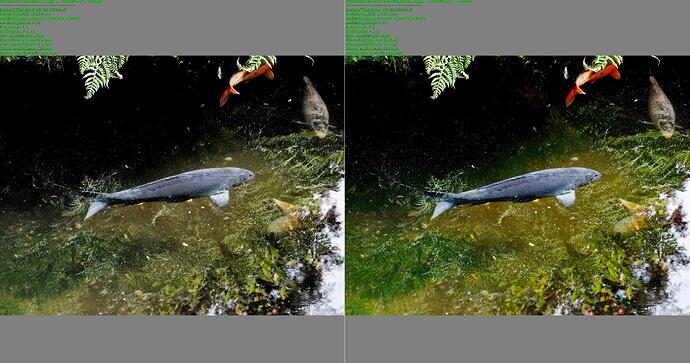
image 3: Fine contrast: less sharpening then microcontrast but stil more hazy then clearview.
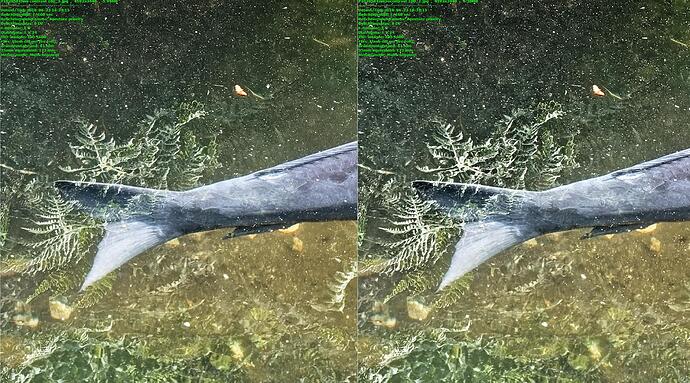
see this compare:
fine ,left, is less steep in contrast, softer.
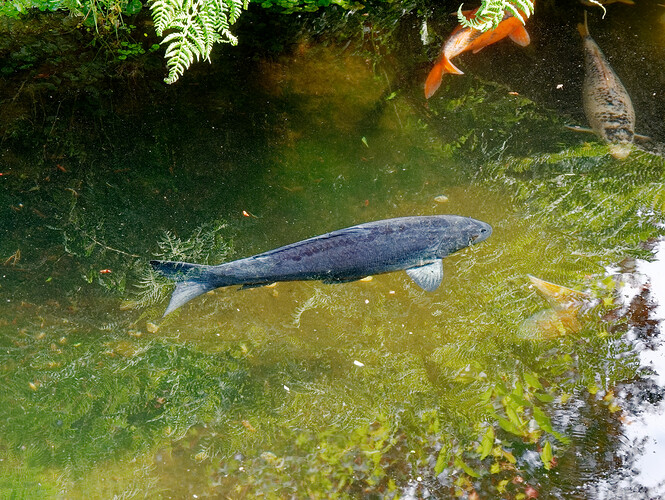
image 4 tonecurve, aka dragging blacklevel point.
Kind of “Dehaze” function , it saturates colors without active sharpening.
image 5 blackslider:
note -100 means you drag down deepshadows to black
a bit like tonecurve but more luminance based and less saturating:
i dragged down tonecurve to match -100 blacks see the key difference:
Ok now it starts to be interesting:
sliders have -100 and +100 so we can play with that to countereffect some “smart tools” like clearview.
small video how i combined some tools
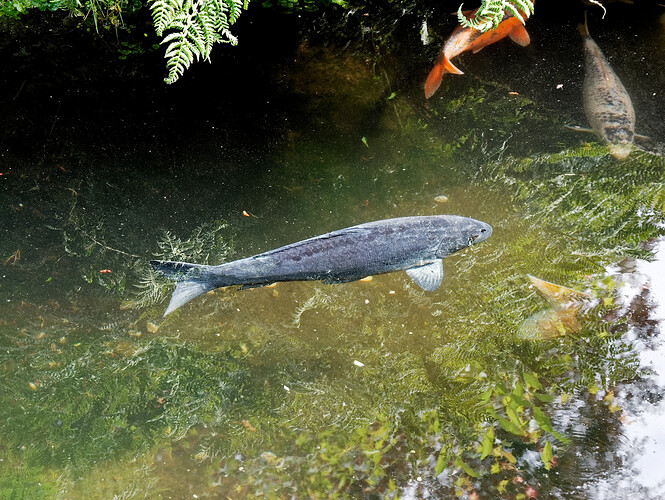
endresult:
(note the goal was to dehaze and sharpen as much as possible without overpush it. like i used a CPL filter.)
And as bonus we have microcontrast and clearview in the local adjustments so what is did globally over the image with negative microcontrast you can do also in masking.
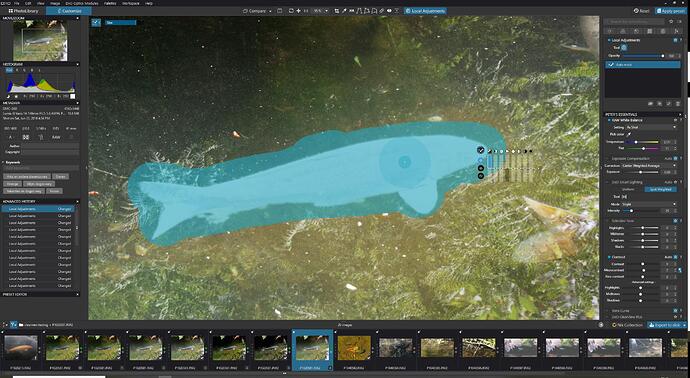
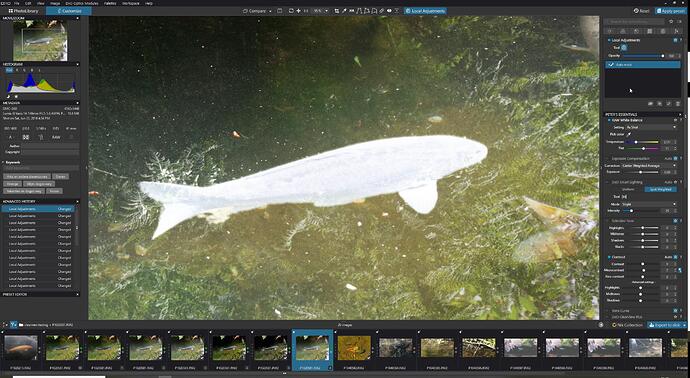
Automask: using exposure slider to see selection:
and the selection
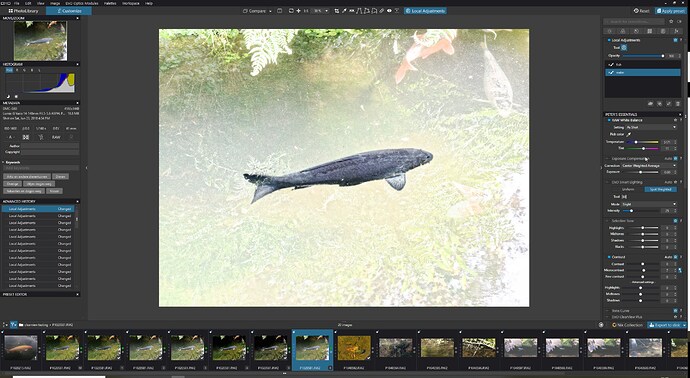
and then copy and invert mask.
adjust abit:
18 clearviewplus and -34 blacks on the water
fish 37 clearviewplus and 63 microcontrast and 32 sharpnes just to show difference of “global editing”
if you skip 18 clearview in water and only blacks then you have only sharpening on the fish.
Use controlpoints and you can even do more manipulation. (but that’s an other learning chapter …
(And no i didn’t just found this out by just working on images, i did a lot of testing and comparing extreme values of sliders so i notised the hidden differences better and then used those insight’s to my advantage.)(edit sounded wrong, i ment when you just work on images you don’t unlock all the goody’s.)
Regards Peter
(click on image to download for better viewing)
