Absolutly not.
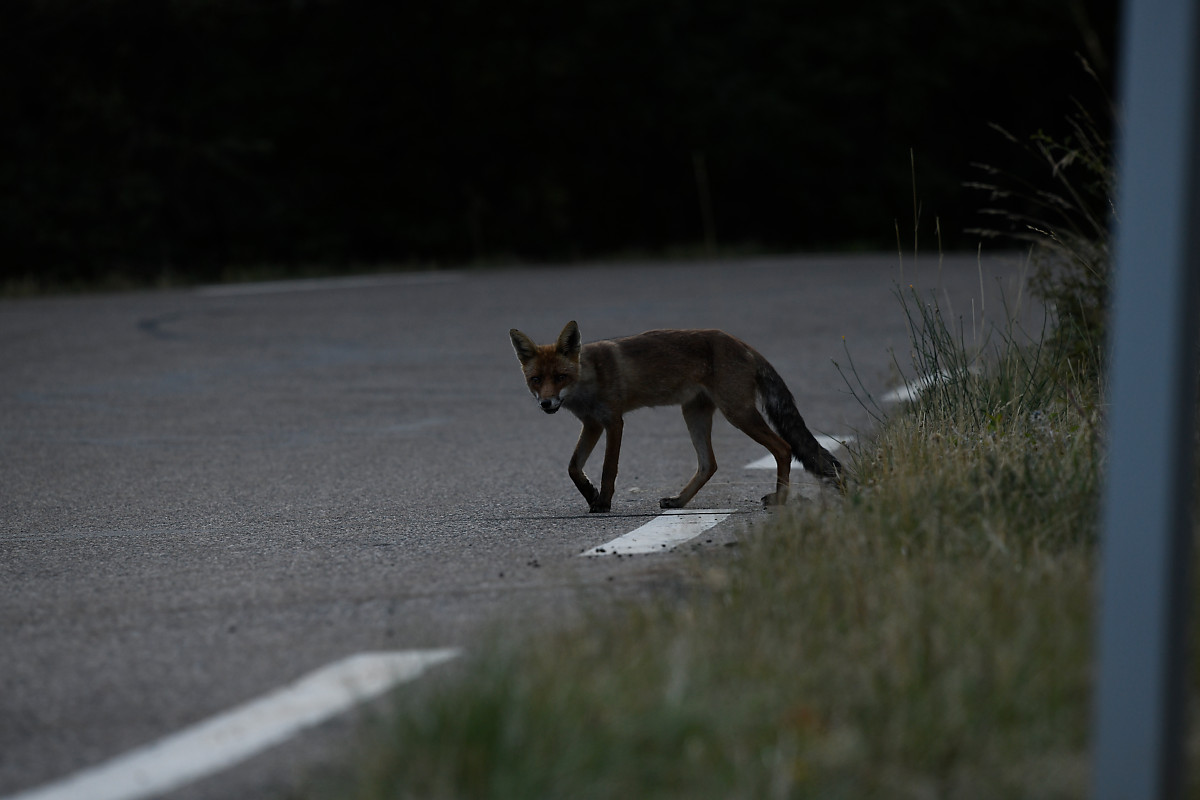
In forest, in mountain. But have to have some tricks and lot of patience (really lot of - can’t do this in one day - far from that) to make them show theirself. If not, nearly impossible to shoot, even to see.
But even with some tricks they are so shy and carefull that they are difficult to get in good conditions.
They are kings at hiding. And their cleverness isn’t a legend.
I’ve seen people pass them at a distance of just a few meters, with no chance of noticing them.
I don’t want to use (or at least as less as possible) adobe products.
I don’t agree with their politic, so that’s it.
I’ve used them extensively, and still use them when I work with companies for which it is the workflow.
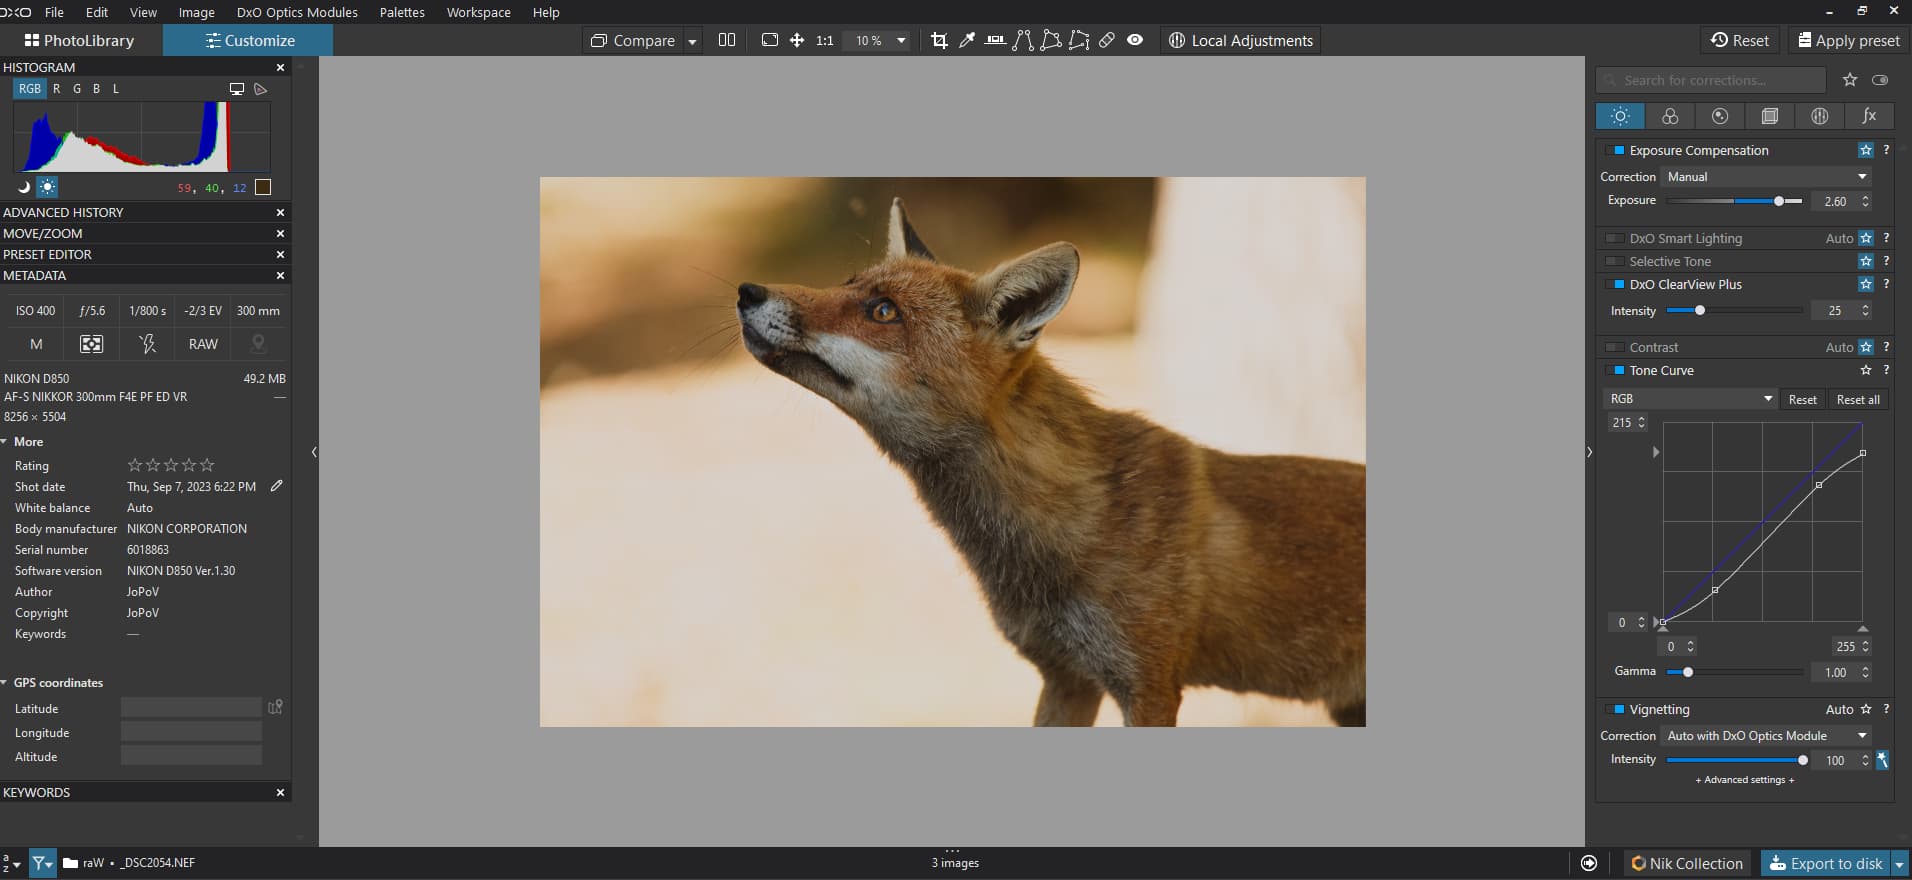
I think if I had to use them for my photography, since they now have AI denoising for high iso, I would maybe won’t use photolab anymore.
Optical corrections are very good, but if you use very good lenses they are less needed.
And possiblity to denoise only then sharpen exactly how you want with tried and tested manual methods, all this in 2 separate stages, gives top results if you develop the skills.
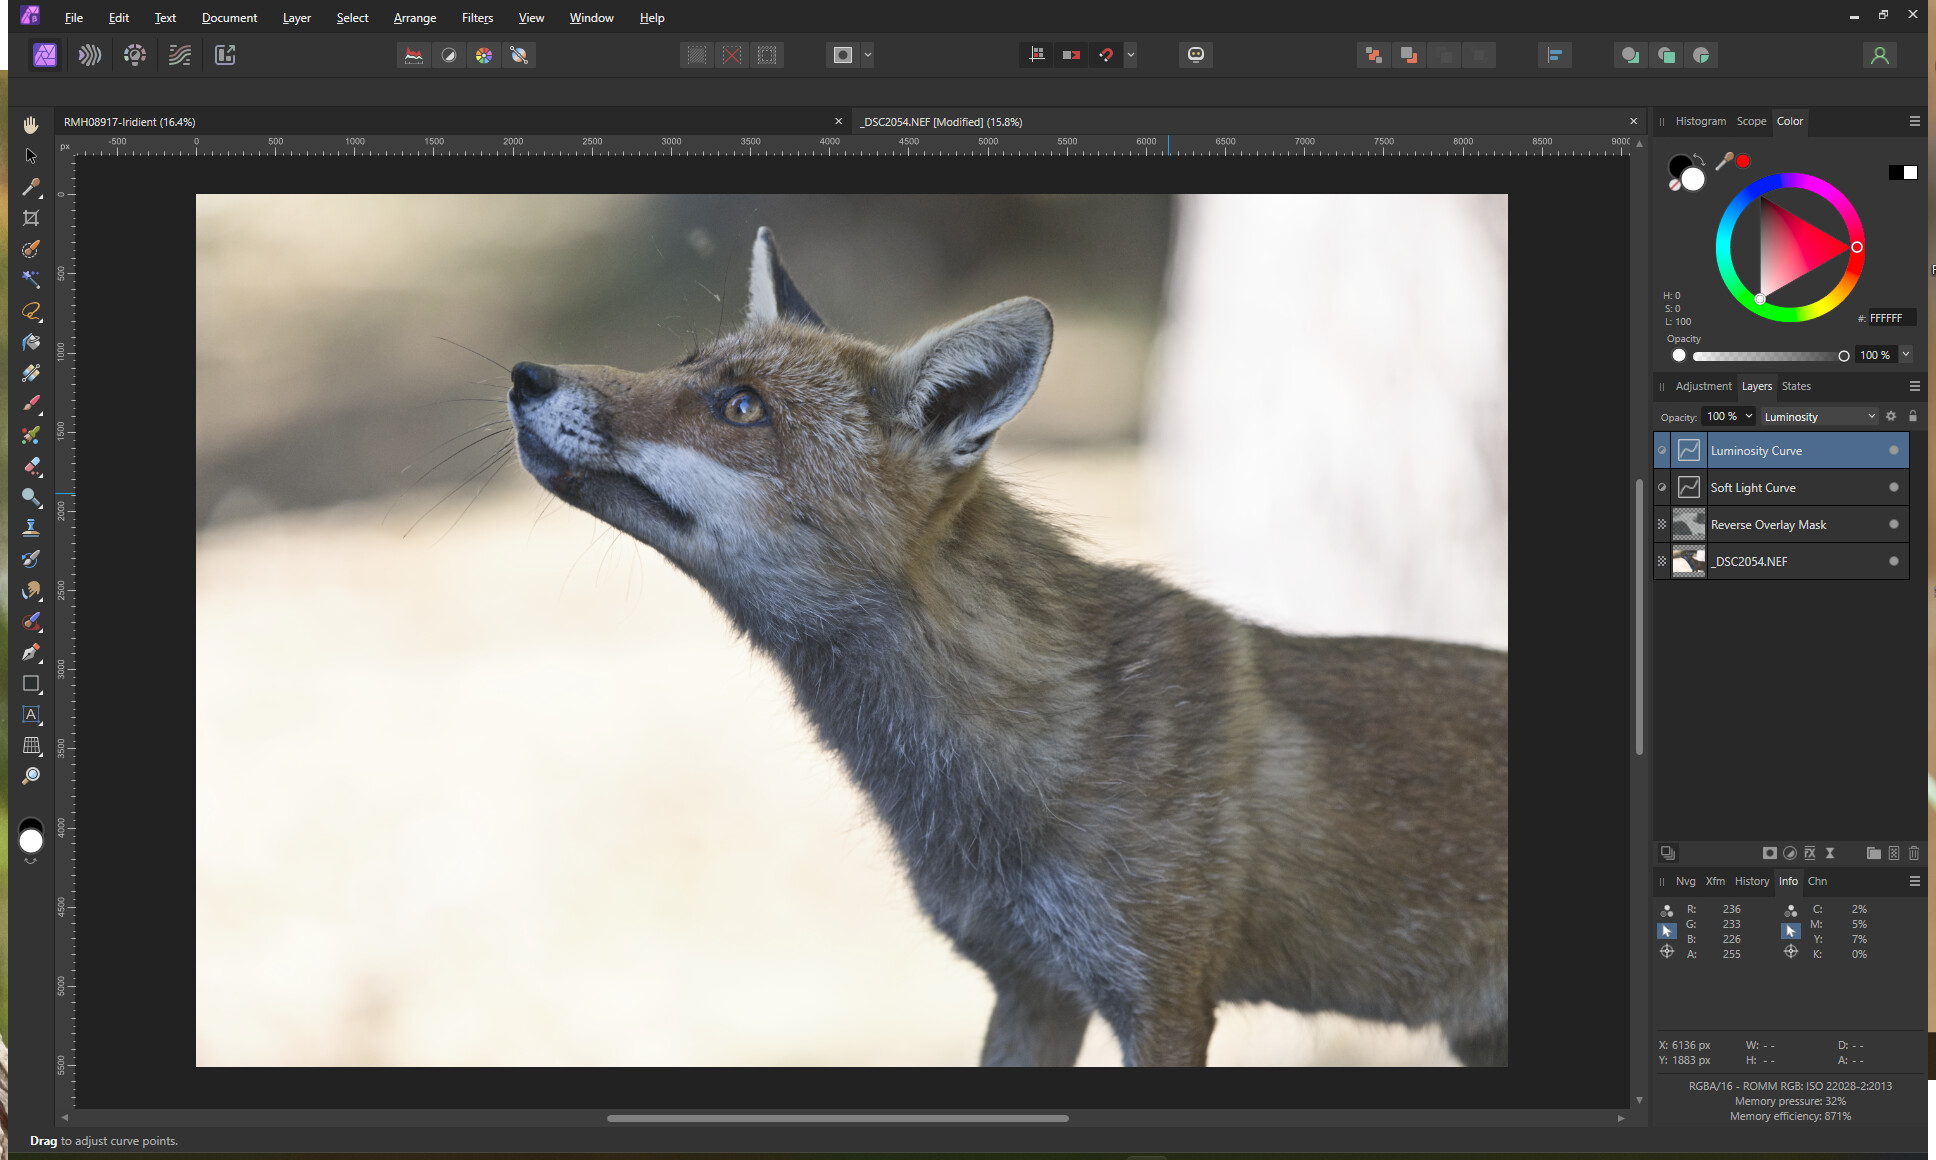
Plus all what photoshop allows puts you in an other world.
But as I told, I don’t want to use adobe products as long this will be possible.
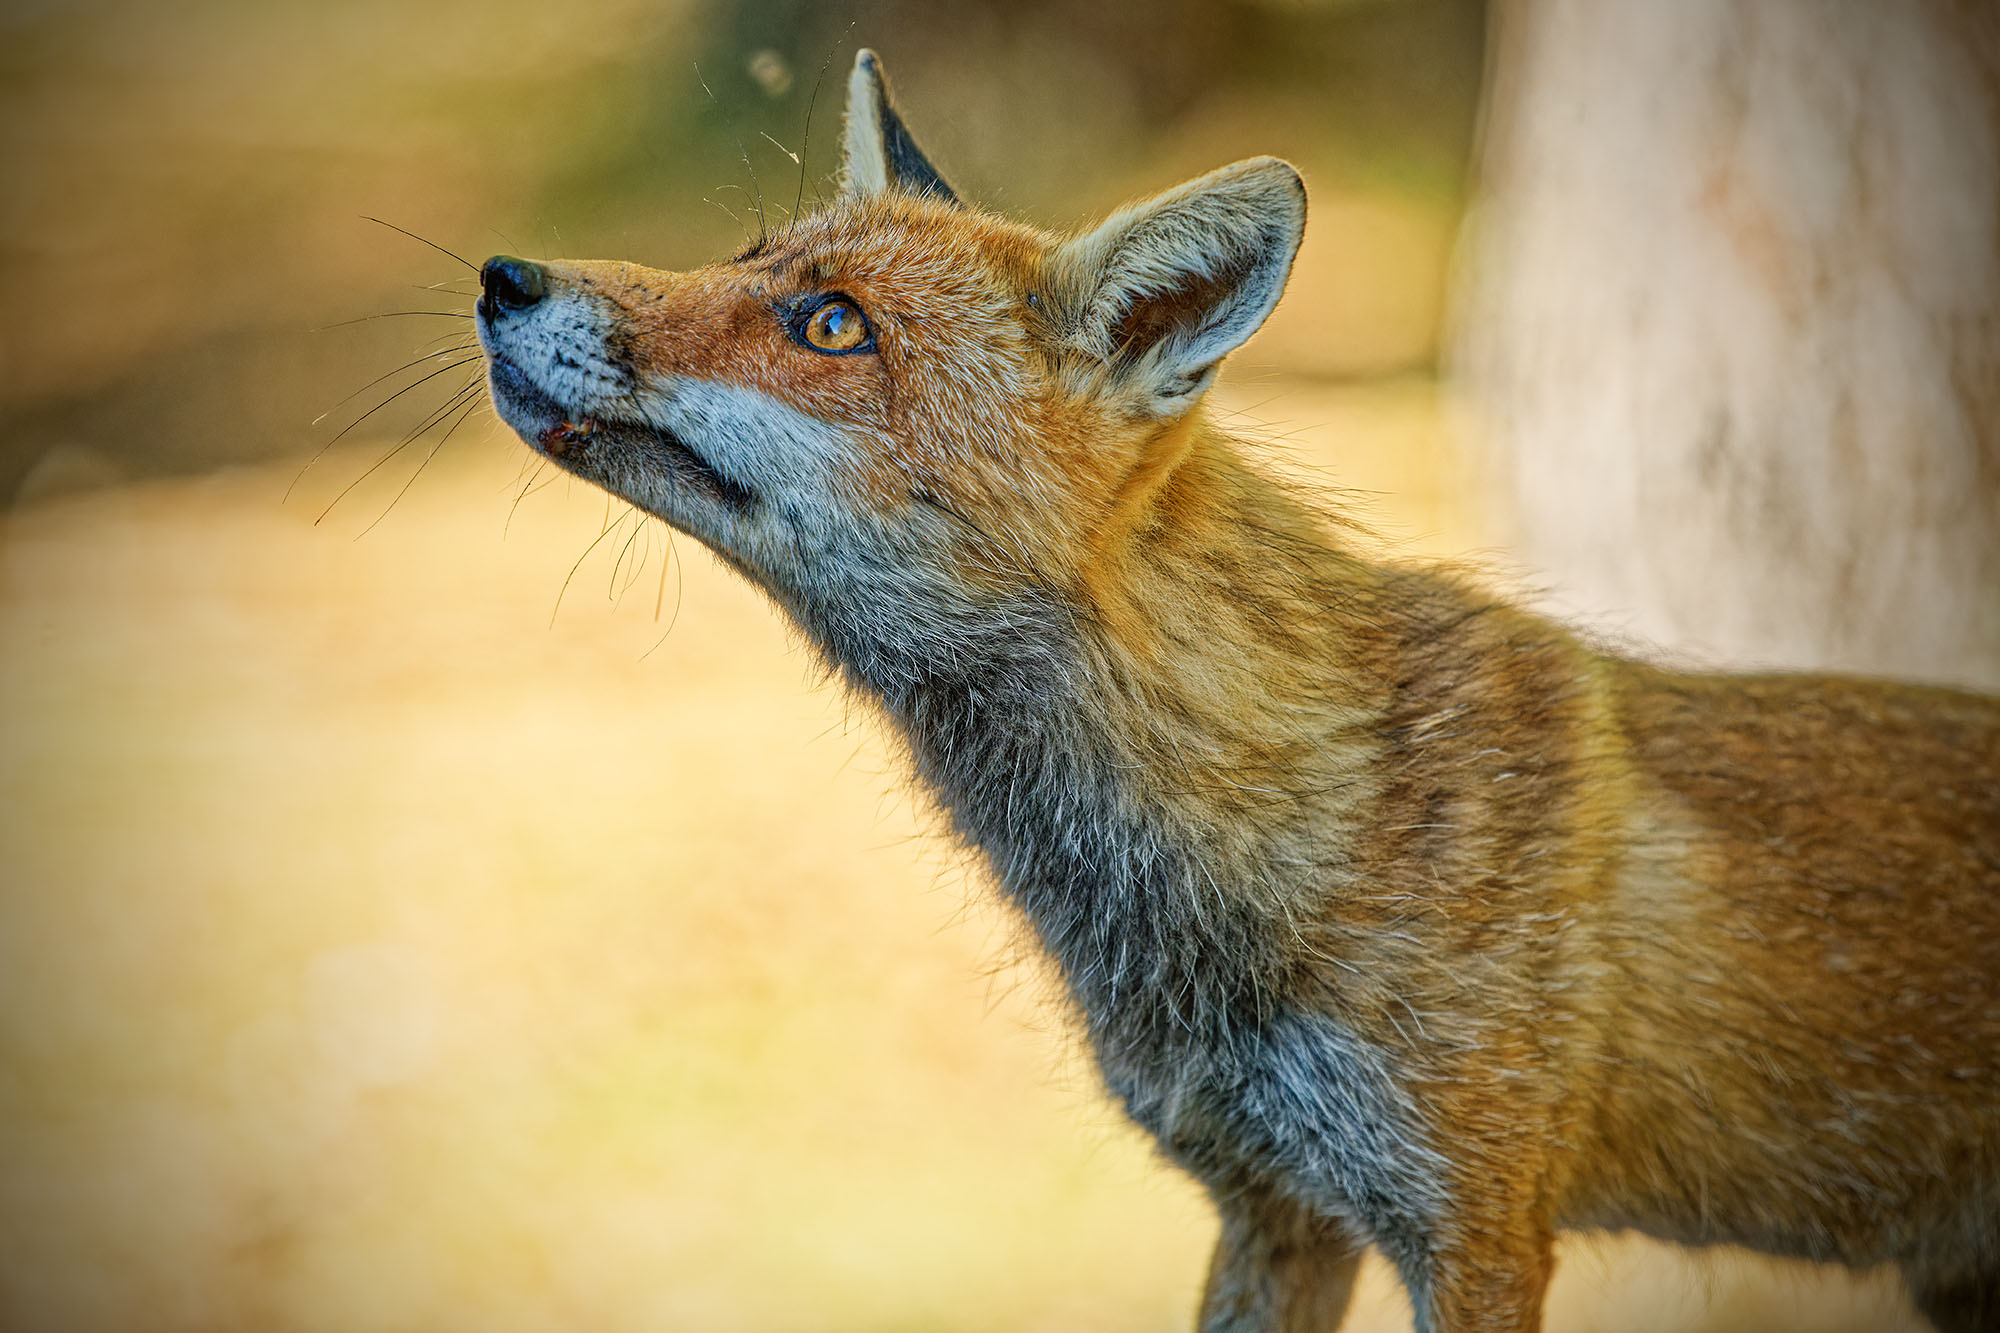
But what I have found is that noise is less relevant with the D850 and, what little there is is well accommodated with DeepPRIME, including detail recovery.
The problem I find with your image is that there isn’t enough sharp detail to recover, on the body of the fox, which is darker, due to the DoF being too tight. Even with Topaz Photo AI, the only parts of the image that gain more detail by sharpening are around the face.
Nonetheless, if you want lighter, simply alter the Tone Curve, ensuring a steeper part in the lower tones to increase the contrast…
Yes indeed. This image did finally not really illustrate my point so well.
But thanks, indeed there are several methods to cleanly isolate what needed to be isolated on this picture.
Indeed more options and precision possible with a layer system which allows to stack any tool in any order with a powerfull masking system (affinity masking system has many options).