Hi Joanna,
my screenshots show the same thing, but on a AdobeRGB screen (also optimized for printing). As already demonstrated, the AdobeRGB colour space is a bit different – covering less red but more blue-green, something like that …
.
#1
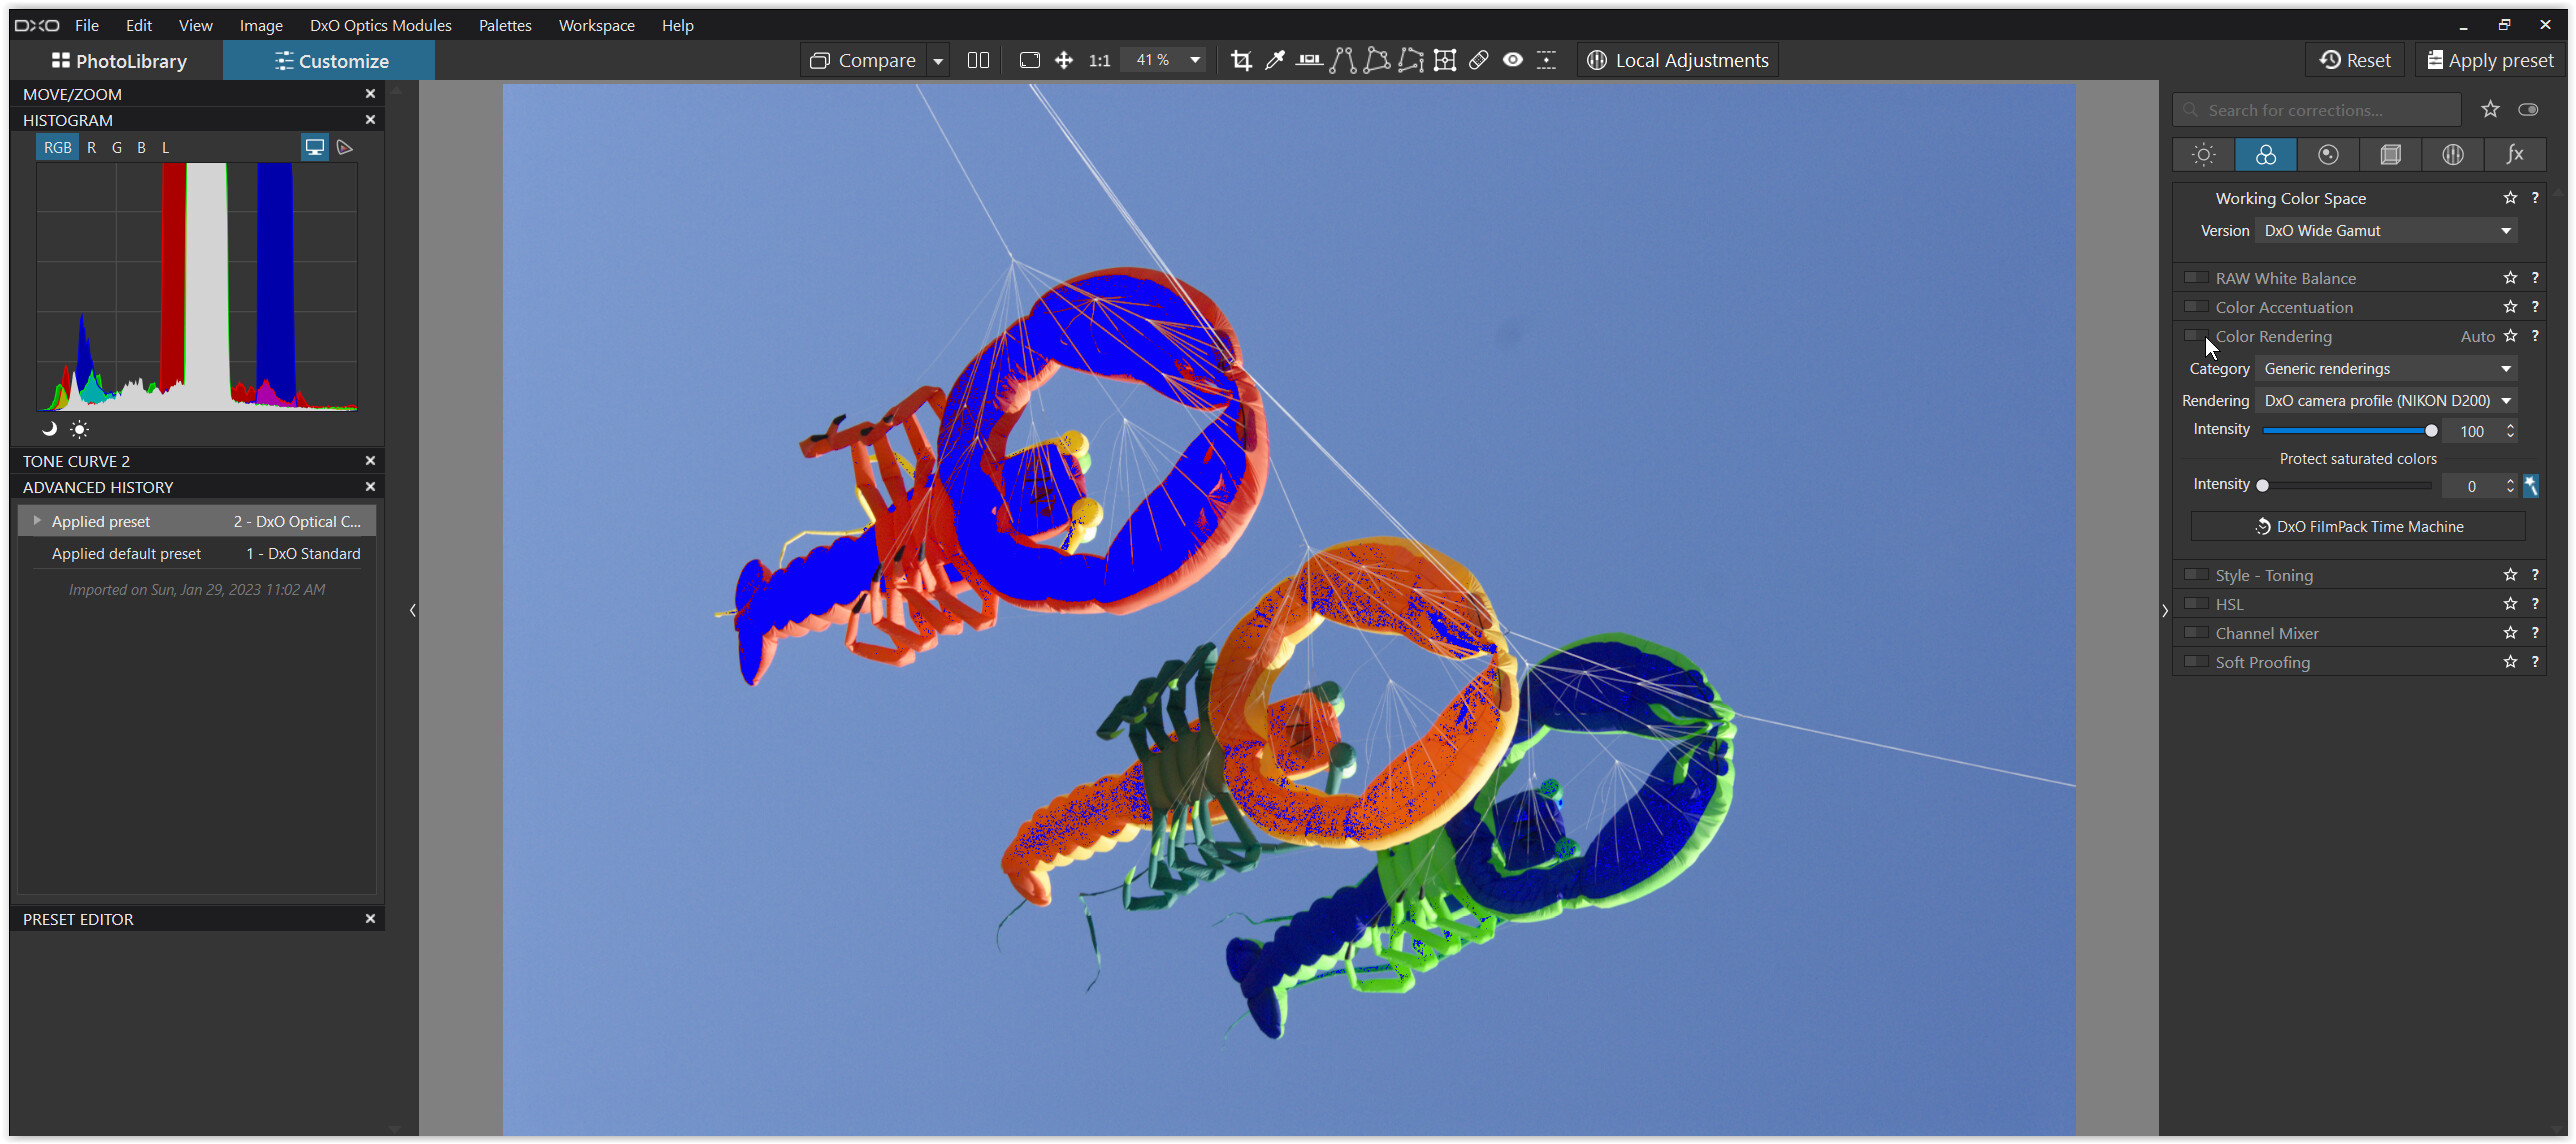
in DxO Wide Gamut WCS with optical corrections only
.
#2
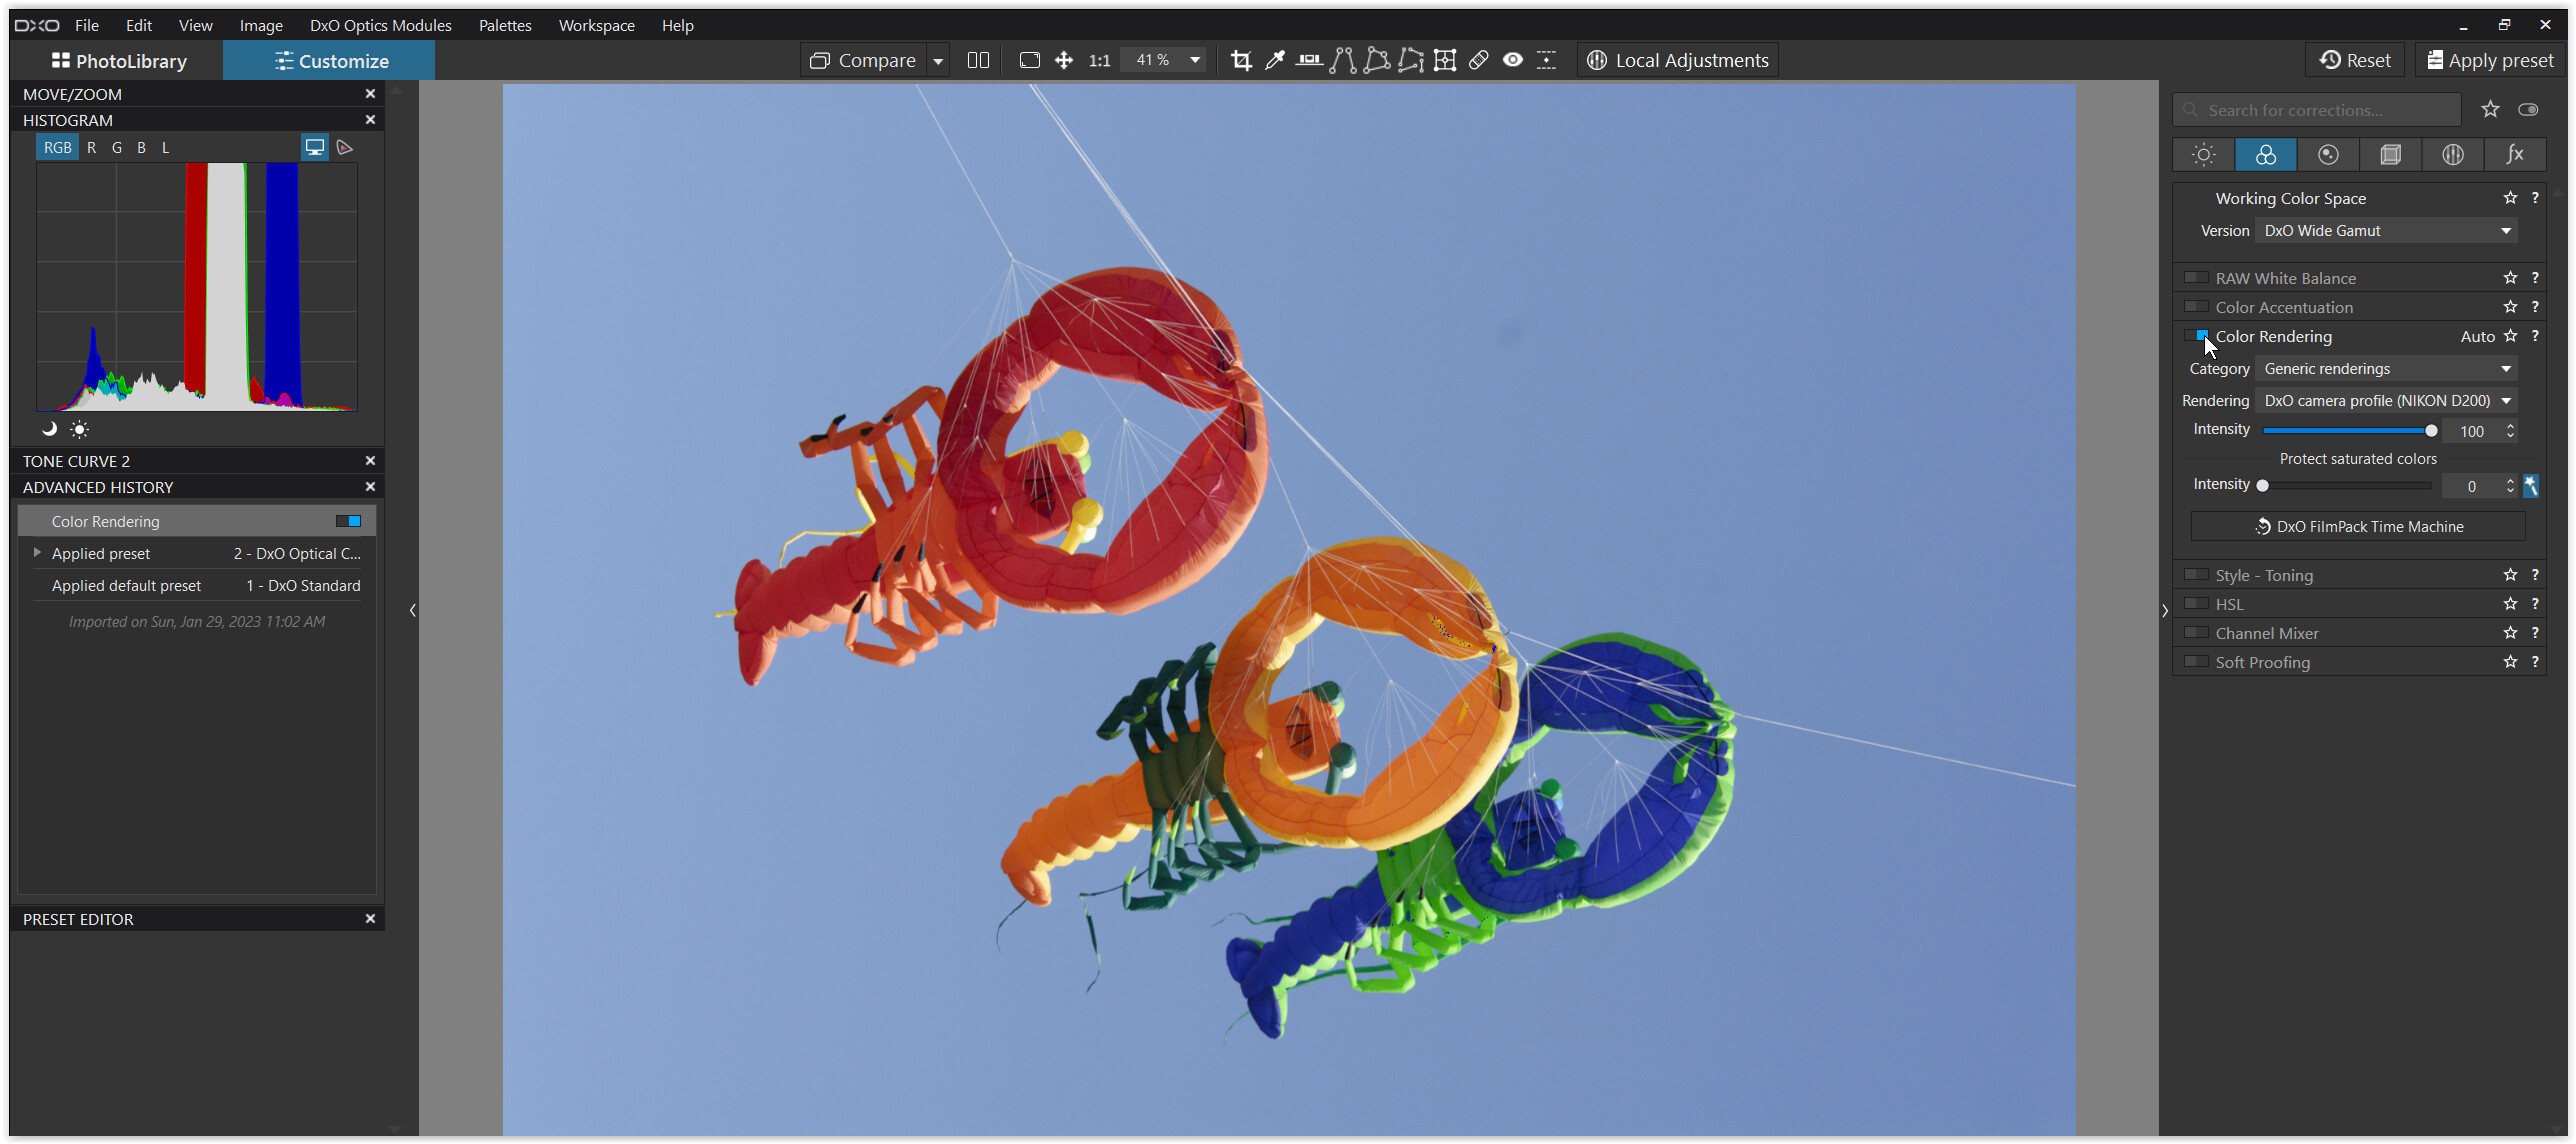
like #1, but with additionally color rendering for Nikon D200 activated
.
#3
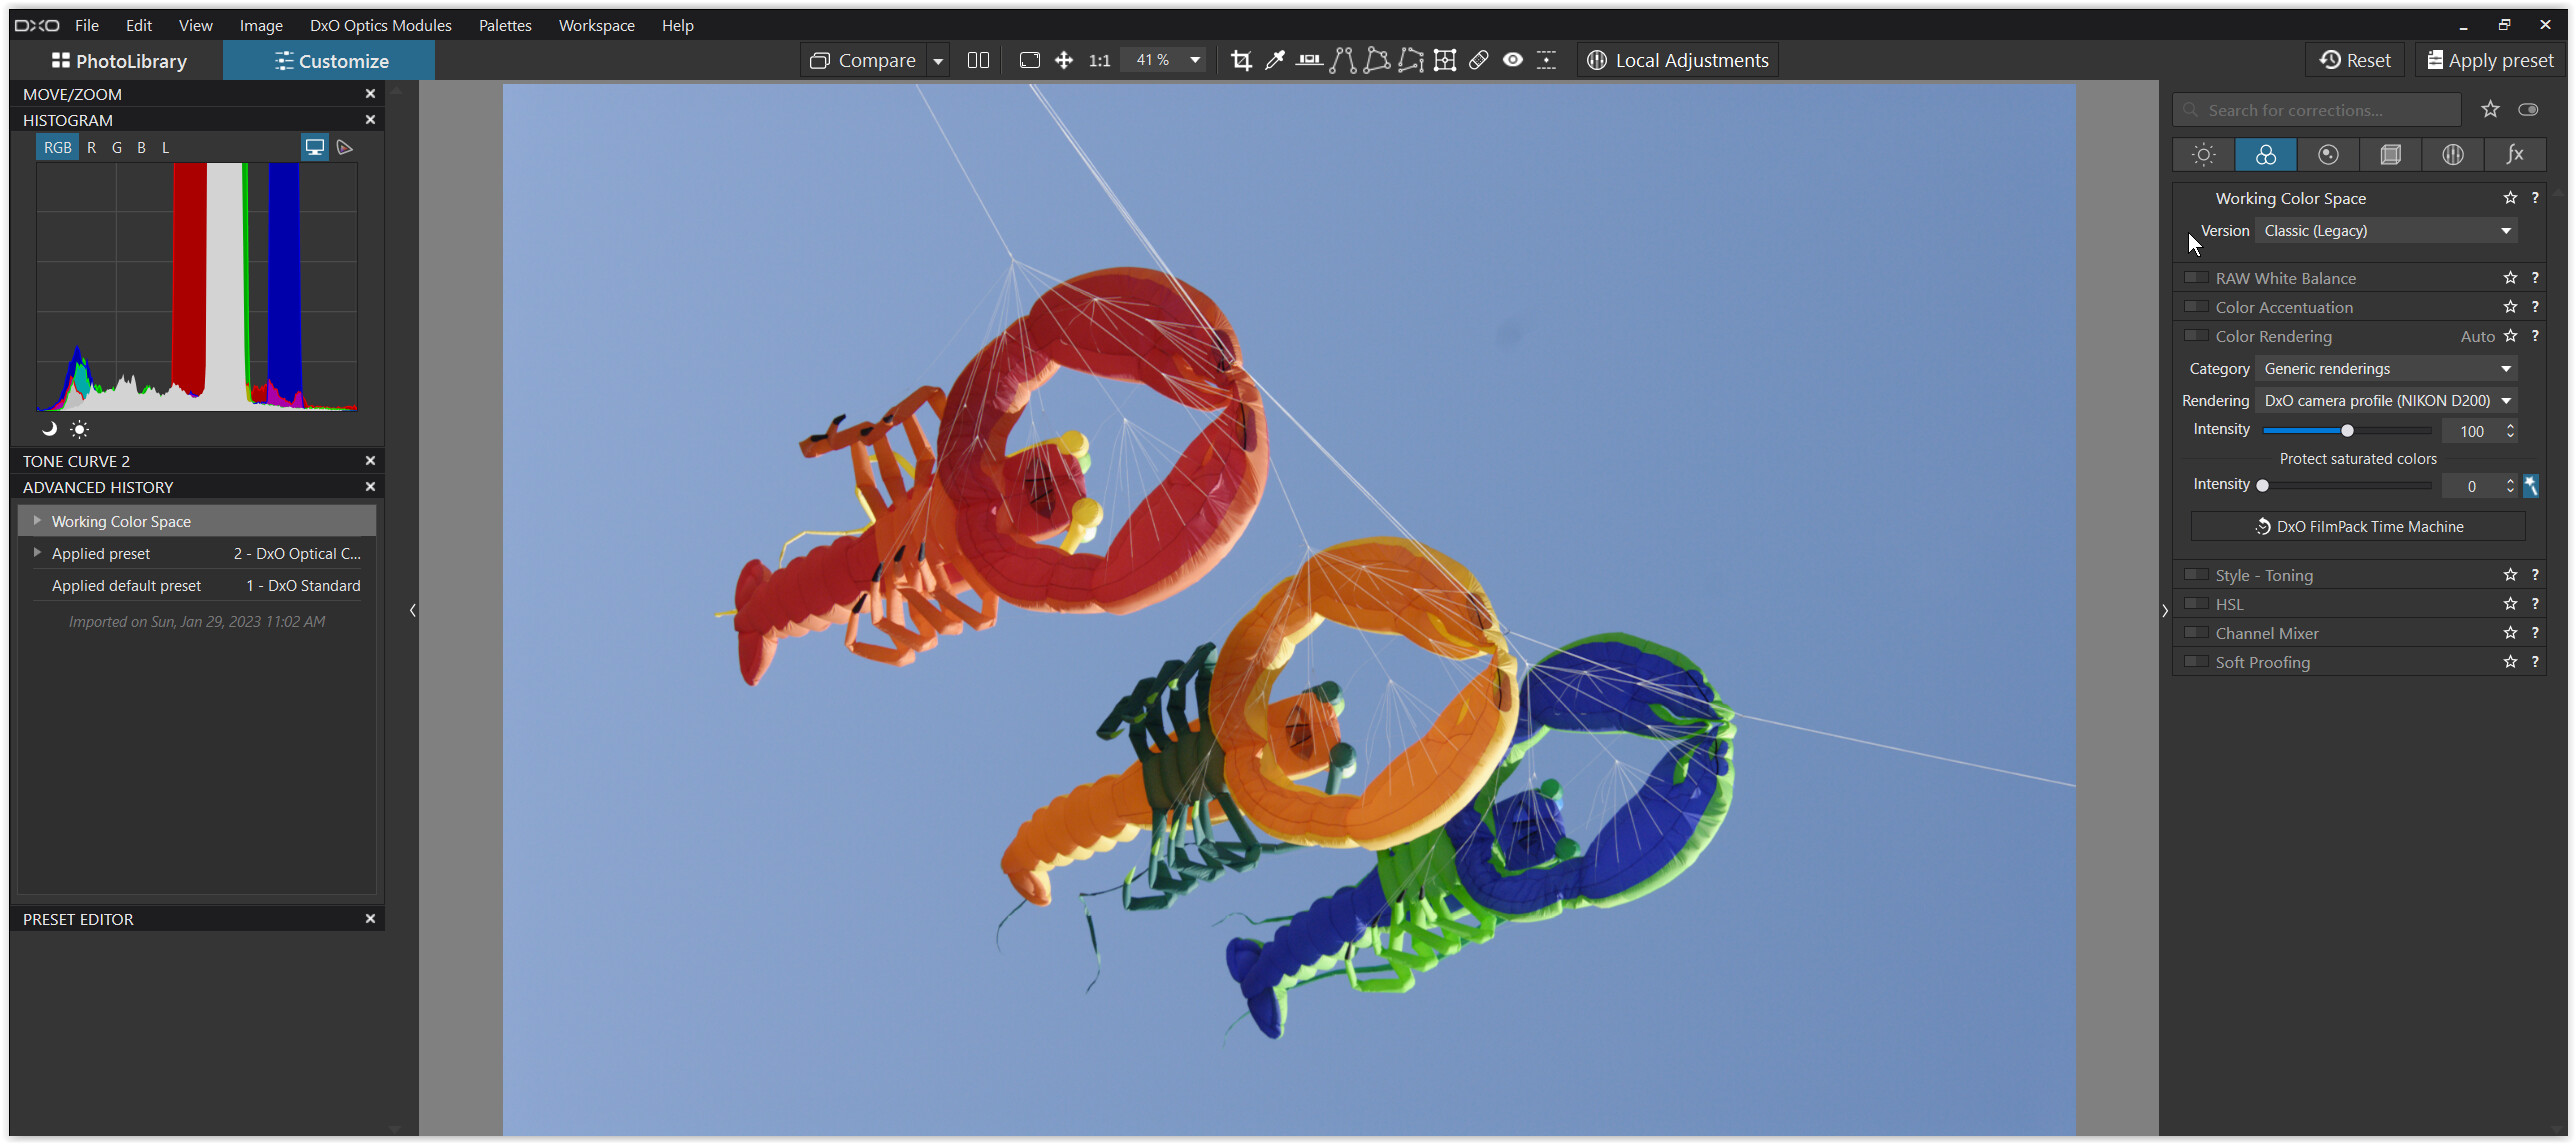
in DxO Classic-Legacy WCS with optical corretions only
#1
It’s easy to see, that the colours are way darker and more saturated than in #2 and #3.
The Monitor gamut warning (blue overlay) indicates the area, where the colours from the pic in question go beyond my monitor’s colour space.
Note – this warning only indicates, that they are out-of-gamut (of AdobeRGB),
but not by how far out they are.
It is NOT recommended to counter all the blue overlay to not getting all flat colours.
The online manual tells to adjust to your liking (of course w/ blue overlay OFF).
#2
The very same thing like in #1, but DxO’s standard rendering for the Nikon D200 obviously took care for those out-of-gamut colours.
#3
The same thing like in #1, but with DxO’s Classic-Legacy WCS.
Now, this shows PL6 CL / PL5 limitation to AdobeRGB colour space !!
The colours of the pic in question do not go beyond AdobeRGB anymore
– which is why we don’t see any blue overlay from my screen.
[ If I would have set my screen to sRGB colour space, we would see the blue overlay area
showing the difference between the monitor (sRGB) and the converted pic (ARGB). ]
- if I am exporting to sRGB for posting to a website?
- export with

( with checkbox on = SP / PCD at 50 )
or - use SP / Destination gamut warning (red overlay) to see the area with the affected colours,
switch the red overlay off and use Softproof / Preserve color detail
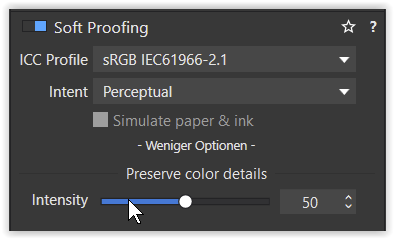
to simulate on your screen the to be expected result
(which you can manipulate → use a VC).
.
Then export with

to ensure you get, what you did & have seen.
- if I am exporting to ProPhotoRGB for printing?
- export with

( with checkbox off = NO partly desaturation )
.
and continue printing as always with your paper profile …
final note
In PL6 CL & PL5 and before the colour space is & was limited to AdobeRGB.
That is, inspite of exporting to ProPhotoRGB no colour was beyond that limitation.
If you haven’t done so, export the same pic from PL6 WG in ProPhotoRGB colour space,
print it and compare both versions side by side.
And for everybody else, who was contented with how it used to be ( = without control ),
stick with PL6 CL. 
Wolfgang