Ansel Adam’s Zone System doesn’t really work for digital positive images as it was designed for negative film, which has a much more restricted dynamic range.
Indeed printing range on “wet” prints is around 7 stops but I have found that inkjet paper can cope with 8 (at a push). However, B&W negative film has a range of 10 stops, hence the 10 zones in the Zone System - the idea being to expose a negative in such a way that, in the case of a contrasty subject, any parts of the subject outside of those 10 stops are “compressed” into the 10 stops; and, in the case of a low contrast subject, they can be “expanded” to better fill the available range.
Exposing for a B&W neg involves starting by “placing” the darkest part of the subject, for which you require to see detail, in Zone 3; measuring the brightest part of the subject to determine the total range and then calculating how many stops above Zone 3 you have left to fit the rest of the range into.
Most modern sensors have around a 12 stop range at low ISO (some more, the Nikon D850 has 14.6).
But, more importantly, instead of placing the shadow detail minimum in Zone 3, you need to take account of the fact that 12 stops of dynamic range is very unevenly split around the 18% grey level that exposure meters measure for.
In the case of an example 12 stop range sensor, you will usually find that you only have 2 stops above 18% grey before the highlights on a subject are irretrievably blown.
So, taking this into account, I have devised my own DZS (Digital Zone System), which is based on the highlight end of the available dynamic range rather than the shadow end for negative film.
In the case of a subject with high dynamic range, you start by “placing” the brightest zone around +1 to +2 stops above the 18% grey level that the exposure meter will measure.
I usually start by putting the camera in manual exposure mode and setting the exposure compensation to a positive value that suits the tonality of the brightest part of the subject: if it is pure white set it to +2, if it is off-white, set it to +1, or somewhere around that.
Then, with the metering mode set to Spot mode, I measure the brightest part of the subject on the zero marker of the meter, reframe the shot and take it.
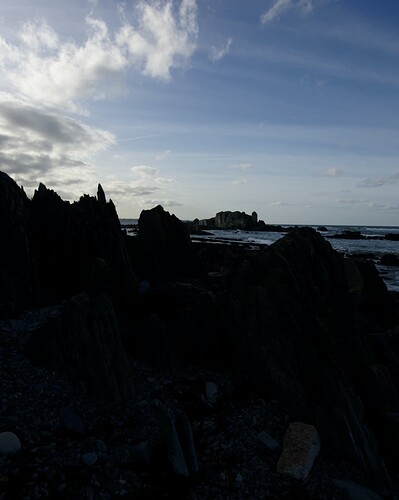
This will give an image that is perfectly exposed for the highlights but that will appear quite dark for everything else. Which is where PhotoLab’s excellent tools come into play to recover those “lost” shadow details.
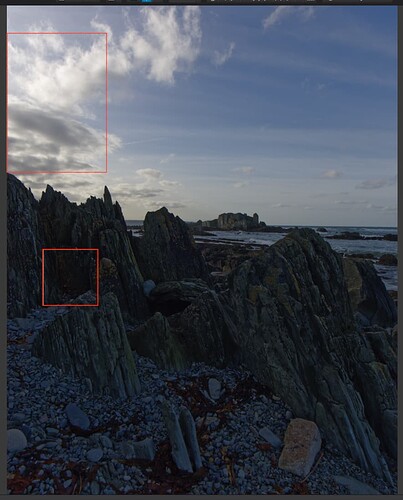
Instead of using any of the DxO supplied presets, my standard procedure is to start by applying a Spot Weighted Smart Lighting correction…
Before…
With the zones defined and the mode level set to 50…
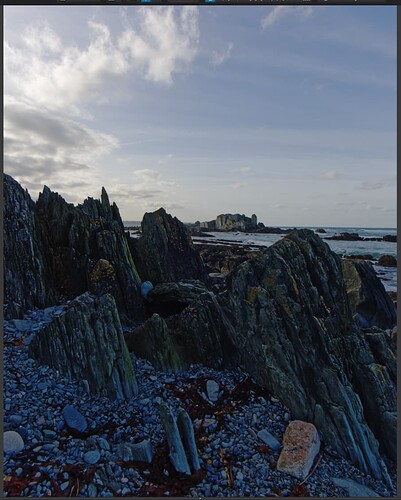
This has now “anchored” the highlight and shadow levels on the Tone Curve, which can now be adjusted to better separate out the tonalities in the lower end…
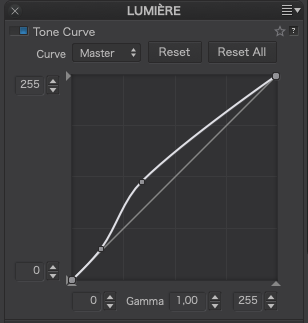
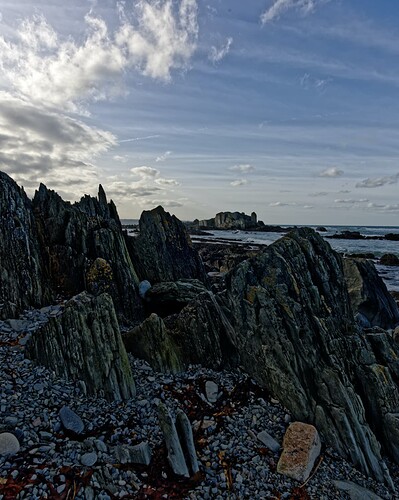
This gives us the digital equivalent of the over-exposure and under-development needed to compress tonal range with B&W negative film. All that is needed now is to adjust things like fine contrast and graduated filters/Control Lines, etc to finalise the image.
This in no way invalidates what @platypus suggest, instead, it just offers an alternative methodology that I have found very useful and fast.
