As I said, Apple might have broken Epson Scan 2 but they still provide a way to use your scanner via Image Capture.
And now is the time for me to hold up my hands and say that VueScan is better than I thought. That is, if I hadn’t been so tight and not bought the full version.
But I do stand by my feeling that the UI could be easier to work with.
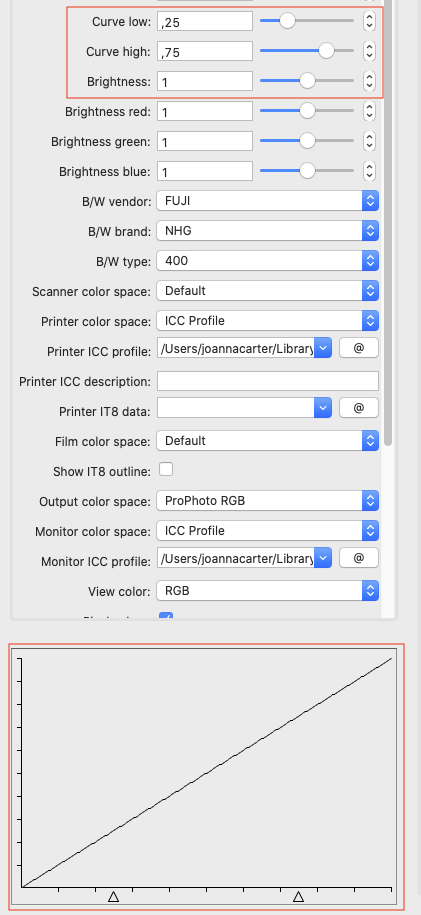
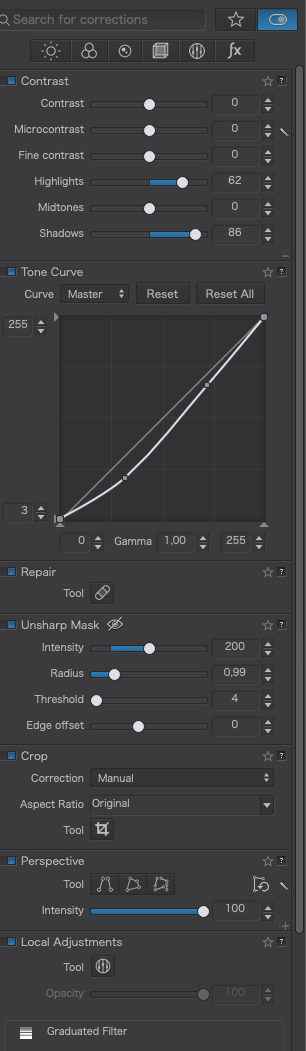
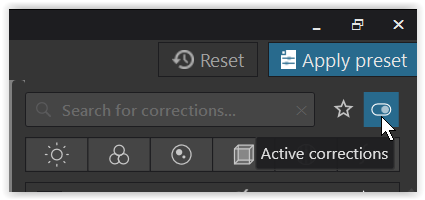
So, now I’ve found the histogram and curve tools, I would recommend using…
… which gives a flat response and…
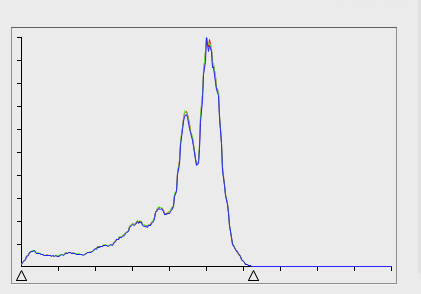
… to ensure the ends of the histogram are right. I’m not happy that I haven’t yet found a way to move the histogram a bit more to the right, to ensure the shadows aren’t blocked, but that might still be possible.
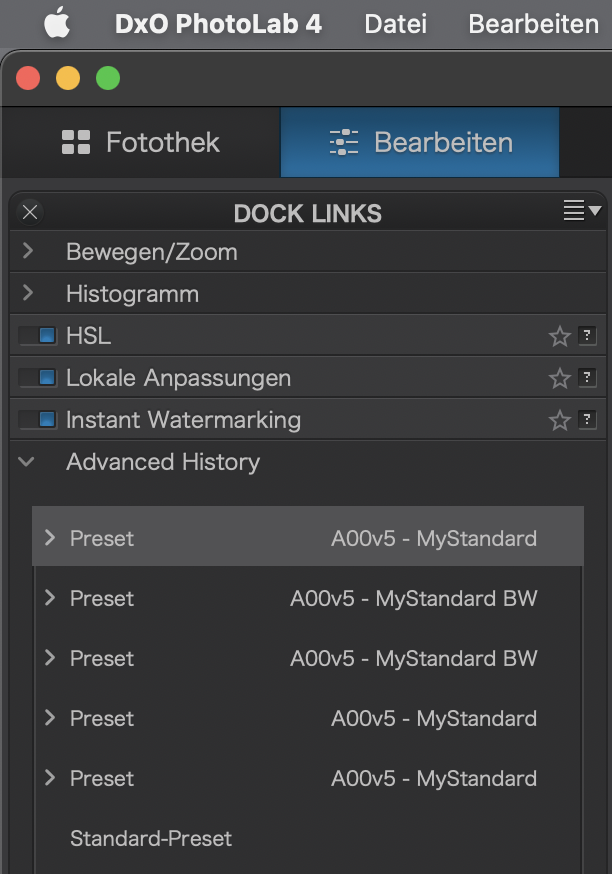
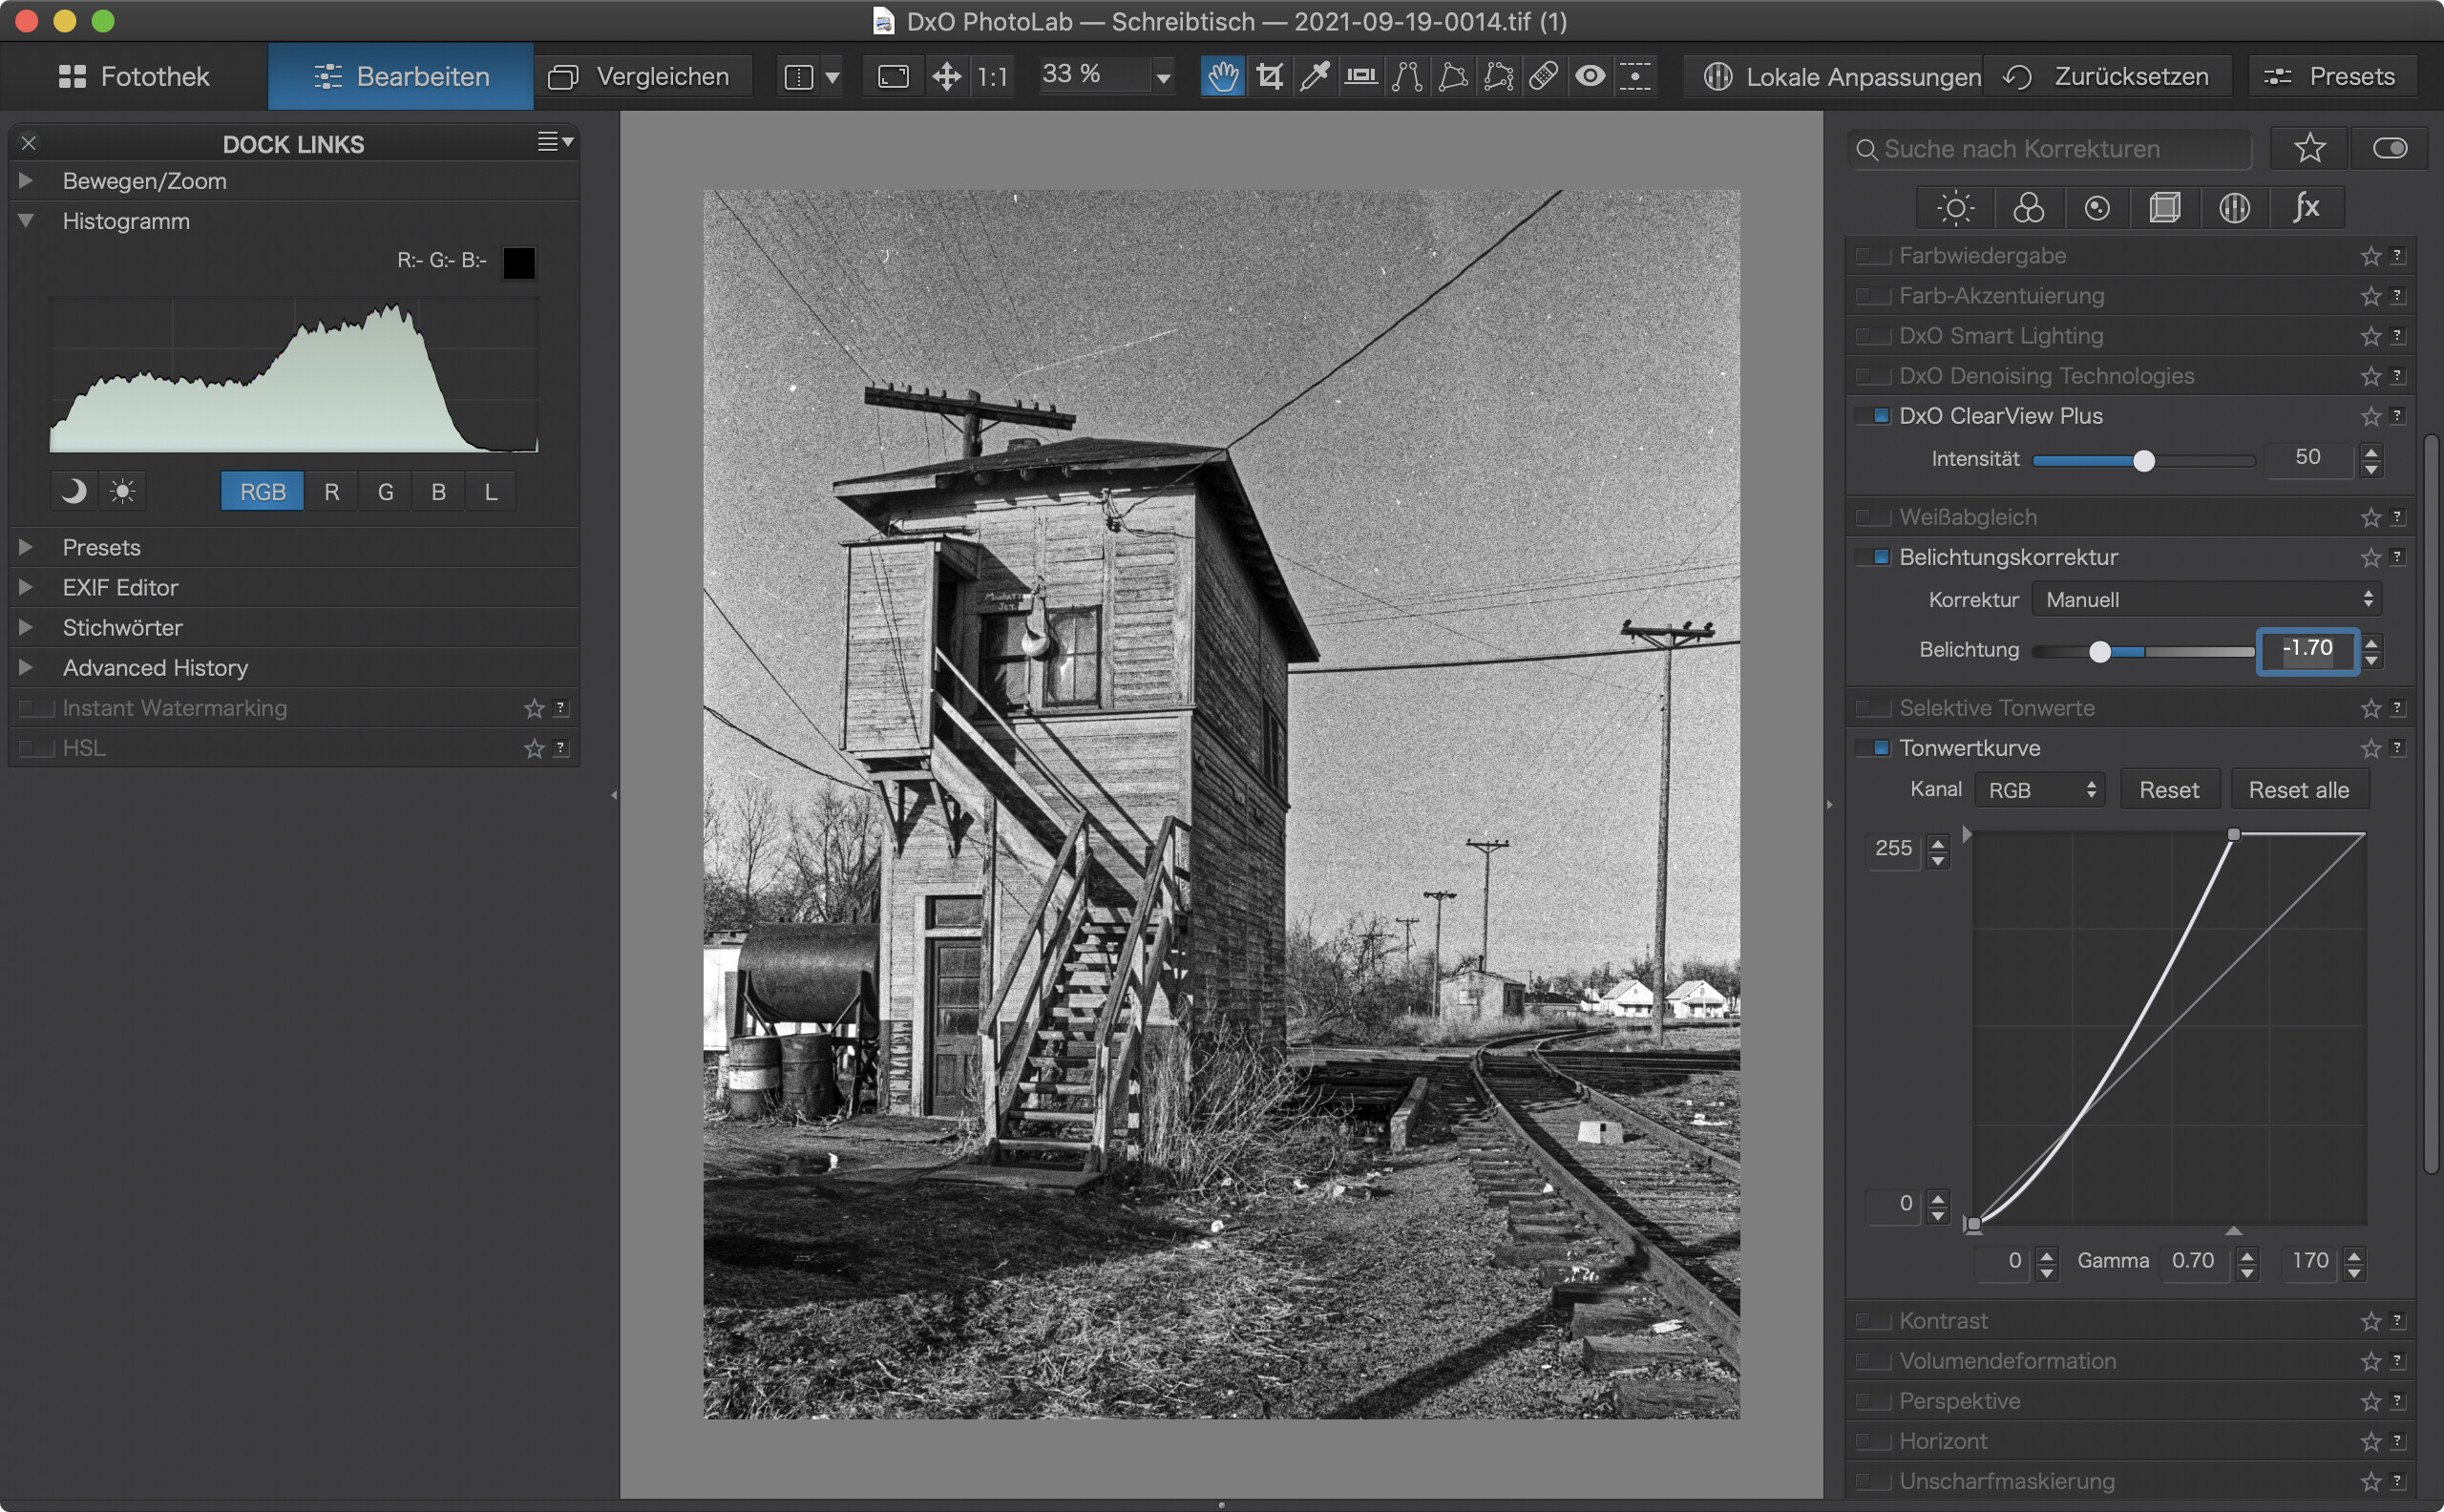
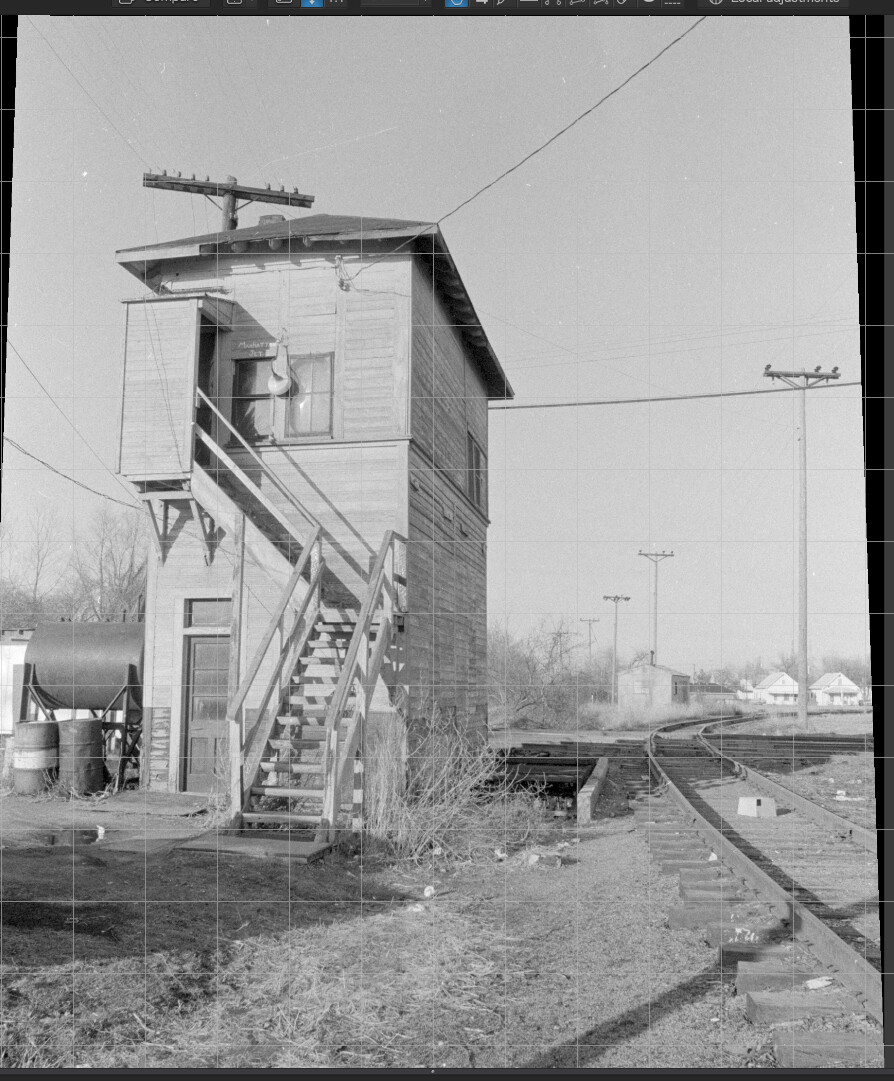
Here’s a screenshot of the result in PL…
… and you can see the shadows at the front are slightly blocked, but only took raising the bottom of the tone curve by +3 to get rid of them - I would call that acceptable.
I’ve just seen the price for a full licence - no thanks 
… which is odd when you think about it.
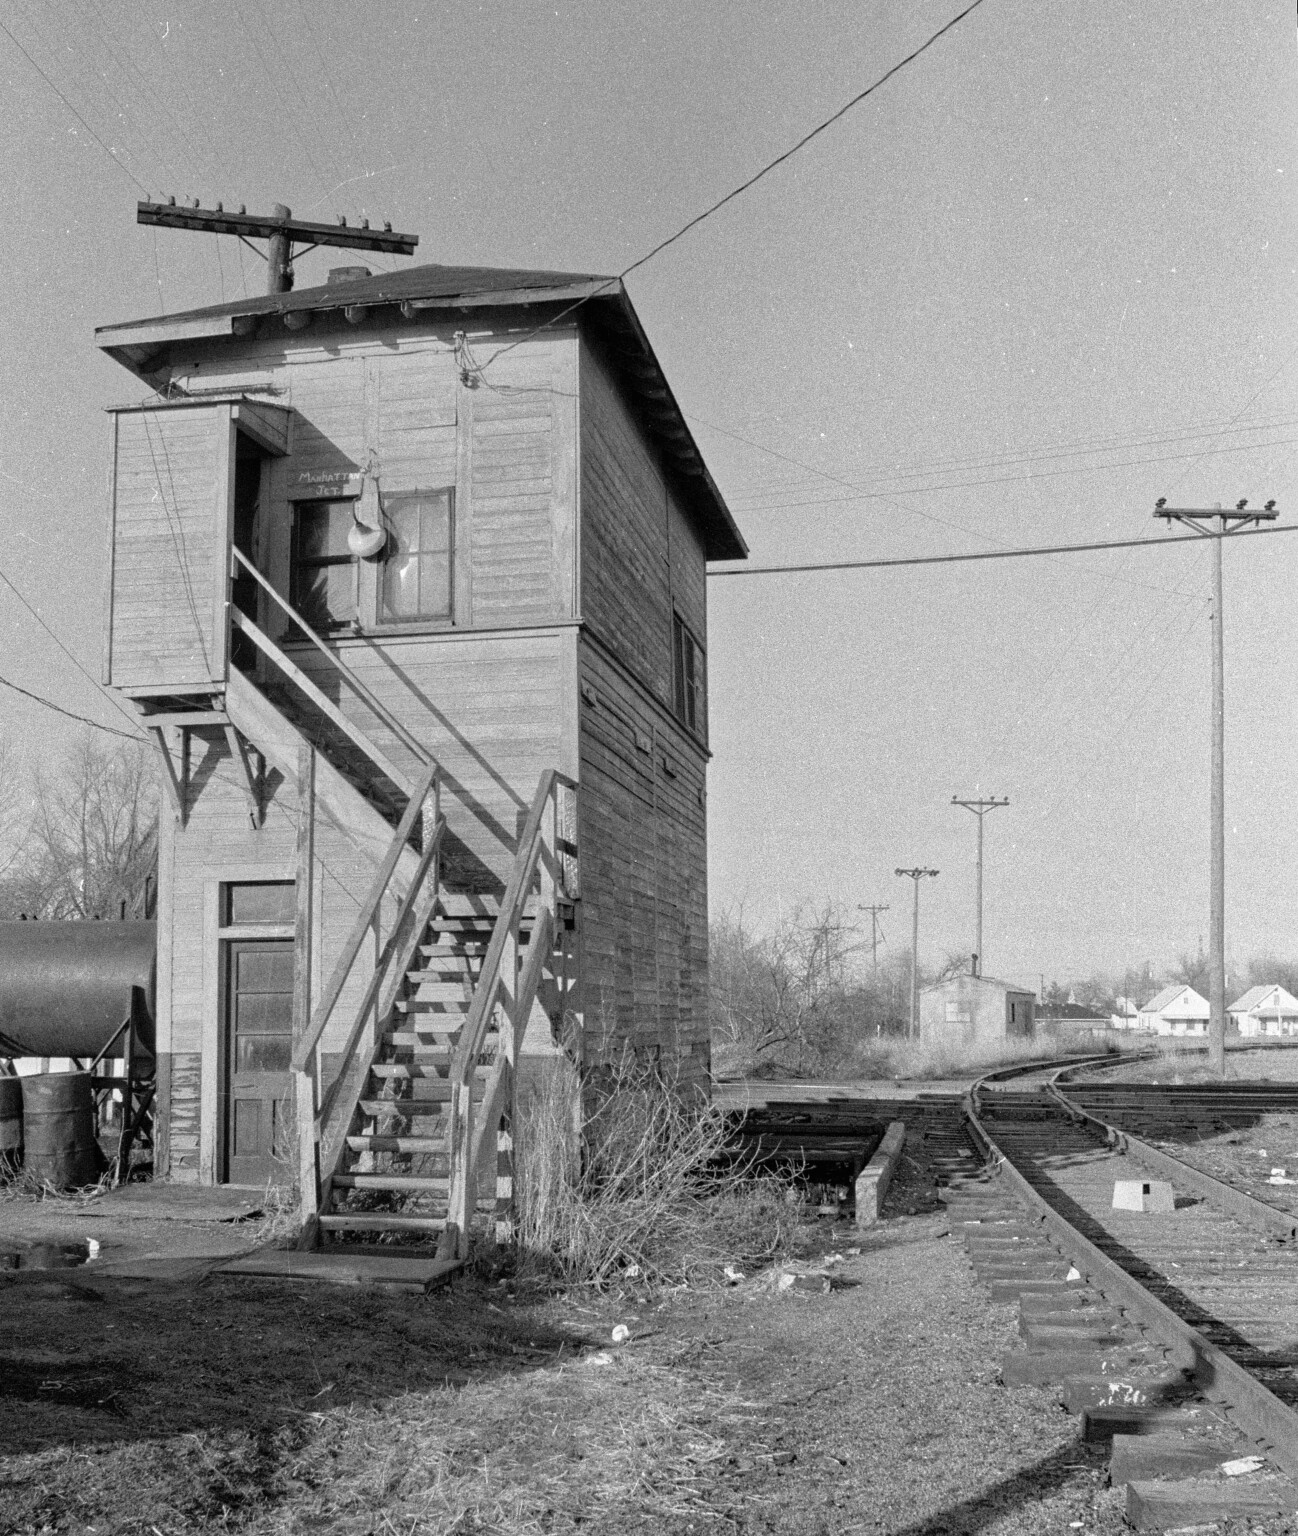
Now to your scan Mike.
At first look, you have used 13 adjustments, whether you meant to or whether they were part of a default preset. Some of them are fighting each other.
-
You adjusted the exposure compensation to -1.1 but then you boosted the highlights selective tone by +50 and the midtones by +30. Then you applied a control point on the signal box to bring the highlights down. Do you see what I mean by fighting?
-
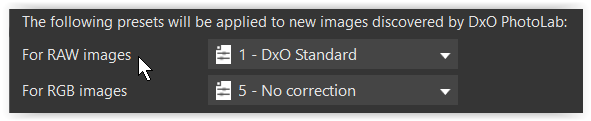
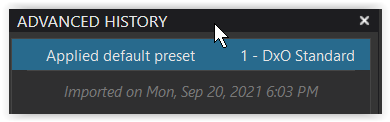
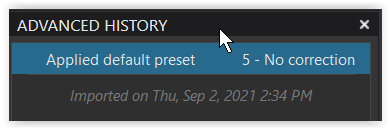
The Smart Lighting was totally unnecessary and I am convinced that the preset you are using is applying stuff that you really don’t need when dealing with scanned images.
-
You used straightforwards contrast which can be hard to control when compared with adjusting the tone curve and you also used Microcontrast, which can tend to accentuate film grain - Fine contrast is the better option.
-
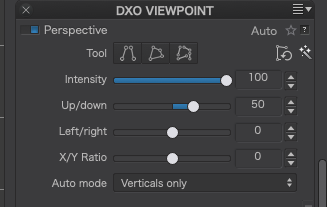
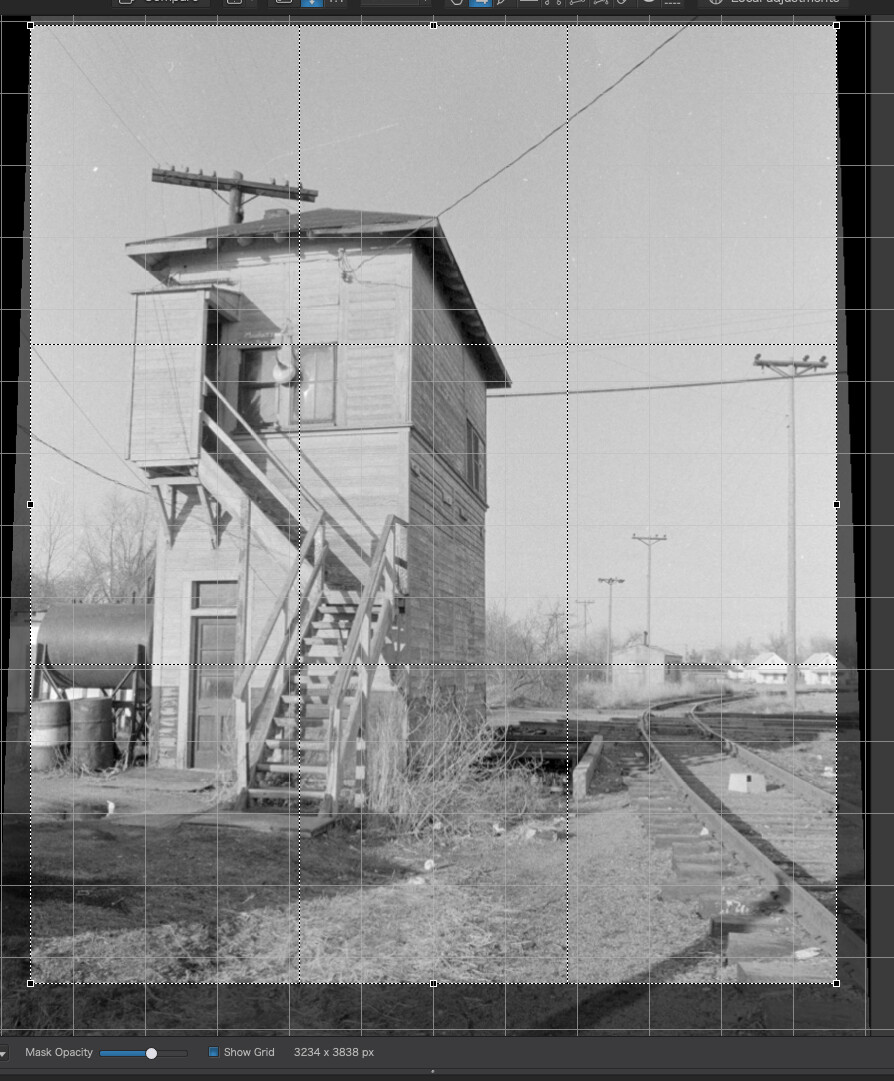
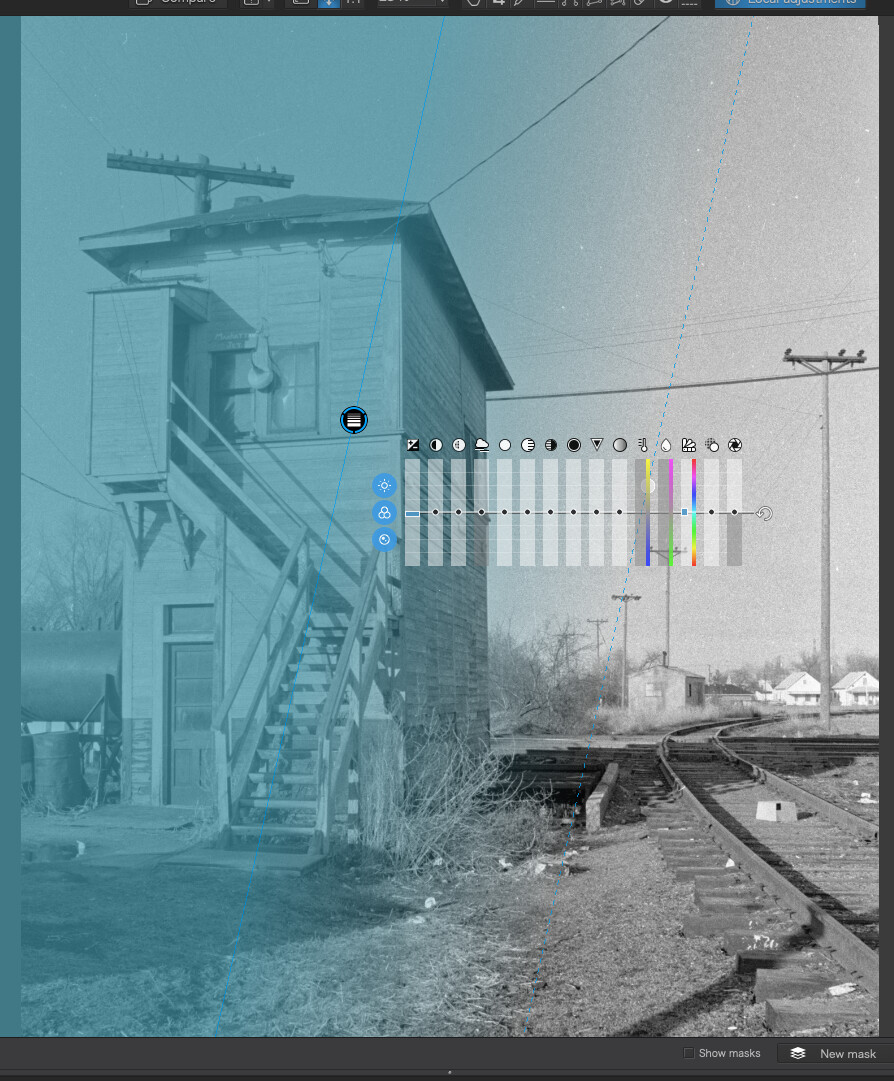
It looks like you used the Horizon tool, without much success  The better option in this case turned out to be the Force Parallels tool, with one line on the front corner of the signal box and the other on the telegraph pole on the right.
-
I used a very subtle graduated filter on the left side instead of the control points you used, because the control points seemed to be a bit “blotchy”.
-
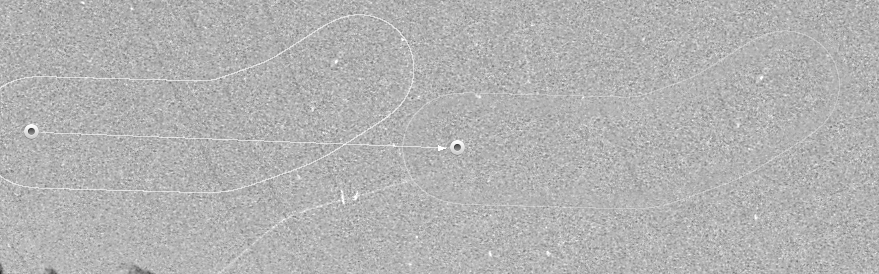
You need to take care where the repair tool draws its origin from. Here it borrowed the telegraph wires to cover a scratch in the sky…
Apart from all that, not a bad effort 
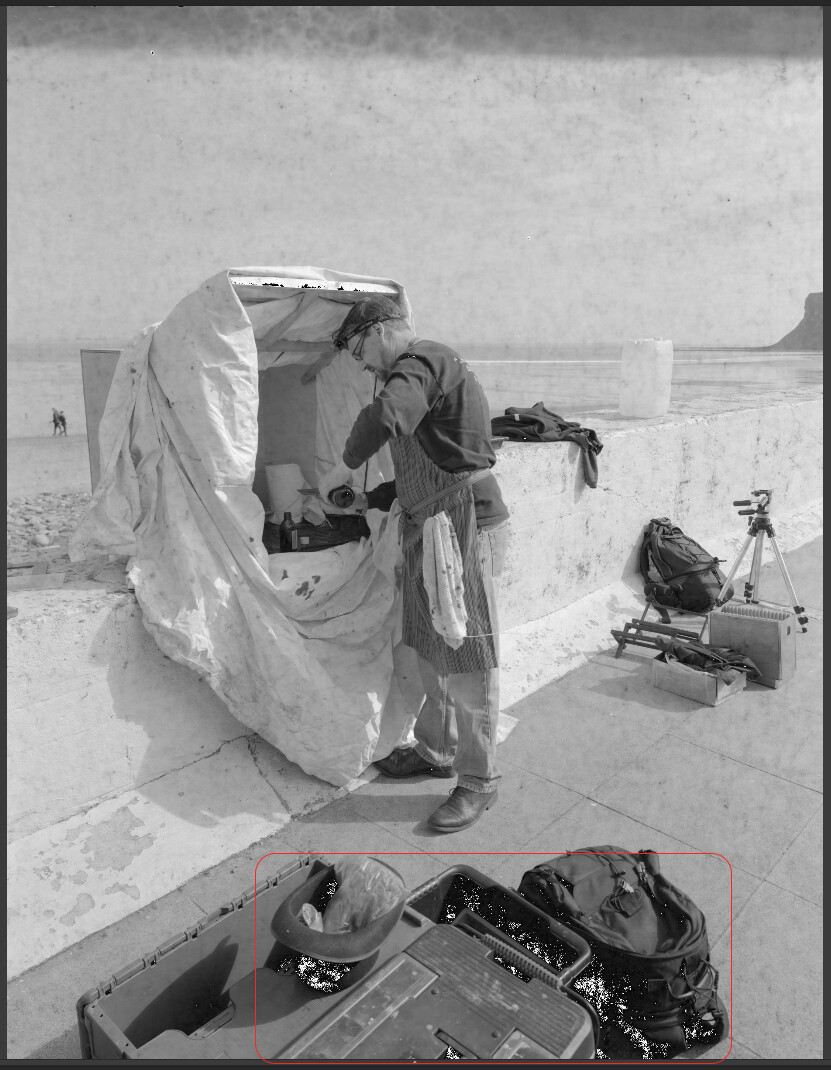
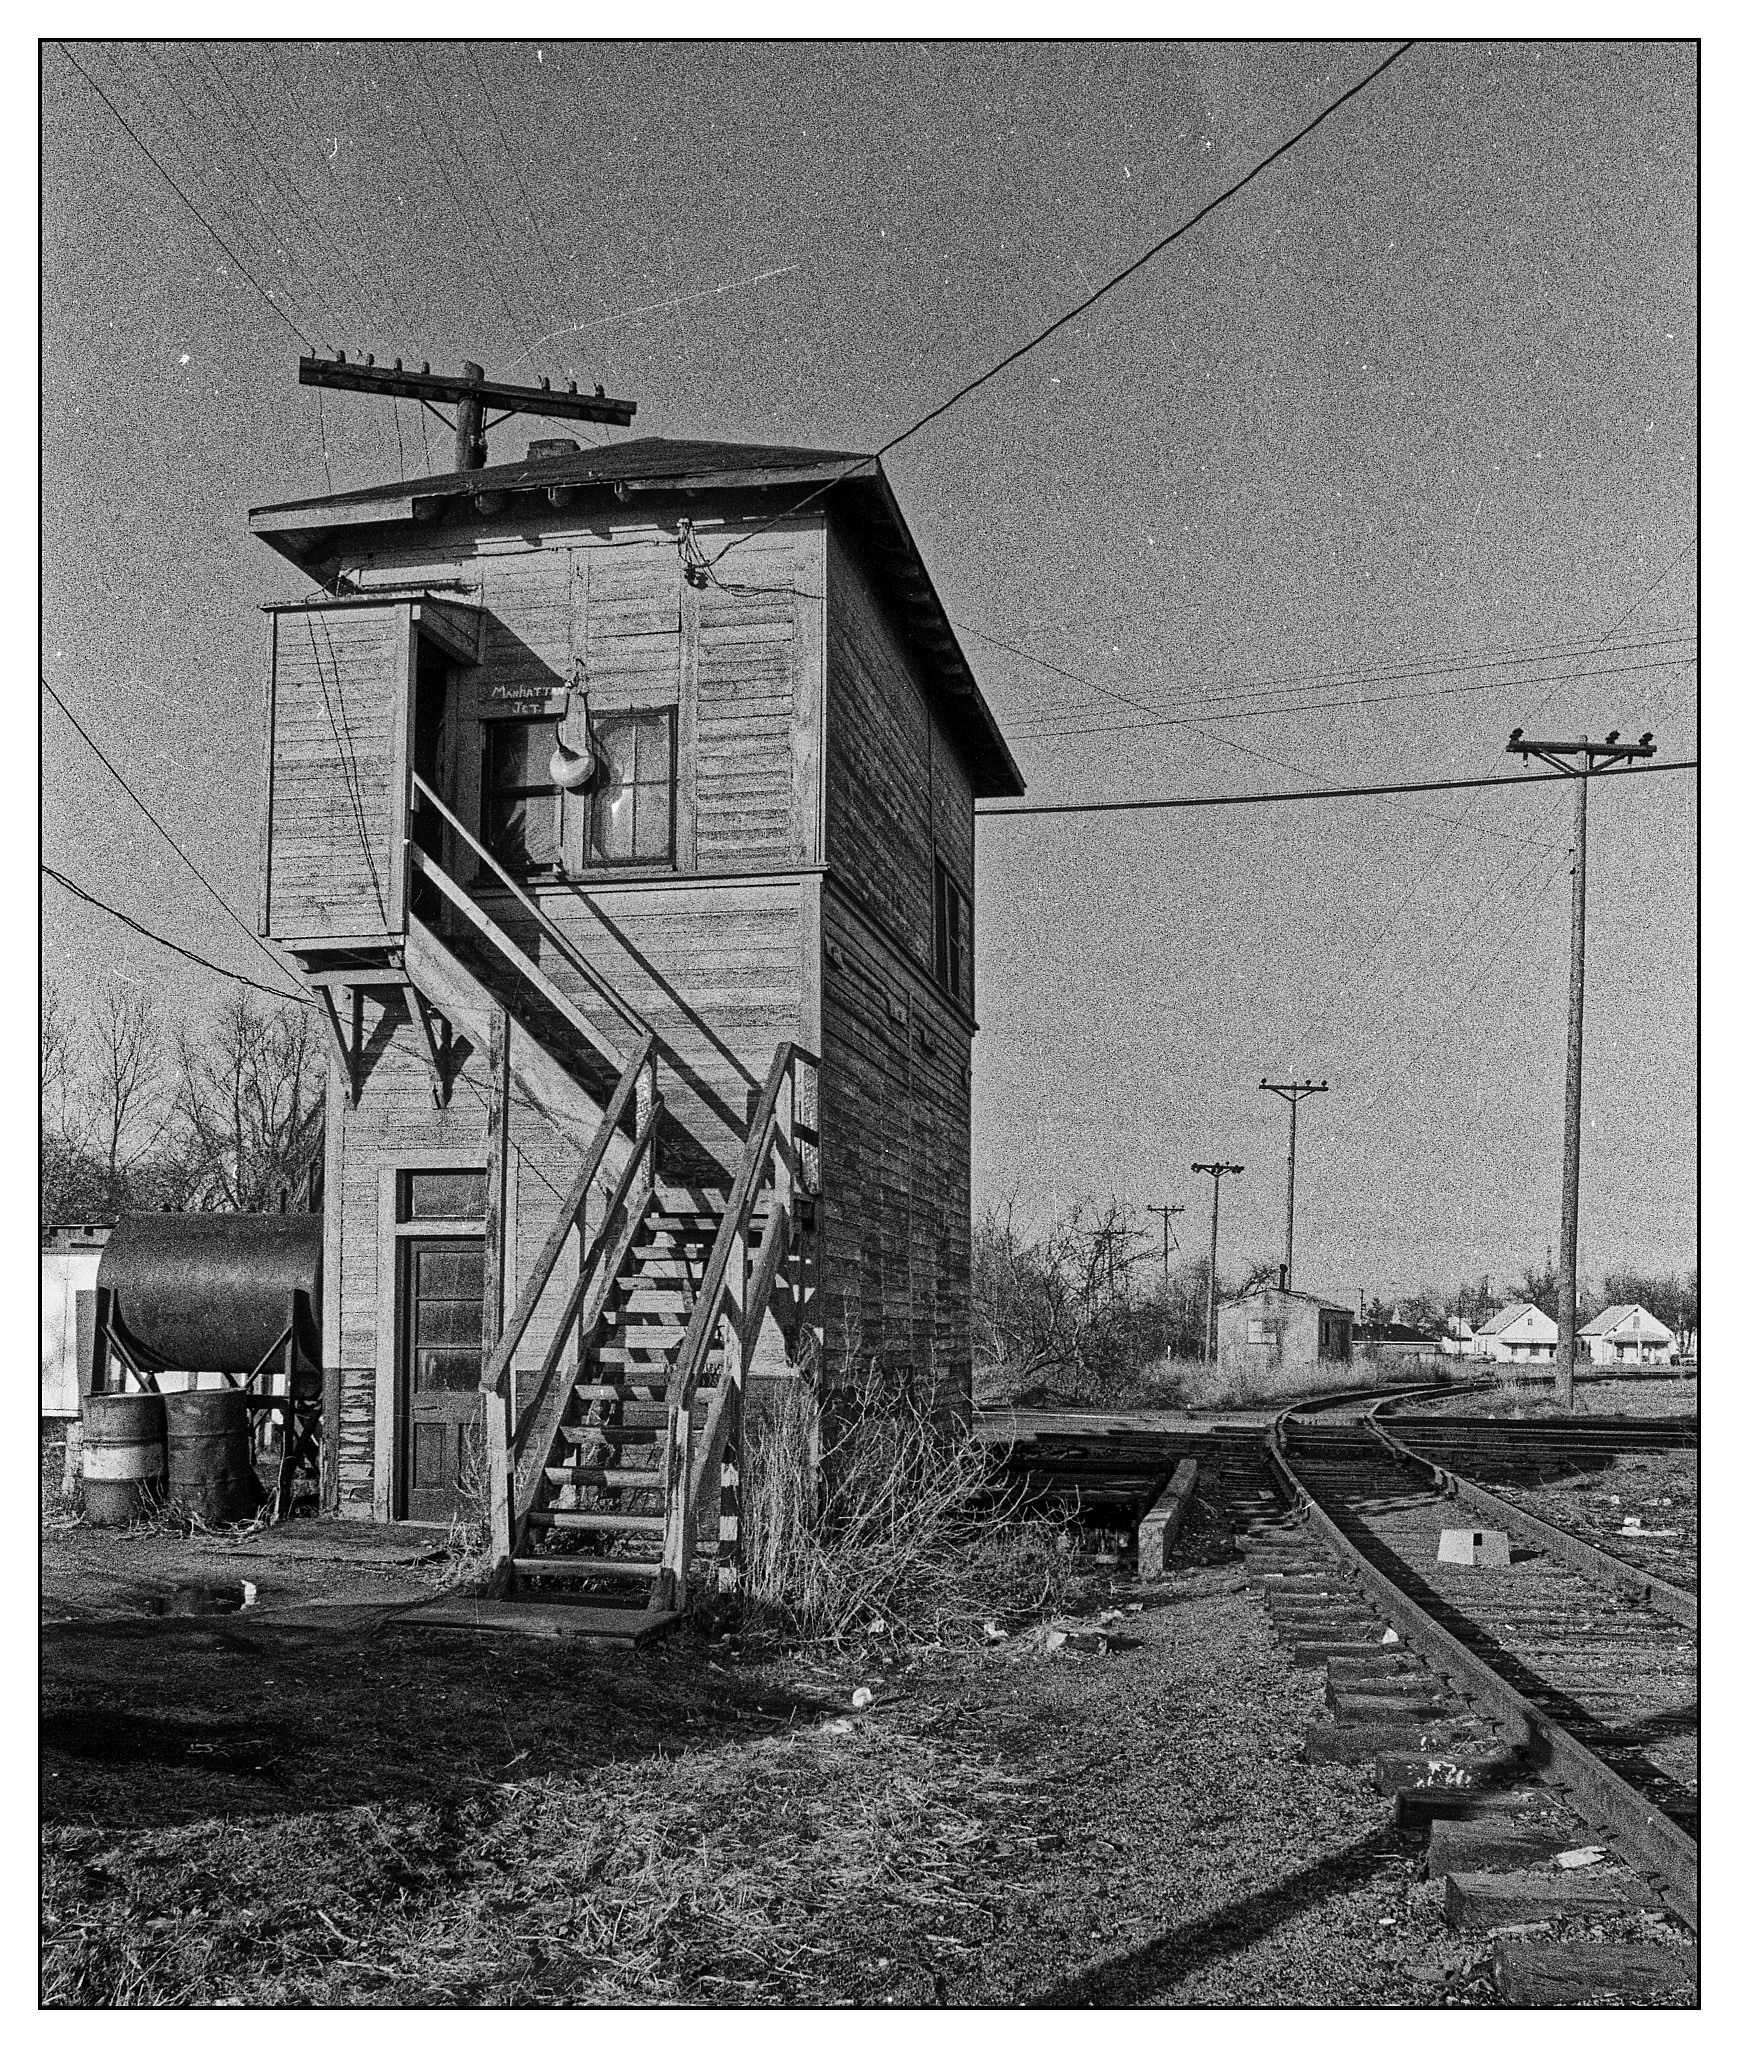
Here’a an export of my effort…
Here is a screenshot of my adjustments (I only used 7)
And the DOP - with the master completely reset to zero, the first VC being yours and the second VC being mine.
2021-09-19-0014.tif.dop (45,6 Ko)